Second-Hand Cricket Gear: A Safety Checklist for Parents and Clubs
Check a used cricket bat, helmet, pads, gloves, guards, shoes and kit bag before a junior inherits, borrows or buys second-hand equipment.
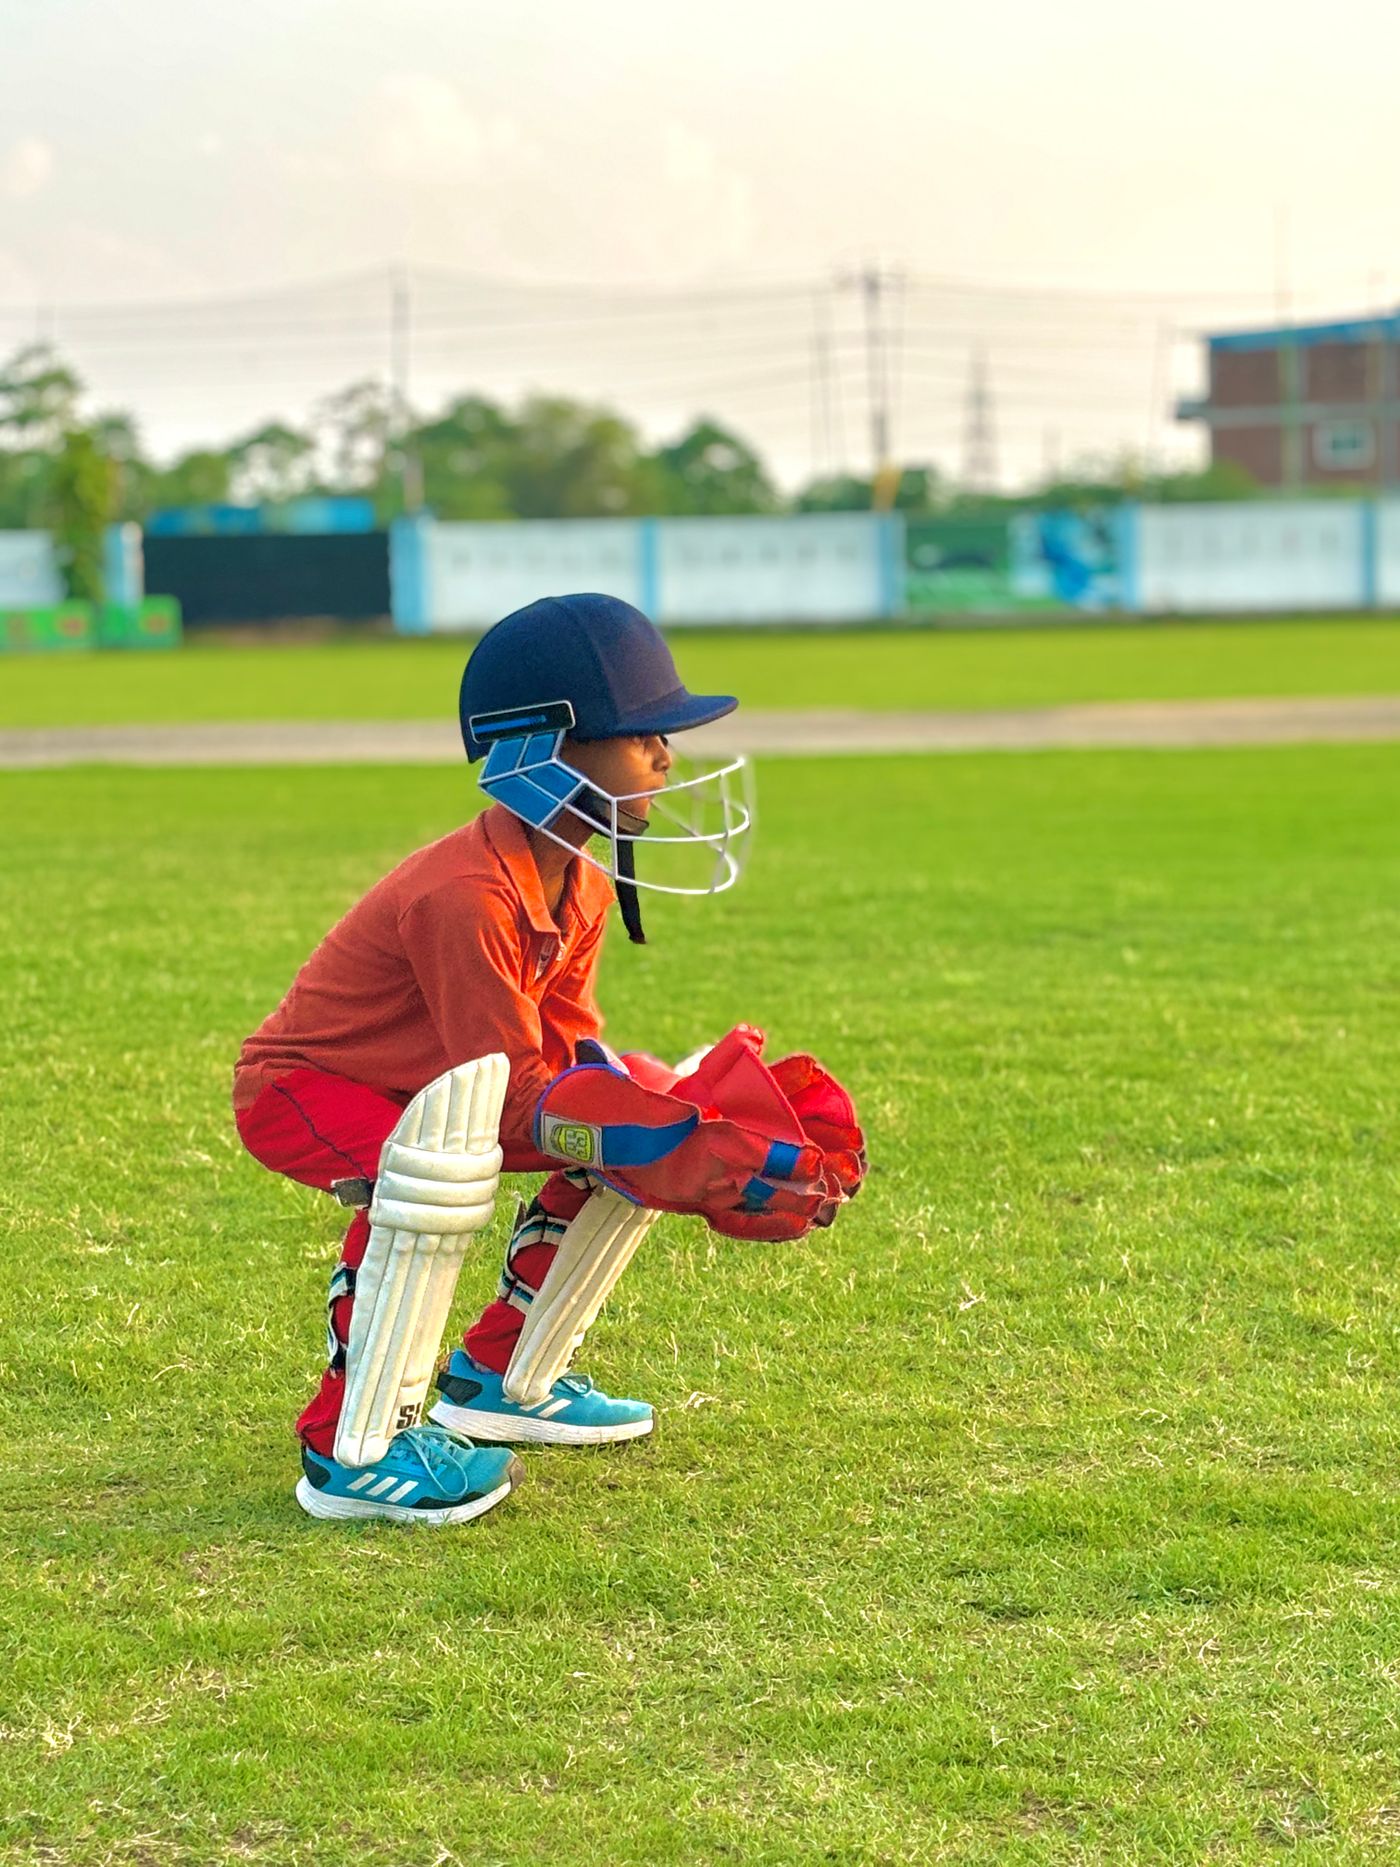
Used cricket gear can be good value when its history is known, it still fits correctly and every protective or structural part passes a careful inspection. Be most cautious with helmets: confirm the current certification label, correct ball-size test, secure fit and impact history, and replace any component that has sustained a severe blow even when damage is not visible. Do not hand down equipment simply because it looks tidy. Check fit, fastenings, padding, cracks, sole grip and hygiene, then movement-test the whole kit before hard-ball practice.
The useful question is not “Does it still look good?”
Cricket equipment is often handed from an older sibling to a younger player, shared through a club kit cupboard or bought through a second-hand listing. That can reduce the cost of starting cricket and keep usable equipment in service.
The problem is that appearance tells only part of the story. A clean helmet may have taken a severe impact. A glossy bat may hide a loose handle. Pads may be structurally sound but place the knee roll below the new player’s knee. Shoes may fit in length while the sole has lost dependable grip.
Use three tests for every item:
- History: Do you know its age, use, storage and impact history?
- Condition: Are the protective, structural and fastening parts intact?
- Fit: Does it fit the new player now, in cricket movement, over the clothing they will wear?
If one of those cannot be answered, increase your caution. With a safety-critical item, uncertainty can be a reason to replace it.
A quick hand-me-down decision table
| Item | Often reusable when | Replace or obtain expert advice when |
|---|---|---|
| Bat | Sound handle, no serious cracks, correct size and pickup | Handle moves, crack opens, toe is soft, blade is badly damaged |
| Helmet | Current label, known history, correct fit, all parts sound | Severe impact, unknown history, damaged shell/liner/grille, poor fit |
| Batting pads | Knee centred, padding and straps intact | Knee misses roll, internal protection crushed, straps fail |
| Batting gloves | Correct hand and size, palms and protection intact | Split palm, crushed finger protection, exposed hard parts |
| Guards | Correct coverage, clean shell, reliable straps | Cracked or distorted shell, compressed foam, insecure fit |
| Shoes | Correct fit, sound upper and sole, dependable grip | Sole separation, damaged spike plate, worn grip, collapsed heel |
| Kit bag | Clean, dry, zips and handles sound | Persistent mould, sharp frame damage, failed carrying points |
This is a screening guide, not a laboratory test. When a defect affects protection or structure, a qualified retailer, repairer or equipment maker is the right next step.
Start with the player, not the item
An older player’s equipment is not automatically suitable for the next person. Measure the new player and check their current club or competition requirements before inspecting the hand-me-down.
Record:
- height
- hand length from wrist crease to middle fingertip
- knee-to-instep pad measurement
- head circumference at the helmet maker’s measuring line
- foot length and width in playing socks
- batting hand: right- or left-handed
Use the complete cricket equipment size guide as a starting point, then follow the exact maker’s chart. Size names are not perfectly consistent between product ranges.
Do not buy or accept several years of “growing room” in protective equipment. Oversized gear can move away from the body area it is meant to cover.
Helmet: apply the highest level of caution
New Zealand Cricket’s community helmet policy requires under-19 hardball players to wear a helmet with a faceguard while batting, keeping close to the stumps and fielding close in the defined positions. The policy points junior players to the relevant British Standard helmet.
The ICC advises checking the helmet label for BS 7928:2013 + A1:2019 and for whether the model was tested against the men’s ball, junior ball or both. It also says a helmet component that sustains a severe blow needs replacement even if damage is not apparent.
That makes impact history important. A seller who cannot describe the helmet’s use cannot give the same assurance as a family or club that recorded it.
Helmet label and history check
- Find the certification and ball-size label; do not rely on a listing description.
- Match the ball-size test to the player and current NZ requirements.
- Ask whether the shell, faceguard or neck protector has taken a severe blow.
- Ask whether any part has been replaced, drilled, bent, painted or modified.
- Check the maker and model against current official guidance where relevant.
- Treat a missing or unreadable label as an unresolved safety question.
Helmet physical check
Inspect in strong light:
- shell cracks, deep gouges, soft areas or distortion
- compressed, loose, missing or deteriorating internal padding
- damaged adjustment mechanism
- bent, corroded or loose faceguard
- missing screws, clips, washers or fasteners
- stretched, frayed or unreliable chin strap
- sharp edges or exposed metal
- damage around a fitted neck protector
Do not straighten a faceguard or substitute ordinary hardware. The shell, liner, grille, fasteners and spacing work as a system.
Helmet fit check
Measure first, then follow the maker’s instructions. The helmet should sit level, remain secure through batting movement and give the specified faceguard clearance. A smaller junior ball must not be able to exploit an inappropriate gap.
Use our cricket helmet size and safety guide for the fit sequence. If the helmet rocks, slides, obstructs vision or cannot be adjusted without improvisation, it is not a suitable hand-me-down.
Cricket bat: separate size, condition and value
A used bat can remain serviceable for years, but only if it suits the player and the structure is sound.
Size and pickup
Check the bat against the player’s height, strength and control. A heavy senior bat is not a bargain for a junior who cannot lift it into a stable backlift or control the downswing.
Use the cricket bat size guide and then test pickup in a safe space. The player should be able to set up, backlift and shadow a controlled stroke without the hands dropping or the bat pulling them off balance.
Structure
Inspect:
- handle movement, creaking or a visible split at the splice
- cracks that open under light hand pressure
- severe edge compression
- toe softness, swelling or separation
- lifted face sheet hiding a damaged area
- deep moisture staining
- exposed or loose binding
Small surface cracks are not automatically terminal, but they need correct assessment. Our cricket bat cracks guide explains when to stop playing and seek a repairer.
Do not cover an uncertain crack with new tape merely to make the bat presentable. Repair first, then apply protection appropriate to the blade.
Batting pads: the knee must meet the protection
Pads are commonly reused because their outer surface can remain tidy. Fit is the deciding factor.
Put on normal cricket trousers and shoes. Fasten the pad without pulling the straps so tightly that the wings distort.
Check:
- the kneecap sits in the centre of the knee roll or cup
- the top does not interfere with the thigh guard or batting stance
- the bottom does not jam into the shoe
- the pad does not rotate during a jog, squat and batting movement
- cane, foam and side-wing protection are not crushed or missing
- straps, buckles and hook-and-loop closures hold reliably
- no hard or sharp component touches the leg
Pads that are too long or short cannot be fixed by overtightening. See how to choose cricket batting pads for a movement-based fit test.
Batting gloves: handedness, palms and finger protection
Batting gloves are handed. The reinforced areas and side protection can differ between the lead and bottom hand, so confirm that the pair matches the player’s batting hand.
Check the size using the maker’s chart and inspect:
- holes, glazing or thinning in the palm
- split seams and exposed foam
- crushed or permanently flattened finger rolls
- cracked protective inserts
- damaged side bars
- stretched wrist closure
- stiffness caused by sweat, salt or poor drying
- odour or contamination that remains after permitted cleaning
The player should close the hand around a bat handle without finger ends being forced into the tips or the palm bunching. Our cricket glove size guide gives the basic measurement.
Abdominal, thigh, arm and chest protection
These items are only useful when they cover the intended area and stay there during movement.
For every guard:
- Identify the correct orientation and, where relevant, batting hand.
- Inspect the shell for cracks, distortion or sharp edges.
- Press the padding gently to find permanent compression or separation.
- Check elastic, straps, hook-and-loop closure and pockets.
- Fit it with the player’s normal base layer or supporter.
- Test stance, running, bending and a shadow swing.
An abdominal guard should be a personal hygiene item unless it can be cleaned safely and is used with a suitable personal supporter. Replace a cracked, distorted or outgrown guard.
Use the abdominal guard fit guide and thigh guard fit guide for item-specific positioning.
Cricket shoes: grip and structure matter more than appearance
Clean uppers can distract from a worn outsole.
Inspect:
- sole separation around toe, forefoot and heel
- flattened moulded studs or missing lugs
- cracked spike plate
- loose, seized or mismatched removable spikes
- damaged spike threads
- collapsed heel counter
- torn eyelets or lace loops
- compressed or uneven cushioning
- persistent dampness or mould
Check the shoe on the surface type for which it will be used, subject to venue rules. A metal-spike shoe is not automatically suitable for artificial turf or an indoor centre.
Fit both feet in cricket socks. Walk, jog, stop and change direction in a safe area. Heel lift, toe impact or side-to-side movement means the fit is wrong even when the printed size matches.
Our cricket shoe care and replacement guide covers outsole and spike checks in more detail.
Kit bags and shared club equipment
A used bag is lower risk than a helmet, but it can transfer moisture, dirt and sharp debris to the rest of the kit.
Empty every compartment. Vacuum loose material and clean only according to the bag maker’s instructions. Inspect:
- mould or persistent musty odour
- broken wheel housings or exposed frame parts
- failed shoulder straps and handles
- sharp zip sliders
- damaged bat sleeves
- wet compartments without ventilation
For a club kit cupboard, label shared equipment by item and size. Keep an inspection record with the date, condition, action and person responsible. Do not let anonymous gear accumulate until nobody knows its age or history.
Hygiene without damaging the equipment
Do not soak protective equipment or use strong disinfectants without checking material instructions. Water and chemicals can damage foam, adhesives, leather, coatings and helmet components.
Use this sequence:
- Remove dry surface dirt.
- Check the maker’s cleaning instructions.
- Clean removable washable parts separately when permitted.
- Wipe rather than saturate protective equipment.
- Air-dry fully at room temperature away from strong heat.
- Replace anything that remains mouldy, contaminated or structurally affected.
Our cricket gear cleaning guide gives material-specific precautions.
A practical inspection session
Set aside enough time before the player’s first hard-ball practice.
Step 1: lay out the complete kit
Check for missing paired items, fasteners, straps and compatible accessories. Confirm the helmet and every guard are intended for cricket.
Step 2: inspect each item clean and dry
Use the checklists above. Record unresolved defects rather than promising to fix them later.
Step 3: fit from the inside out
Start with base layers and abdominal protection, then thigh guard, pads, shoes, gloves and helmet. This reveals interference between items.
Step 4: movement-test
The player should safely perform:
- walking and jogging
- a squat and forward bend
- batting stance and shadow strokes
- turning for a second run
- putting the helmet on and removing it correctly
Step 5: introduce the ball progressively
Begin with controlled soft-ball activity. Move to hard-ball practice only when the coach, parent and player are satisfied with fit and condition and all current participation rules are met.
Questions to ask a seller or donor
- When was the item bought?
- Who used it and how often?
- Has it taken a severe impact?
- Has it been repaired or modified?
- How was it stored and dried?
- Why is it being sold or handed down?
- Are the label, instructions and spare parts included?
- Can it be inspected and fitted before final acceptance?
An honest “I don’t know” is useful information. Apply more caution when the answer concerns a helmet impact, structural repair or missing certification label.
Club hand-me-down record
For each shared or donated item, record:
| Field | Example |
|---|---|
| Item ID | CLUB-PAD-014 |
| Item and size | Batting pads, youth |
| Date received | 13 November 2026 |
| Known history | One season, no reported incident |
| Inspection result | Straps sound; right knee roll compressed |
| Action | Remove from use pending replacement |
| Next review | Before any reissue |
Never record “safe forever”. Equipment condition and player fit change.
Final rule: value follows suitability
A free item that does not fit or cannot be verified is not automatically good value. Reuse the parts that have a known history, sound condition and correct fit. Repair only where an appropriate professional can restore the item. Replace safety-critical or structural equipment when uncertainty cannot be resolved.
The goal is not to make an inherited kit look new. It is to give the next player equipment that works correctly for them.