How to Fit a Cricket Thigh Guard: Inner, Outer and Straps
A practical cricket thigh-guard fitting guide covering position, strap tension, inner versus outer thigh protection, movement tests and replacement checks.
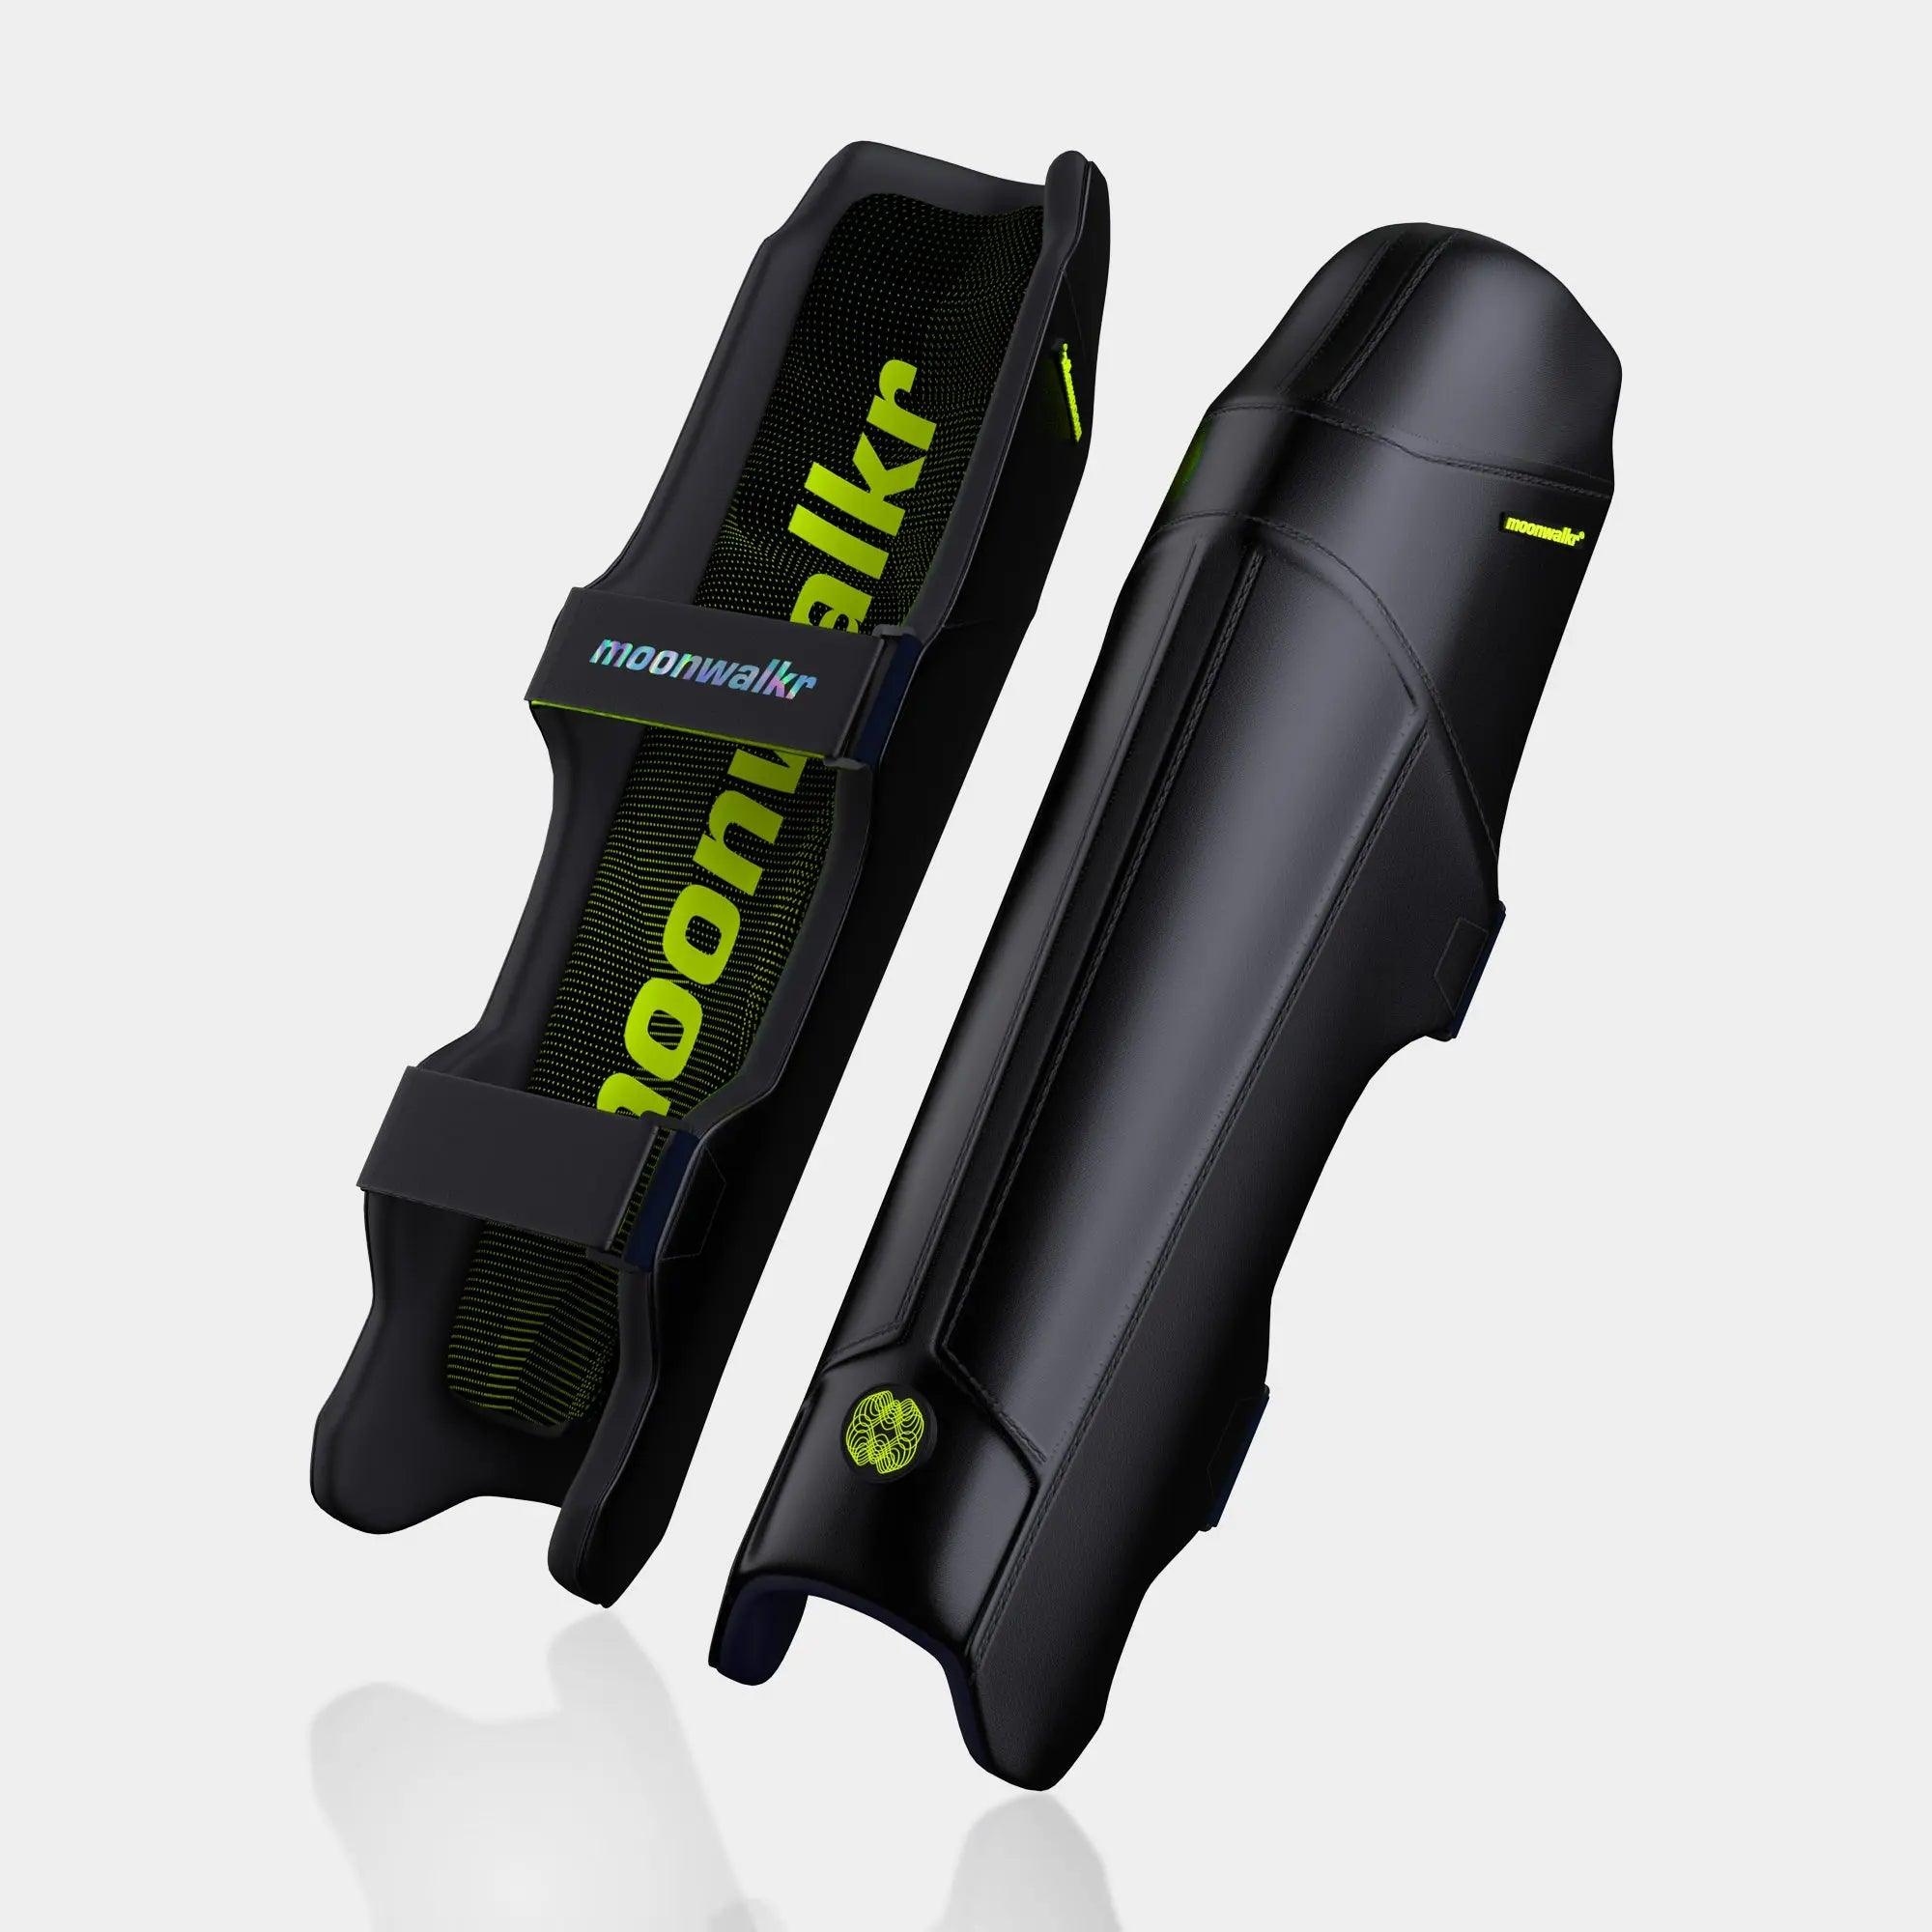
A thigh guard should cover the exposed front and outside of the lead thigh, sit high enough to protect the upper leg without pressing into the hip, and stay in place through a full batting stance, stride, turn and sprint. Straps should be firm but not restrictive. If the guard rotates, drops, gaps at the top or collides with the batting pad, adjust the position or choose a different size or shape.
What a thigh guard protects
A cricket thigh guard is impact protection for the upper leg. Batters use it because the top of the batting pad does not cover the whole thigh, especially when the front leg opens or the body turns toward a short ball.
Most thigh guards protect the front and outside of the lead thigh. Some systems add a second panel for the inner thigh of the back leg. A combined system can also include hip or upper-thigh coverage, but more pieces do not automatically mean a better fit.
The useful test is simple: does the guard cover the exposed area and stay there while the batter moves?
A guard sitting perfectly while the player stands straight can still fail when they take guard, stride forward, pull, turn for a run or bend to ground the bat. Fit it in cricket positions, not in a changing-room pose.
Inner thigh guard or outer thigh guard?
The names describe the area protected, not the side of the body on which every player must wear the guard.
| Guard type | Usual position | What it is intended to cover | Common fit problem |
|---|---|---|---|
| Outer thigh guard | Front and outside of the lead thigh | The exposed upper leg facing the bowler in a normal stance | Sits too low and collides with the batting pad |
| Inner thigh guard | Inside of the back thigh | The gap that can be exposed as the stance opens | Rotates behind the leg or rubs when running |
| Dual or combo system | Connected outer and inner panels | Both areas as one coordinated setup | Connector tension pulls one panel out of place |
| Integrated compression system | Panels held in a fitted garment | Stable multi-panel protection with fewer loose straps | Garment stretches or pockets no longer match the body |
A right-handed batter commonly wears the main outer panel on the left thigh and the inner panel on the right. A left-handed batter commonly reverses that arrangement. Product labels and shapes vary, so follow the maker’s left/right orientation and fitting instructions.
Do not force a shaped guard onto the opposite leg if its curve, straps or connector are designed for one orientation.
Where should the outer guard sit?
The outer panel should cover the vulnerable upper leg between the top of the batting pad and the hip area. Its lower edge may overlap the top of the batting pad slightly, but the two pieces should not lock together or push each other out of position.
Use these landmarks:
- Top: high enough to protect the upper thigh, but not jammed into the hip crease.
- Front: covering the area presented toward the bowler in the player’s normal stance.
- Outside: wrapped far enough around the lateral thigh to protect during rotation.
- Bottom: close to the top of the batting pad without restricting knee lift.
- Back: not so far around that the edge sits under the hamstring when running.
A gap above the batting pad is not automatically wrong; bodies and guard shapes differ. The important question is whether the exposed impact area is protected through the player’s actual movements.
Where should the inner guard sit?
The inner panel sits on the inside of the back thigh. It should not slide behind the leg or press into the groin.
Check that:
- the protective face covers the intended inner-thigh area
- the panel does not overlap or displace the abdominal or pelvic protector
- its lower edge does not catch the batting pad
- the player can bring the knees together naturally
- running does not make the panel chafe or rotate
- the connecting strap does not drag the outer panel across the lead leg
If the inner panel seems secure only when the connector is painfully tight, the system is probably the wrong size or geometry for that player.
Size labels are only a starting point
Junior, youth, small adult and adult are not universal dimensions. Two guards with the same label can differ in length, width, curve and strap placement.
Start with the manufacturer’s size chart, then check the player’s current body and batting stance. Do not buy a large guard for a child to “grow into.” Oversized protection can rotate, interfere with the pad and make running awkward.
A correct size provides useful coverage without becoming a rigid plate across the whole leg.
For a first estimate, New Zealand players can use the thigh-pad sizing tool. Treat the result as a starting point and confirm it against the exact product instructions and a full movement test.
Strap tension: secure, not restrictive
Most traditional guards use elastic and hook-and-loop straps around the thigh and waist. The exact arrangement varies.
Correct tension should:
- hold the guard close to the body
- stop it dropping when the player jogs
- prevent rotation during a batting stroke
- avoid pinching the skin
- allow normal breathing and hip movement
- leave no numbness, tingling or deep pressure marks
Elastic that has to be stretched to its absolute limit is not a safe substitute for the correct size. The strap will be uncomfortable and may lose tension quickly.
Fasten hook-and-loop panels fully. A small edge of contact can release under movement or collect lint, grass and dirt.
Step-by-step fitting method
1. Read the product instructions
Identify the lead-leg panel, inner panel, connector and intended strap route. Check whether the guard is designed to sit over or under a base layer.
2. Put on the normal base layer
Fit the guard over the same compression short, brief or training layer the player will use in a match. A thick change of clothing can alter strap tension and position.
3. Position the outer panel
Place it on the front and outside of the lead thigh. Set the top edge below the hip crease and the lower edge near the top of the batting pad.
4. Fasten the thigh strap
Tighten until the panel is stable without digging in. Keep the strap flat; a twisted strap creates a narrow pressure line.
5. Fit the waist strap or upper anchor
If supplied, route it as instructed. It should prevent the panel dropping without hauling it upward into the hip.
6. Add the inner panel
Position it on the inside of the back thigh. Adjust the connector so both panels sit independently rather than pulling against each other.
7. Put on the batting pads
A thigh guard cannot be judged in isolation. Fasten the batting pads normally and check the gap or overlap at the knee and lower thigh.
8. Complete the movement test
The player should:
- take their normal stance
- make a full forward stride
- move onto the back foot
- rehearse a pull or hook movement without a ball
- bend to ground the bat
- turn both directions
- jog and complete two short sprints
- sit or squat briefly
- repeat the stance after movement
The panels should still cover the same areas. Stop and refit if a strap slips, a panel rotates or the lower edge catches the batting pad.
The batting-pad collision test
A common problem is the thigh guard sitting too low. As the knee lifts, its lower edge can hit the top of the batting pad. That may force the guard upward, twist the pad or limit the stride.
Check this slowly:
- Stand in the batting stance.
- Lift the lead knee as for a forward movement.
- Extend into a comfortable stride.
- Return to stance.
- Repeat with a back-foot movement.
If the equipment collides, first move the thigh guard slightly higher. If that exposes too much of the thigh or presses into the hip, the guard may be too long or the wrong shape.
Do not solve the problem by leaving the batting pad loose.
Fit for juniors
Young players grow quickly and may change stance as their technique develops. Recheck fit during the season, not only on purchase day.
Ask the player specific questions:
- Does any edge dig in?
- Can you lift both knees?
- Does the guard move when you run?
- Can you feel a gap above the pad?
- Does the inner panel rub?
- Can you put it on the same way without help?
A child who says only that the guard feels “weird” may still be identifying a real fit problem. Watch the movement rather than dismissing the comment.
New Zealand Cricket’s transition-to-hard-ball material emphasises confidence, suitable progressions and development-aware coaching. Introduce new protective equipment during controlled practice, not for the first time immediately before fast bowling.
Our junior cricket gear checklist places thigh protection within the complete hard-ball kit.
Protection must match the drill
A thigh guard is one part of a wider system. The required setup depends on ball hardness, pace, distance, player age, role and the rules that apply.
For hard-ball batting, check the condition and fit of:
- helmet and faceguard
- batting gloves
- batting pads
- abdominal or pelvic protector
- thigh and any additional upper-body protection
- footwear
The complete protective-equipment guide explains how these parts work together. The net-safety checklist covers controlled entrances, one-ball-live discipline and progression to hard-ball practice.
Extra padding does not justify an uncontrolled drill. Reduce pace, shorten the feed or use a suitable training ball while a player builds confidence and technique.
Common fitting mistakes
Wearing the outer panel on the wrong leg
Match the guard to the batting stance and the product’s intended orientation.
Setting it too low
The lower edge collides with the batting pad and the panel rides upward.
Setting it too high
The top edge presses into the hip crease and can tilt away from the thigh.
Overtightening the straps
Painful tension restricts movement and does not correct a wrong size.
Leaving straps twisted
A twisted strap concentrates pressure and is more likely to slip.
Connecting both panels too tightly
The inner guard pulls the outer guard away from its protective position, or vice versa.
Buying for future growth
An oversized guard is harder to stabilise and can interfere with the rest of the kit.
Testing without batting pads
The thigh guard and pad may collide even when each feels fine separately.
Never rechecking during the season
Growth, stretched elastic and changes in stance can turn a previously good fit into a poor one.
Care after training and matches
Sweat, damp and dirt shorten the useful life of straps and padding.
After use:
- open all straps
- wipe the protective surfaces as the maker directs
- air-dry the guard completely
- keep hook-and-loop closures free of lint
- store panels flat or in their intended shape
- avoid leaving the guard in a hot car
- keep heavy kit from crushing shaped panels
Do not put a rigid or foam panel in a washing machine unless the care label specifically allows it. Removable fabric sleeves may have different instructions from the protective insert.
The guide to cleaning cricket pads, gloves and helmets explains the dry-before-storage routine for the rest of the bag.
When to replace a thigh guard
Replace or seek product-specific advice if you find:
- a cracked, split or deeply cut protective shell
- compressed foam that does not recover
- permanent creases or distortion
- separated layers
- torn stitching around the protective panel
- stretched or damaged elastic
- hook-and-loop closures that release during movement
- a connector that no longer holds position
- damage after a significant impact
- a guard the player has outgrown
Appearance cannot prove full impact performance. Follow the manufacturer’s instructions after a severe strike and when the condition is uncertain.
Match-day fitting checklist
- Correct panels for the player’s batting stance
- Outer panel covers the exposed lead thigh
- Inner panel centred on the intended area
- Top edges clear of painful hip or groin pressure
- Lower edges do not lock against batting pads
- Straps flat and fully fastened
- No numbness, pinching or restricted breathing
- Full forward and back-foot movement completed
- Two short sprints completed without rotation
- Guard still in position after the warm-up
Buying checklist
- Manufacturer’s current size chart checked
- Player’s present size used, not future growth
- Lead-leg orientation confirmed
- Inner panel included only if it fits the player’s need
- Compatible with the player’s batting pads
- Strap length allows adjustment in both directions
- Panel shape follows the thigh
- Care and replacement instructions available
- Full movement test possible before match use
Sources and further reading
- New Zealand Cricket: Transition to Hard Ball coaching manual
- ECB Recreational Cricket Safety Guidelines, December 2025
- ECB Recreational Cricket Safety Regulations
The rules of the player’s competition and the instructions supplied with the exact protector take priority. Stop if equipment causes pain, numbness or restricted movement.