Cricket Club Equipment Inventory: A Simple Inspection and Replacement System
A practical system for cricket clubs to label, inspect, loan, repair and replace shared gear without losing track of safety-critical equipment.
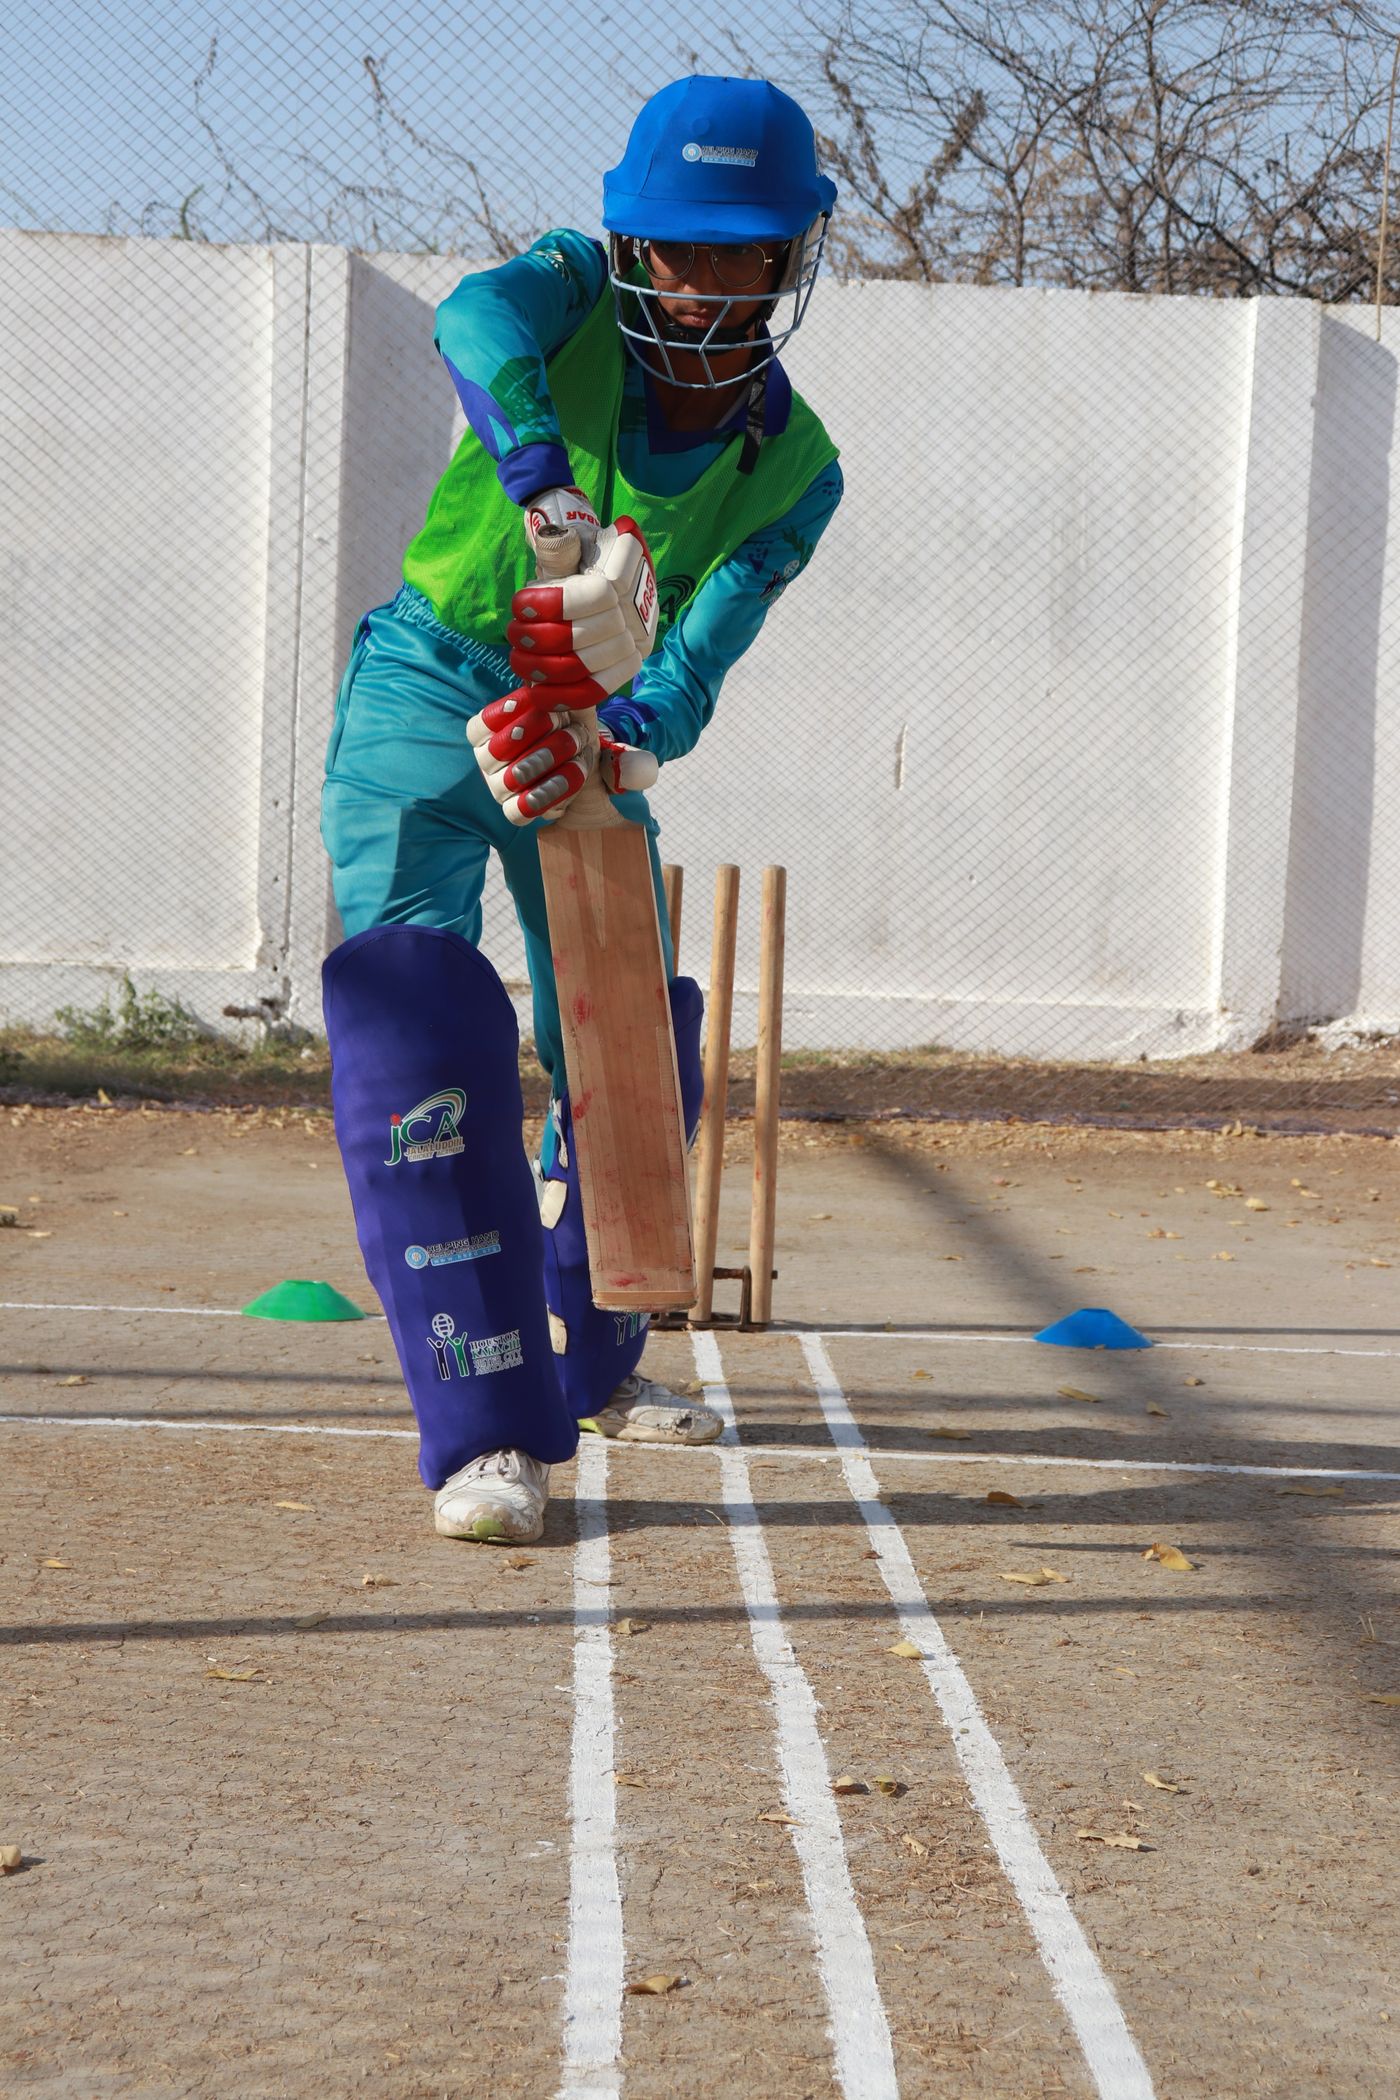
A cricket club equipment system needs one register, one accountable owner and three clear statuses: ready, repair or quarantine. Give each shared item a unique ID, record its location and responsible team, inspect it at the start of the season and before issue, and log every repair or retirement. Prioritise protective equipment, nets, bowling machines, training balls, stumps and first-aid supplies. A spreadsheet is enough if it is consistently updated; the key control is that damaged equipment is physically separated so it cannot drift back into use.
The real club equipment problem is visibility
Most clubs do not lose control of equipment because nobody cares. They lose control because gear moves between teams, sheds, cars and practice grounds without a single record.
A simple inventory answers five questions:
- What does the club own?
- Where is each item?
- Who is responsible for it today?
- Is it ready, awaiting repair or quarantined?
- When should it be checked or replaced?
The system does not need expensive software. A protected spreadsheet, durable labels and a clearly marked quarantine area can handle a large junior or senior club if the process is consistent.
Start with three statuses
Use plain language that every coach and volunteer understands.
| Status | Meaning | Can it be issued? |
|---|---|---|
| Ready | Checked, complete and suitable for intended use | Yes |
| Repair | Serviceable only after an identified repair or part replacement | No |
| Quarantine | Damaged, safety status uncertain or awaiting expert decision | No |
| Retired | Removed from club use and recorded as disposed, recycled or retained for display only | No |
Do not use vague labels such as “maybe okay” or “keep an eye on it”. If a volunteer cannot confidently mark an item ready, quarantine it and escalate the decision.
What to include in the register
One row per asset or kit bundle is usually enough.
| Field | Example | Why it matters |
|---|---|---|
| Asset ID | NET-03 | Connects the physical label to the record |
| Category | Portable practice net | Makes filtering easier |
| Description | 3 m training net, black mesh | Distinguishes similar items |
| Serial/model | Maker and serial if present | Supports parts and service checks |
| Purchase date | 14 Aug 2025 | Helps with warranty and age |
| Current location | Main shed, rack B | Prevents lost gear |
| Assigned team | Year 8 Blue | Creates accountability |
| Status | Ready | Controls issue |
| Last inspection | 2 Nov 2026 | Shows freshness |
| Next inspection | Before next setup | Triggers action |
| Condition note | Two pegs replaced | Preserves history |
| Action owner | Equipment lead | Avoids unowned tasks |
For low-cost items such as cones, use a bundle record: “CONES-02, set of 20”. Count the bundle when it is issued and returned.
Choose a practical ID system
The ID should be short enough to read and write.
Suggested prefixes:
- BAT for shared bats
- HEL for helmets
- PAD for pads
- WKG for keeping gloves
- NET for nets
- BM for bowling machines
- BALL for match or training ball sets
- STP for stumps
- MAT for practice mats
- FA for first-aid kits
- CONE for cones and markers
Add a number, not a player’s name. Players and teams change; the asset ID should remain stable.
Place the label where it can be read without covering a safety mark, maker instruction, ventilation opening or playing surface. Never drill or modify protective equipment just to attach an ID.
Assign one equipment owner
The equipment owner does not have to inspect everything personally. Their job is to keep the process working.
The role should include:
- maintaining the register
- allocating team or location responsibility
- scheduling seasonal checks
- controlling the quarantine area
- approving issue and return rules
- arranging specialist service where required
- preparing a replacement recommendation for the committee
Sport New Zealand’s club guidance recommends assigning responsibility for health and safety processes and using checklists or registers to identify hazards. An equipment register fits within that broader club system; it does not replace the club’s health and safety policy.
Build inspection frequency around use and consequence
Not every item needs the same interval.
Check before every use
- portable nets and their anchors
- bowling machines, cables and feeders
- helmets and visible protective gear issued to players
- stumps or bases used on synthetic surfaces
- first-aid kit availability
Check on issue and return
- shared bats
- batting and keeping gloves
- pads and guards
- training balls
- coaching bags
Check at least seasonally
- storage racks and shelving
- scoreboards
- sightscreens
- boundary equipment
- practice mats
- club-owned bags and trolleys
These are operational starting points, not manufacturer instructions. Increase the frequency for heavily used, weather-exposed or high-consequence equipment and follow the maker’s inspection and service schedule.
Use a five-step inspection
1. Identify
Match the asset ID to the register. If the label is missing, stop and identify the item before recording a result.
2. Clean enough to inspect
Remove surface dirt or grass that hides cracks, loose fasteners or worn material. Do not use a cleaning product that conflicts with the maker’s instructions.
3. Look and feel
Check visible structure, seams, straps, fasteners, cables, mesh, anchors and moving parts. Compare paired items and bundles with the recorded quantity.
4. Function-test safely
Use the lowest-risk test that proves the equipment works. For example, assemble a net without players nearby, close and fasten a pad, or run a machine only under its documented setup procedure.
5. Record and separate
Set the status, write a short condition note and move non-ready equipment to the designated area immediately.
Category inspection prompts
Helmets and protective equipment
Check the shell or protective structure, fasteners, straps, padding and any visible safety label. Look for impact damage, cracks, missing parts, distortion and unauthorised modification.
Do not treat a club register as proof that a helmet is safe after an impact. Follow the maker’s inspection and replacement guidance. Use our helmet replacement guide and second-hand cricket gear safety checklist when the item’s history is uncertain.
Bats
Inspect face, edges, toe, shoulder, splice, handle and grip. Record whether a crack is cosmetic, needs repair or makes the bat unsuitable for issue. Do not hide structural damage under tape simply to keep the asset in circulation.
The cricket bat crack guide explains when to stop using a bat and seek repair advice.
Nets
Inspect mesh, frame, anchors, guy lines, wheels, joins and the area behind the net. Repair holes before practice and check the full setup each time it moves.
Use the cricket net safety checklist for layout, separation and pre-session controls.
Bowling machines
Record the model and serial number, manual location, service history and authorised operators. Check guards, wheels, feeder, cables, plugs, battery condition and emergency stopping procedure according to the maker’s instructions.
Only trained adults should operate the machine under the club’s procedure. See the bowling machine setup and safety guide.
Balls
Separate match balls, training leather balls, soft training balls and machine balls. Count bundles and remove split, misshapen or unsuitable balls from the relevant activity.
Store balls dry and rotate sets so one group does not carry the entire practice load. The training ball guide and ball storage guide provide category-specific checks.
Stumps, bails and bases
Check for splits, sharp edges, loose metal parts and stable bases. Keep spare bails as a counted bundle. Confirm that portable or spring-loaded bases are appropriate for the surface.
First-aid kits
The inventory should record the kit location, responsible person and check date, but medical contents and expiry controls should follow the club’s approved first-aid plan. Do not list private player medical information in the general equipment register.
Quarantine must be physical
A red spreadsheet status is not enough if the item remains on the ready rack.
Create a clearly marked quarantine shelf, cage or tub. Attach a tag showing:
- asset ID
- date removed
- issue found
- person who removed it
- next decision or action owner
Access should be controlled so a well-meaning volunteer cannot return an item to a team without the status being changed.
Loans and team issue
Use a short sign-out record for equipment that leaves the main store.
Record:
- asset ID or bundle ID
- team or borrower
- issue date
- expected return date
- condition at issue
- condition at return
- missing components
For seasonal team allocations, ask the coach or manager to confirm the inventory at handover and return. This is accountability, not blame; it gives the club time to replace or repair items before the next group needs them.
Repair or replace decisions
Use four questions:
- Is the item’s safety or function uncertain?
- Does the maker permit the proposed repair?
- Can the repair be checked by a competent person?
- Is replacement more reliable or economical over the remaining season?
Protective equipment and powered equipment deserve a conservative decision. Do not ask volunteers to certify repairs beyond their competence.
When several teams need coordinated replacement or sizing support, a club can use this New Zealand club and team equipment service as one procurement reference while still comparing specifications, timing and total cost.
Turn the register into a replacement plan
At the end of each month or playing block, filter the register by:
- repair and quarantine status
- next-inspection date
- repeated faults
- missing parts
- high-use equipment near end of service life
- teams with incomplete bundles
Create three budget lists:
- Immediate: cannot safely or effectively support current activity
- Before next phase: order or repair within the season
- Planned: budget for next season
This turns emergency buying into a planned club decision.
A 30-minute monthly routine
- Review all repair and quarantine rows.
- Reconcile loans overdue for return.
- Check first-aid and powered-equipment service dates.
- Count one rotating category of low-cost gear.
- Assign every open action to a named owner and date.
- Export or back up the register according to club policy.
Season handover checklist
- Every asset or bundle has an ID
- Locations and team assignments are current
- Ready, repair, quarantine and retired statuses are used consistently
- Protective equipment history has been reviewed
- Nets and machines have current checks
- First-aid kit controls are assigned
- Loans and missing components are reconciled
- Repair decisions have owners and dates
- Replacement priorities are in the budget
- Quarantined gear is physically separated
Sources and further reading
- Sport New Zealand: health and safety for clubs — club responsibility, checklists, hazard registers and coordinator guidance.
- Sport New Zealand health and safety toolkit — first-aid, hazard and incident-register templates.
- NZC Community Cricket resources — club health and safety, helmet, concussion and operational resources.
- MCC Laws of Cricket — current definitions and permitted player equipment.
Final call
A useful equipment register is not a museum catalogue. It is a live control that makes the ready gear easy to find and the questionable gear impossible to issue. Start with the assets that can stop a training session or affect player safety, keep the statuses simple, and make physical separation the rule.