Wicketkeeping Match-Day Equipment Checklist: Kit, Fit and Backups
A practical wicketkeeping kit checklist covering gloves, inners, pads, helmet, footwear, spares, fit checks and pre-match preparation.
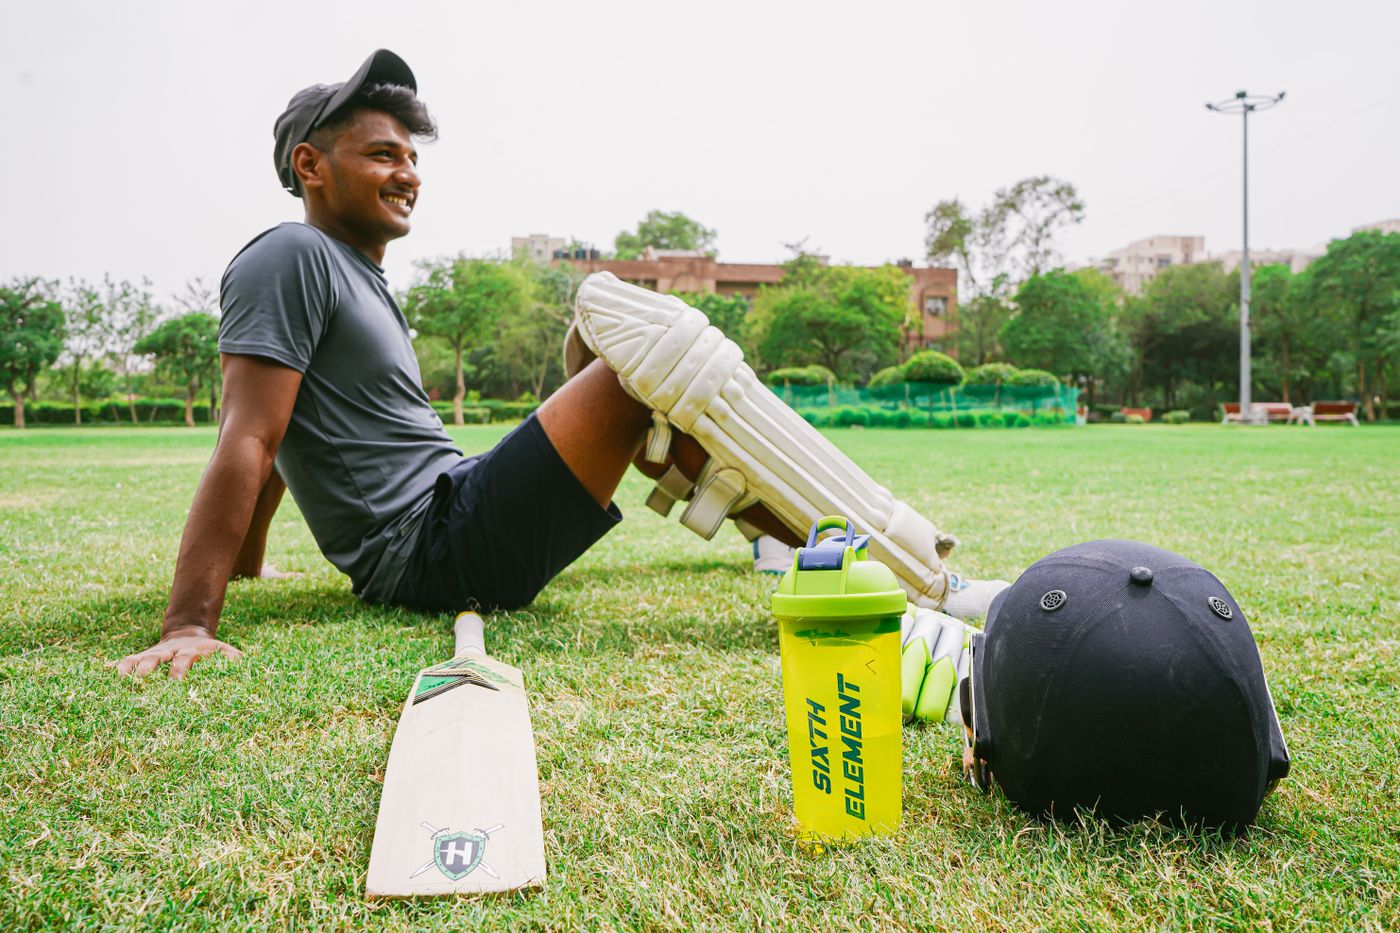
A wicketkeeper's match-day kit should include keeping gloves, inner gloves, keeping pads, an abdominal guard with a secure supporter, suitable footwear and the clothing required by the competition. Add a correctly fitted helmet with faceguard whenever the current playing policy or conditions require it. Pack a small repair-and-drying pouch, spare inners and laces, water, sun protection and a labelled wet-gear bag. The final check is not simply whether every item is present: put the complete kit on, crouch, move laterally, rise to the stumps and make ten clean receives before leaving home.
A wicketkeeping checklist should test readiness, not just ownership
The keeper uses a smaller collection of specialised equipment than a batter, but each item has to work with every other item. Gloves that fit in isolation can feel tight over inner gloves. Pads can rotate when the keeper rises. A helmet that seemed stable in a bedroom can move when the head turns quickly.
That is why a useful match-day checklist has three layers:
- Core equipment: the items needed to keep safely and legally.
- Fit and function: a short movement test in the complete kit.
- Backups and care: small spares that stop a minor problem becoming a missed innings.
The exact requirements come from the competition’s current playing conditions. Check those conditions before the season and again before an unfamiliar tournament.
Core wicketkeeping kit
| Item | Purpose | Pre-match check |
|---|---|---|
| Wicketkeeping gloves | Receiving and controlling the ball | Correct size, sound palms, legal webbing, secure cuffs |
| Inner gloves | Sweat management, comfort and an extra layer | Dry, close fitting, no folds at fingertips |
| Wicketkeeping pads | Lower-leg protection with free movement | Knee centred, straps secure, no rotation |
| Abdominal guard and supporter | Protection against impact | Correct size, no cracks, held securely in movement |
| Helmet with faceguard | Head and face protection when required | Correct standard, stable fit, correct grille clearance |
| Footwear | Grip and movement for the surface | Clean outsole, secure laces, suitable sole or spikes |
| Match clothing | Competition compliance and comfort | Clean, dry, unrestricted crouch and reach |
MCC’s Laws identify the wicketkeeper as the only fielder permitted to wear wicketkeeping gloves and external leg guards. The Laws also specify how glove webbing may join the index finger and thumb. A club does not need to measure every glove before every match, but it should buy recognised keeping gloves and remove any obviously altered or damaged pair from play.
Wicketkeeping gloves
Keeping gloves should allow a natural receiving shape without forcing the fingers flat or leaving so much space that the glove twists.
Fit check
- Wear the inner gloves that will be used in the match.
- Seat each hand fully into the glove.
- Close the fingers around an imaginary ball without sharp pressure at the tips.
- Check that the cuff fastens without cutting into the wrist.
- Make ten receives at chest, knee and ankle height.
- Turn the hands over and inspect palms, stitching and webbing.
Too small can mean compressed fingertips and restricted hand closure. Too large can reduce control, particularly when standing up to the stumps.
Use the wicketkeeping gloves size, fit and care guide for the full fitting sequence.
Condition check
Look for:
- lifting palm material
- torn finger seams
- stretched or damaged webbing
- a loose or ineffective cuff
- hardened dirt that changes the catching surface
- dampness or odour suggesting the gloves were stored wet
Do not attempt a structural repair immediately before play unless it follows the maker’s guidance and can be checked properly. A sound spare pair is the safer match-day solution.
Inner gloves: pack two pairs when possible
Inner gloves are inexpensive compared with keeping gloves and solve several practical problems. They absorb sweat, reduce rubbing and make it easier to rotate into a dry pair during a long day.
A close fit matters. Excess material at the fingertips can fold under the keeping glove and create pressure. Thick padded inners should still allow the outer glove to close naturally.
Pack:
- one dry match pair
- one labelled spare pair
- a breathable pouch for the used pair
Our wicketkeeping inner-glove guide compares cotton and padded options and explains the fit test.
Wicketkeeping pads
Keeping pads are designed to be lighter and less bulky than batting pads. The correct pair should protect the shin and knee without colliding in a crouch.
Movement test
- Put the pads on over match trousers.
- Centre the knee in the knee roll or cup.
- Fasten straps firmly without restricting circulation.
- Hold a normal keeping crouch for 20 seconds.
- move two steps left and right.
- Rise as if taking the ball at the stumps.
- Jog ten metres and check for rotation.
If a pad turns, do not simply pull every strap tighter. Recheck size, knee position, strap order and whether the pair is on the correct legs.
See the wicketkeeping pads size, fit and care guide for measurement points and cleaning advice.
Helmet and faceguard
New Zealand Cricket’s current community helmet policy should be checked directly for the player’s age, role and distance from the stumps. The 2026–27 policy information is available from the NZC Community Cricket laws and playing conditions hub.
For junior and youth hardball cricket, the policy requires a helmet with faceguard when keeping within the stated distance of the stumps. Local playing conditions may add requirements.
Before play:
- confirm the helmet is the correct size and standard for the player and ball type
- inspect shell, grille, fasteners, padding and chin strap
- set the grille clearance according to the maker’s instructions
- turn the head quickly left and right
- crouch and look up towards an imaginary bowler
- check that the helmet stays level and vision remains clear
A helmet is not a shared one-size item. Use the cricket helmet size and safety guide and replace a helmet after a significant impact or when the maker’s inspection guidance indicates.
Abdominal guard and supporter
The guard must be the correct size and held in a stable position. A loose guard can shift during a lateral movement or when the keeper rises.
Check the shell for cracks, distortion or sharp edges. Fit it in the intended supporter, then crouch, step sideways and jog. If it moves away from the protected area, change the supporter fit or size before play.
The abdominal guard fit guide explains positioning and the movement test.
Footwear for the surface
The keeper needs a stable base for repeated low movement. Select footwear for the actual surface and local rules, not merely for appearance.
Check:
- outsole pattern or spikes suit the pitch and outfield
- removable spikes are tight and not excessively worn
- laces are sound and long enough for a secure knot
- heel and forefoot do not slip inside the shoe
- no mud or stones are blocking the tread
Carry spare laces. If conditions may change, confirm whether a second legal footwear option is appropriate. Our spikes, studs and surface guide helps match the sole to the venue.
The small spares pouch
A keeper’s repair pouch should be small, labelled and limited to safe, practical items:
- spare inner gloves
- spare shoelaces
- spare approved helmet fasteners supplied for that model
- a clean microfibre cloth
- breathable wet-gear bags
- athletic tape for permitted personal use
- sunscreen and lip protection
- any player-specific medical items managed under the team’s normal plan
Do not improvise structural helmet, glove or pad repairs with unsuitable tape during a match. Remove damaged protective equipment and use a sound replacement.
Pack for rain and sweat
Keeping gloves and inners become difficult to manage when packed wet. Use separate breathable bags for damp equipment and open the kit as soon as practical after play.
During a wet day:
- keep the unused inner pair dry
- use a towel to remove surface water
- avoid sealing wet gloves in plastic for long periods
- air-dry at room temperature after the match
- keep equipment away from direct heaters
The wet cricket gear drying guide covers the full after-match routine.
Ten-minute pre-departure routine
Minute 1–2: documents and conditions
Check venue, start time, competition clothing, ball type, weather and helmet rules.
Minute 3–5: protective equipment
Inspect gloves, inners, pads, guard and helmet. Pack a sound replacement for any item that looks doubtful.
Minute 6–8: complete-kit movement
Put on pads, guard, inners and gloves. Crouch, move laterally, rise, turn and receive ten balls.
Minute 9–10: bag zones
Place core equipment in the main compartment, dry spares in a separate pouch and wet-gear bags where they can be reached quickly.
Checklist for a junior keeper’s parent or coach
- Current playing conditions checked
- Keeping gloves fit over inners
- Spare dry inners packed
- Keeping pads centred and movement-tested
- Abdominal guard secure in its supporter
- Helmet and faceguard checked where required
- Footwear suitable for the surface
- Water and sun protection packed
- Damp-gear bag and towel packed
- Emergency and medical arrangements understood
- Player completed a crouch, movement and receiving test
Sources and further reading
- MCC Laws of Cricket, 2017 Code 4th Edition 2026 — wicketkeeper equipment and glove requirements.
- NZC Community Cricket laws and playing conditions — current New Zealand helmet policy and local playing-condition links.
- Sport New Zealand: health and safety for clubs — checklists, hazard reporting and club responsibility guidance.
Final call
The best keeping kit is not the biggest bag. It is a small system of correctly fitted equipment, dry backups and a repeatable pre-match check. If the keeper can crouch, move, rise and receive cleanly in the full kit, the checklist has done its job.