Cricket Shoe Spikes and Studs Guide: Metal, Rubber or Turf?
Choose cricket shoe spikes for grass, artificial turf and indoor surfaces, then inspect, tighten and replace studs safely.
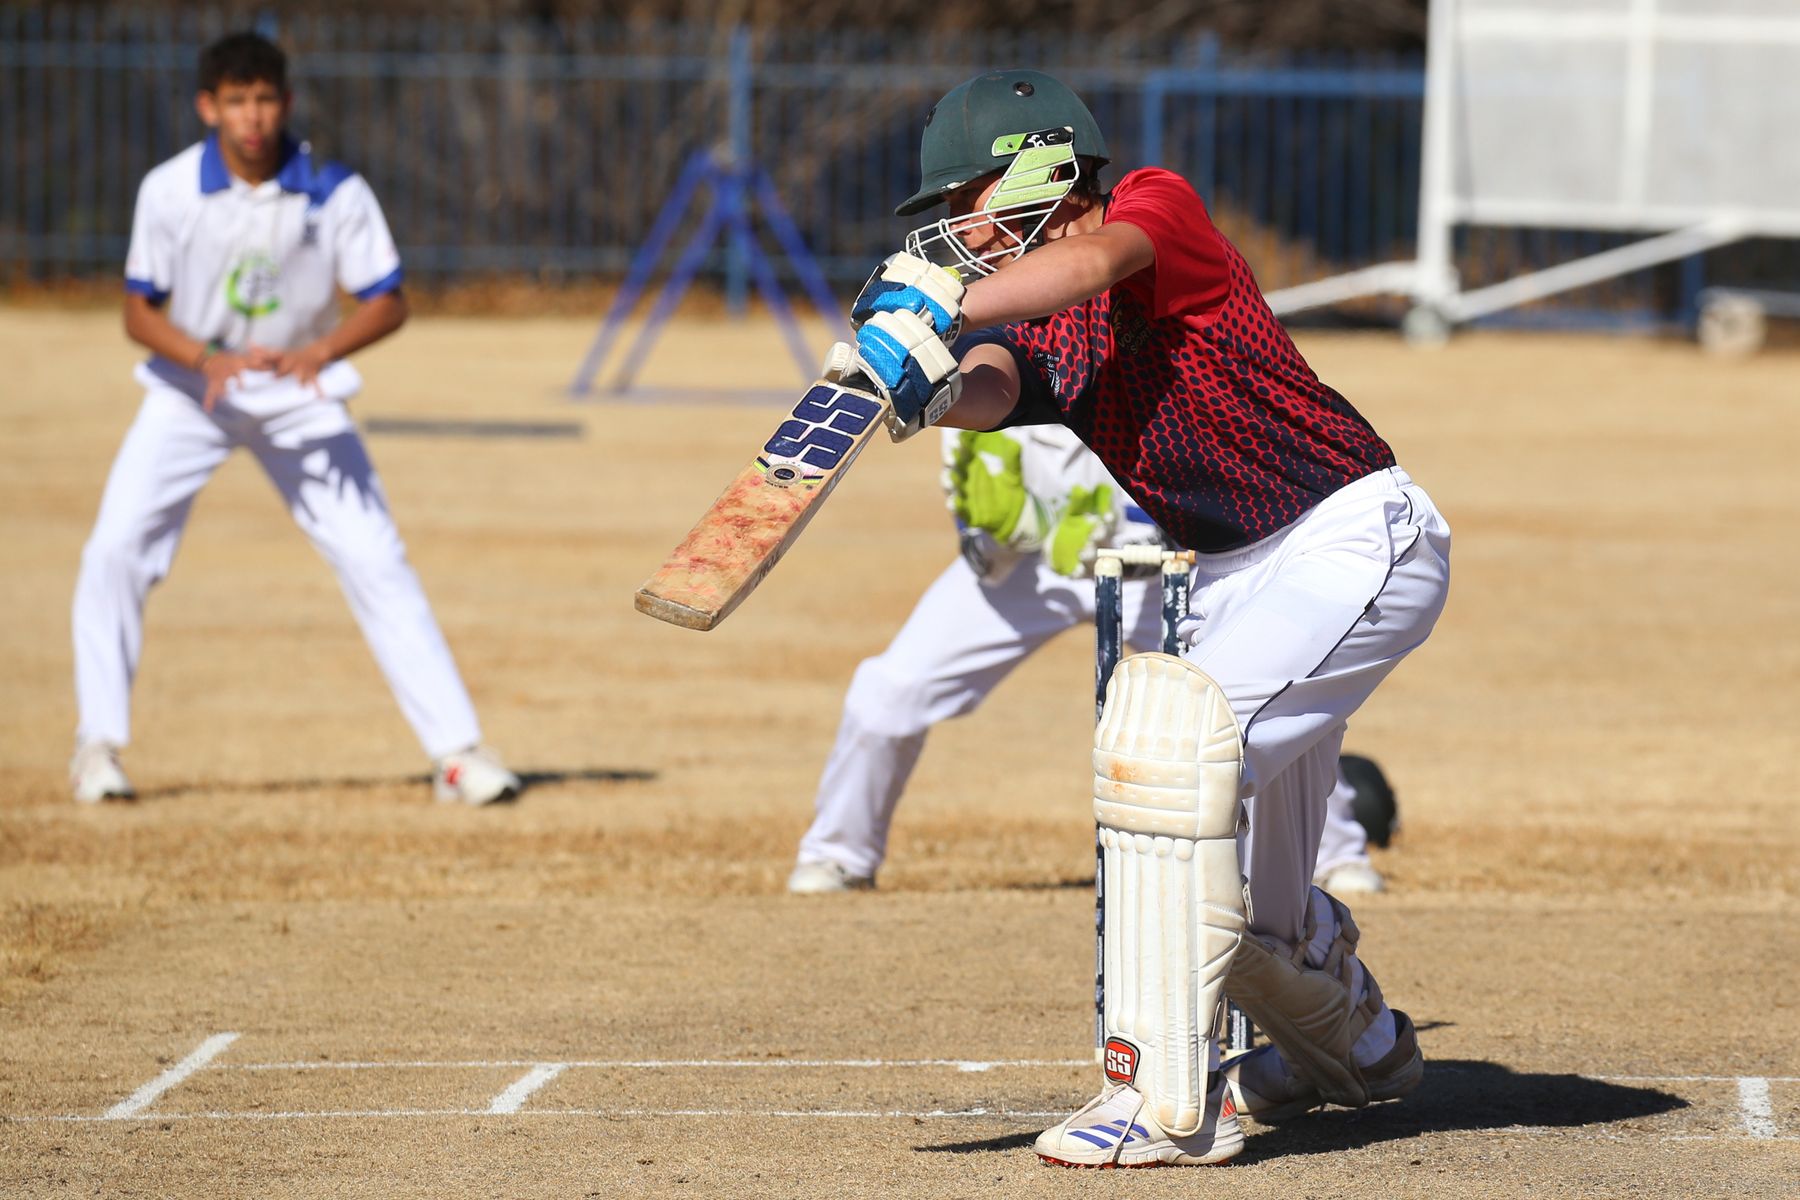
Choose cricket footwear for the surface you will actually play on. Replaceable metal spikes are mainly for suitable natural-grass conditions; moulded rubber lugs suit many firm grass and training uses; turf-style rubber outsoles are usually better for artificial or indoor surfaces when the venue permits them. Confirm the ground's footwear rules, prioritise secure heel and midfoot fit, and inspect every stud, thread and sole before play. Never improvise incompatible spikes or use sharp, loose or missing studs.
Why the outsole matters
A cricket shoe has to manage repeated accelerations, abrupt stops, lateral movement and long periods on the feet. The outsole is the part that connects all of that movement to the surface.
More grip is not automatically better. A pattern that bites deeply into a soft grass square may feel unstable or damage an artificial surface. A flat indoor outsole may slide on wet grass. The right choice balances traction, release, comfort and the ground’s rules.
Start with the venue, not the colour or the professional player wearing the shoe.
The main cricket outsole types
| Outsole | Best starting use | Advantages | Main limitation |
|---|---|---|---|
| Replaceable metal spikes | Suitable natural-grass grounds | Strong penetration and replaceable traction points | Often prohibited on artificial or indoor surfaces |
| Mixed metal and moulded studs | Natural grass with varied movement | Combines penetration with broader rubber contact | Still surface-specific and needs thread checks |
| Moulded rubber lugs | Firm grass, training and some all-round use | No loose metal spikes; often lighter and comfortable | May offer less purchase on very soft or wet grass |
| Turf-style rubber outsole | Artificial turf, nets and hard training areas | Many shallow contact points and predictable release | Usually unsuitable for wet natural grass |
| Non-marking indoor outsole | Indoor centres where required | Protects the floor and supports court-style movement | Not designed for outdoor grass traction |
Product labels differ. “Rubber”, “moulded”, “turf” and “all-surface” do not guarantee approval at every venue. Read the exact outsole description and ask the ground operator when uncertain.
Metal spikes: when they make sense
Replaceable metal spikes are designed to penetrate an appropriate natural surface. They can be useful for:
- bowlers loading and landing on a grass approach
- batters accelerating and turning on a soft outfield
- fielders changing direction on damp natural grass
- players who need to replace worn traction points without replacing the whole shoe
They also require more maintenance. A missing spike changes the way the sole loads. A partly unscrewed spike can damage its thread, create an uneven platform or become a hazard.
Do not assume a metal spike is suitable merely because the match is outdoors. Some venues use artificial run-ups, hybrid areas or surface covers with different restrictions.
Rubber studs and moulded lugs
Moulded rubber traction is built into the outsole rather than screwed into a metal socket. It can be a practical choice for firm natural grounds, school sport, training and players moving across several permitted surfaces.
The benefits include:
- no individual metal spikes to tighten
- lower maintenance
- a lighter, more flexible feel in many models
- broader contact on hard or dry ground
- easier transition between training areas when approved
The compromise is that a worn lug cannot normally be replaced by itself. Once the traction pattern rounds off or the outsole separates, the shoe may need replacement.
A deep moulded pattern can still be unsuitable for a delicate artificial surface. “Rubber” does not mean “allowed everywhere”.
Turf shoes for artificial pitches and nets
Turf shoes use many smaller rubber contact points. The aim is broad, consistent contact rather than deep penetration.
They are often the sensible starting point for:
- artificial cricket pitches
- synthetic training nets
- hard outdoor practice areas
- indoor centres that permit turf-style soles
- dry, firm surfaces where long spikes feel unstable
Check the venue’s policy. Some indoor centres require a clean, non-marking flat outsole rather than a turf pattern. Others prohibit any shoe that has been used outdoors because trapped grit can damage the floor.
Keep a dedicated clean pair for indoor use if you regularly switch between outdoor and indoor training.
Bowlers, batters, keepers and fielders
Different roles load footwear differently, but surface compatibility remains the first decision.
Fast bowlers
Fast bowlers need a secure heel, controlled landing and traction that does not unexpectedly lock or slide. Check wear under the heel, forefoot and outside edge. A bowler should test the complete run-up and follow-through on the match surface before full pace.
Spin bowlers
The pivot foot needs grip and a controlled release. Excessive sticking can be as uncomfortable as slipping. Check the toe and forefoot pattern for uneven wear.
Batters
Batters accelerate, stop, ground the bat and turn. The shoe must hold the heel without crushing the toes. Practise both directions of a run and a hard turn.
Wicketkeepers
Keepers spend long periods in a low stance and move laterally. Forefoot flexibility and side-to-side stability matter. Test repeated takes, standing up and standing back.
Fielders
Fielders may cover more varied ground than any other role. Sprint, decelerate, move sideways and practise a pickup-and-throw before deciding the outsole is right.
A practical surface decision table
| Conditions | Sensible starting point | Confirm before play |
|---|---|---|
| Soft or damp natural grass | Replaceable or mixed spikes | Ground rules and safe spike condition |
| Dry, firm natural grass | Moulded rubber or shorter permitted spikes | Whether the player can stop and turn cleanly |
| Artificial cricket pitch | Turf-style rubber | Venue’s allowed sole pattern |
| Indoor centre | Clean non-marking outsole | Centre-specific policy |
| Mixed grass and synthetic run-up | Venue-approved compromise | Which surface restriction takes precedence |
| Junior school training on multiple areas | Moulded or turf option | Coach and venue guidance |
This is a starting framework, not a substitute for the playing conditions and product instructions.
Fit comes before the spike pattern
Correct studs cannot rescue a poor-fitting shoe.
Use the socks and any orthoses that will be worn in play. Lace both shoes, then check:
- the heel stays seated while walking and jogging
- the midfoot feels secure without numbness
- toes can lie naturally and are not striking the front
- the widest part of the foot aligns with the shoe’s flex point
- the upper does not bulge severely over the sole
- there is no pressure from a spike plate or stud socket
- both feet feel stable during a side step and turn
Feet can differ in size. Fit the larger foot and test later in the day when feet may be slightly fuller.
If a player uses prescribed orthoses, make sure the shoe has the required internal depth and that removing the original insole is permitted. Do not stack insoles in a way that lifts the heel out of the counter.
The ten-minute movement test
Do this on an approved surface before match day:
- Walk for two minutes.
- Jog in a straight line.
- Complete three controlled accelerations.
- Stop gradually, then more firmly.
- Side-step in both directions.
- Practise a batting turn or bowling approach.
- Hold a low fielding or wicketkeeping stance.
- Check the feet for rubbing, pressure or numbness.
- Recheck every stud and the outsole.
- Repeat after the shoes have been worn for a short session.
Stop if the shoe slips internally, a stud clicks, the sole rocks or pain changes the player’s movement.
Replacing screw-in spikes
Use only the spike type, length and thread specified for the exact shoe. Similar-looking fittings are not proof of compatibility.
A safe routine:
- Clean and dry the outsole.
- Use the correct spike key.
- Remove one worn spike at a time.
- Clear dirt from the socket without cutting the thread.
- Compare the replacement with the approved original specification.
- Start the thread by hand so it is not cross-threaded.
- Tighten firmly with the correct tool, without forcing it.
- Check that the spike sits evenly.
- Replace matching worn spikes so the platform remains balanced.
- Walk and retest before full-speed movement.
If a socket spins, cracks, strips or will not hold the approved spike, stop using the shoe and seek product-specific advice. Glue is not a safe repair for a failed replaceable-spike socket.
Pre-match inspection
Inspect both shoes in good light:
- Outsole clean enough to see
- Every required spike present
- No spike loose, bent or dangerously sharp
- Stud sockets undamaged
- Moulded lugs not torn away
- Sole not separating from the upper
- Heel counter still supportive
- Laces and eyelets intact
- Insole flat and dry
- No stone, grit or foreign object trapped in the sole
- Shoes comply with the venue’s surface policy
Officials and ground staff can restrict footwear that may damage the pitch or create danger. Resolve questions before the warm-up.
Cleaning and drying
After use:
- Remove loose soil with a soft brush.
- Wipe the outsole with a damp cloth.
- Loosen the laces and open the tongue.
- Remove the insole only if it is designed to come out.
- Air-dry at room temperature.
- Keep shoes away from heaters, tumble dryers and hot vehicles.
- Refit and check spikes only when the sole is clean and dry.
Do not soak the complete shoe unless its care instructions allow it. Heat can harden materials and weaken adhesive. The wet cricket gear drying guide covers the wider kit routine.
When to replace cricket shoes
Replace or professionally assess a pair when:
- traction has rounded off across important contact zones
- a spike socket no longer holds the correct spike
- the outsole is cracked or separating
- the heel collapses or the foot slides sideways
- cushioning is permanently compressed and uncomfortable
- the upper is split around a high-load area
- the shoe causes new pain or changes running mechanics
- one shoe sits noticeably lower or rocks on a flat surface
Do not wait for the upper to look destroyed. Performance and stability can be lost while the shoe still looks presentable from above.
Buying checklist
- Main playing surface identified
- Venue footwear policy checked
- Correct outsole category selected
- Replacement-spike specification available
- Match socks and orthoses used during fitting
- Heel secure and toes comfortable
- No pressure from spike plate or sockets
- Role-specific movement test passed
- Cleaning and replacement parts practical
- Return conditions understood before outdoor testing
New Zealand players can compare local surface, sizing and role considerations in this cricket shoes guide. Use it alongside the instructions for the exact shoe and your venue’s current policy.
Sources and update notes
- MCC Laws of Cricket: Unfair Play — current law context on avoidable pitch damage and player conduct.
- ASICS New Zealand cricket footwear range — current examples of purpose-built cricket footwear and outsole designs.
- Cricket Australia community facilities resources — venue and playing-surface context for community cricket.
Product specifications and venue policies change. Follow the current instructions for the exact shoe and the rules for the ground where it will be used.