Cricket Training Safety Briefing: A Practical Session Checklist
A practical cricket training safety checklist for coaches covering arrival checks, nets, throwdowns, equipment, weather, emergency roles and junior players.
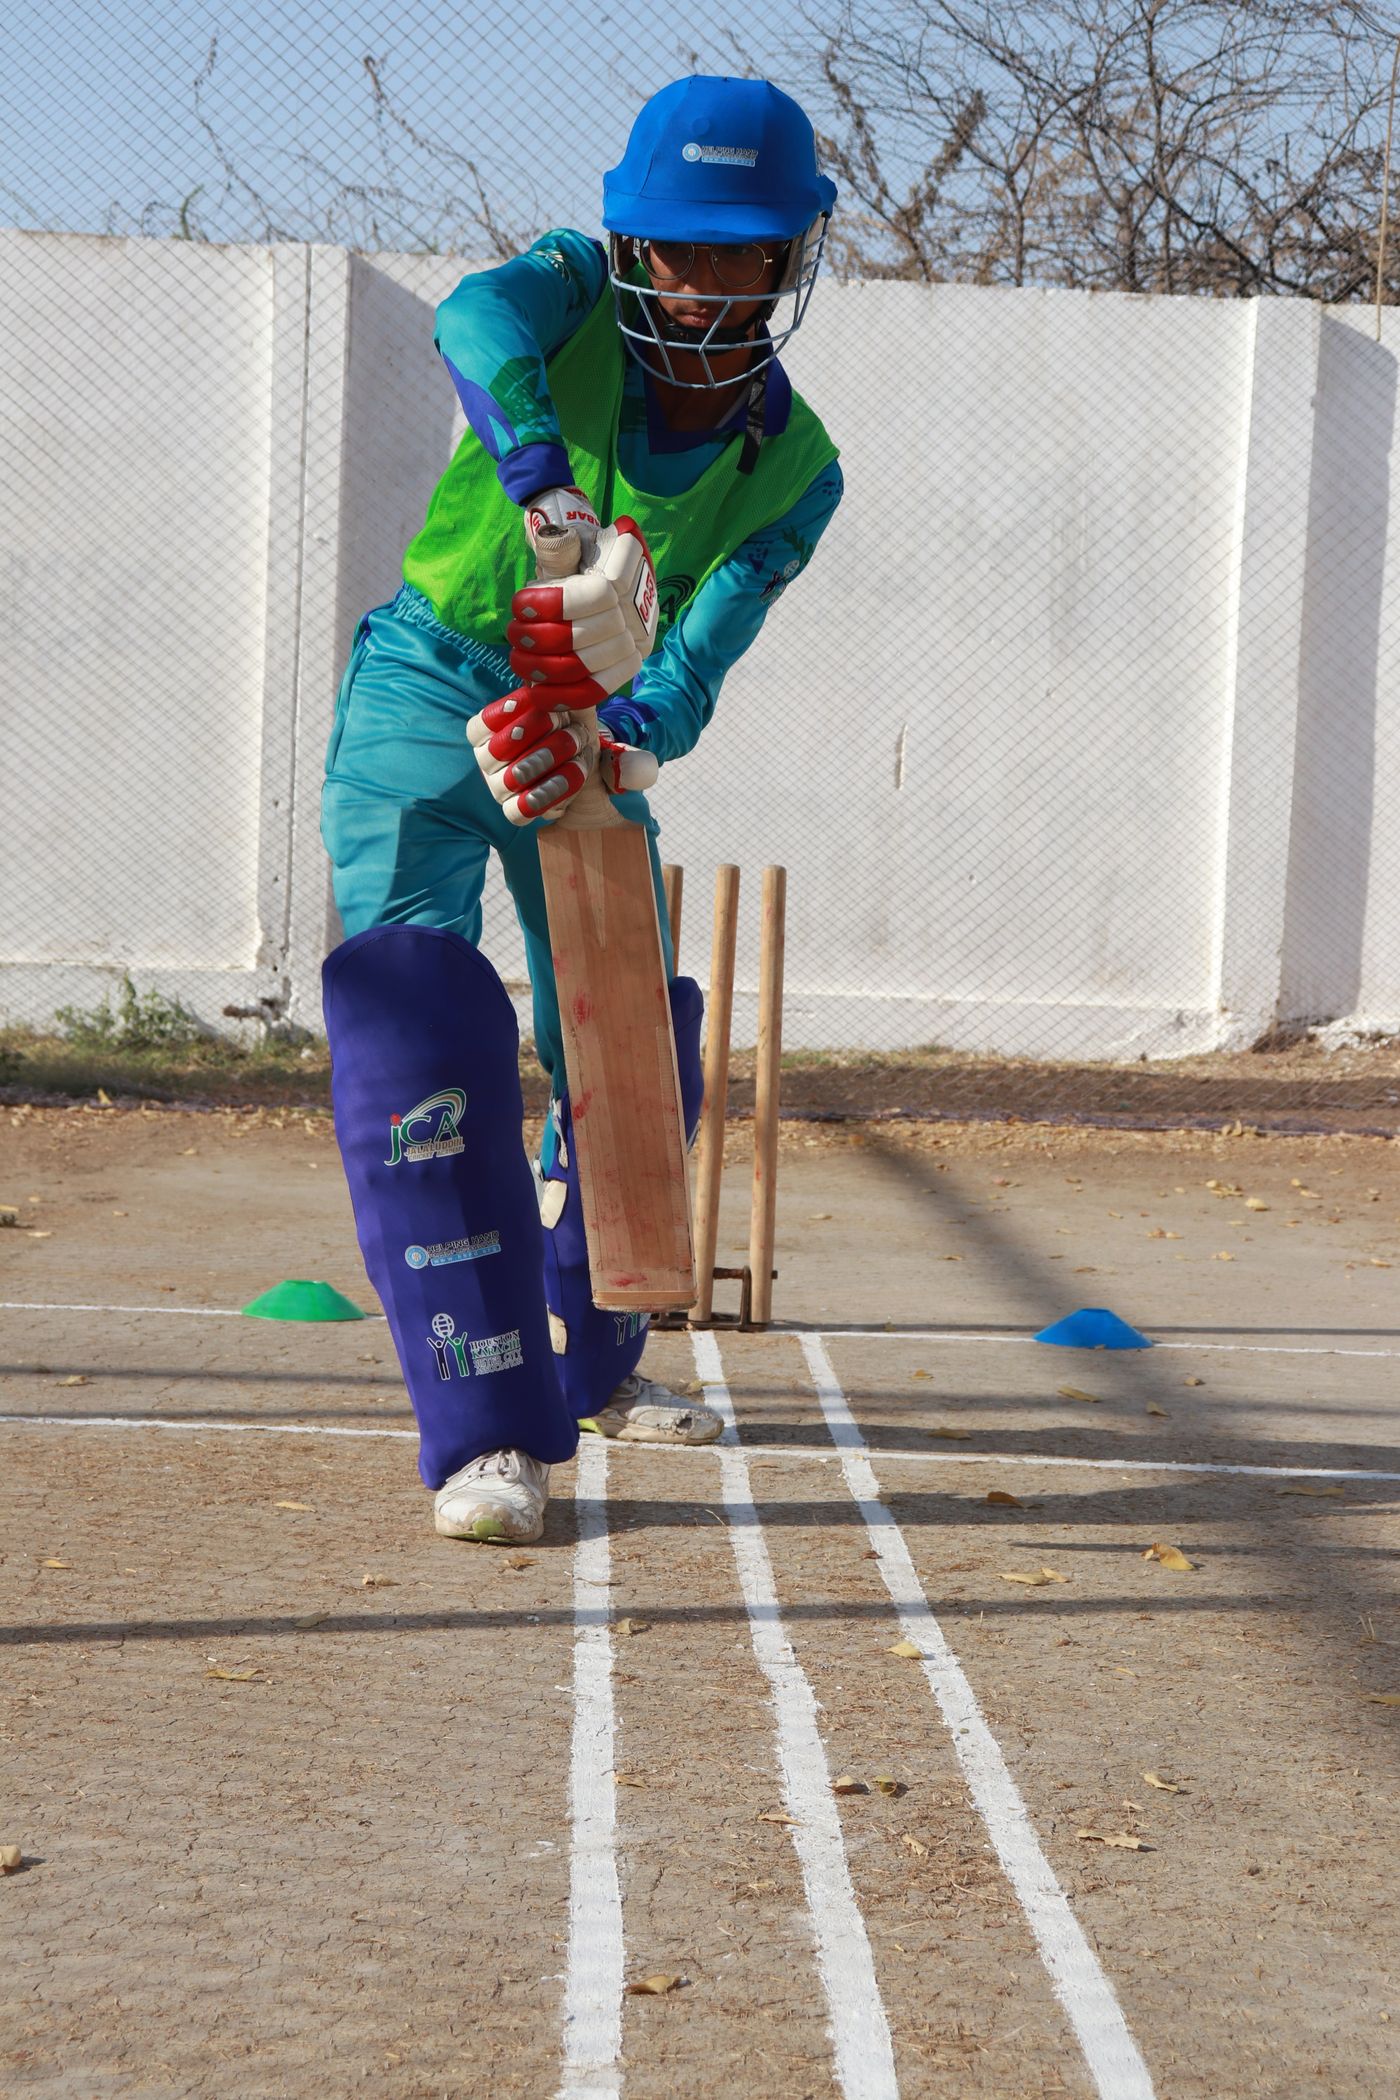
A useful cricket training safety briefing takes two minutes and answers six questions: where each group is working, which areas are out of bounds, who may enter the nets, what protective equipment applies, how the stop signal works, and who leads the response to an injury or weather change. The coach should first walk the area, isolate hazards, inspect shared equipment and confirm first-aid and communication arrangements. Record serious hazards and near misses after the session so the next practice starts with better information.
A briefing is the last check, not the whole safety system
A coach can deliver a clear briefing and still run an unsafe practice if the site has not been checked, groups are badly positioned or damaged equipment remains in use. The briefing works only after the session leader has decided how the space will operate.
The aim is not to recite a long policy. It is to give players and helpers a shared picture of the session before balls begin moving.
A good process has four stages:
- Inspect: walk the venue and equipment before players spread out.
- Control: change the layout, remove hazards or cancel an activity where needed.
- Brief: explain the important controls in language the group understands.
- Review: record incidents, near misses and changes for next time.
This guide is an operational checklist, not legal advice. Clubs should use their current policy, venue rules, competition requirements and national governing-body guidance.
The 10-minute pre-session walk
Arrive early enough to inspect the space without players already practising around you.
| Area | Look for | Practical response |
|---|---|---|
| Access and boundaries | Vehicles, spectators, shared paths, unlocked storage | Define entry routes and no-go zones |
| Playing surface | Holes, standing water, loose covers, exposed anchors, debris | Remove, mark or isolate the hazard |
| Nets | Torn mesh, open gates, unsafe run-ups, poor separation, loose frame or anchors | Stop use until the setup is corrected |
| Throwdown and batting lanes | Overlapping flight paths, unprotected feeders, loose balls | Reorient lanes and create a waiting zone |
| Fielding stations | Players backing into another drill, hard balls crossing groups | Increase spacing or change the ball type |
| Equipment | Cracked protective gear, worn balls, loose stumps, damaged machines | Quarantine the item and use a sound replacement |
| Weather | Heat, lightning, poor light, strong wind, wet or slippery ground | Adjust intensity, location or session status |
| Emergency access | Locked gate, missing address, blocked ambulance route | Open access and brief the responsible adult |
Do not rely on memory where the venue has recurring issues. A short site checklist or hazard register makes patterns visible and gives the club committee something specific to fix.
Decide the session map before the briefing
Draw the practice area as a set of zones, even if the drawing exists only on a whiteboard.
Suggested zones include:
- active net lanes
- bowler waiting lanes
- batter changeover point
- throwdown lane and feeder position
- fielding stations
- wicketkeeping station
- warm-up area
- hydration and rest area
- spectator or parent area
- first-aid point
- equipment quarantine point
The important principle is separation. A player should not have to cross an active hitting lane to reach water, collect a ball or join the next drill.
Our cricket net safety checklist covers lane separation, side netting, run-ups and pre-use inspection in more detail.
The two-minute briefing
Keep the group together, make eye contact and point to the actual locations as you speak.
1. Session plan
State the groups, activities and rotation order. Players should know where they begin and where they wait.
2. Boundaries and access
Identify active ball areas and no-go zones. Explain how players move between stations and who may retrieve balls from behind or beside a net.
3. Protective equipment
State the equipment required for each activity under the club’s current policy and the player’s role. Do not assume that every drill uses the same protection.
4. Stop signal
Use one simple word or whistle signal that stops every station. Ask the group to repeat what it means: stop, hold the ball and look to the session leader.
5. Weather and welfare
Point out water, shade and rest arrangements. State who decides when light, heat, wind, rain or lightning requires a change.
6. Emergency roles
Identify the first-aid lead, the adult with a working phone and the venue access point. Players should know who to alert; they do not need a complicated response script.
Nets: control entry and ball flow
Net practice concentrates several hazards in a small area. Hard balls may travel in both directions while bowlers, batters, coaches and waiting players focus on different tasks.
Use these controls:
- only the batter, active bowlers and designated coaching staff enter an active lane
- bowlers wait in a defined queue, not across an adjacent run-up
- one person controls when a new batter enters
- balls are collected only when the lane has stopped
- side-by-side lanes are checked for gaps and cross-lane ball travel
- loose equipment stays outside run-ups and escape paths
- waiting players face the activity rather than sitting with their backs to it
- the session leader can stop every lane with one signal
For junior groups, explain the rules rather than assuming players understand net etiquette from previous sessions.
Throwdowns and sidearm feeding
Throwdowns can create match-like pace from a short distance. The feeder needs a stable, protected position and a clear method of stopping the batter.
Before beginning:
- define a feeder line and batter line
- remove people from the area behind and beside the feeder
- use a screen where the activity and equipment call for one
- confirm the feeder is competent with the chosen tool and distance
- agree on a verbal ready signal before every ball
- use protective equipment required by current policy and risk assessment
- reduce pace or change the ball when control deteriorates
A coach should not stand unprotected in a neighbouring lane simply because they are outside the batter’s intended shot area. Deflections and mistimed shots are part of the activity.
Bowling machines
Treat a bowling machine as powered equipment, not a faster version of a throwdown.
The operator should follow the maker’s manual and the club’s authorised-use procedure. Check guards, wheels, power source, cables, feeder, emergency stop process and the space around the machine before use.
Only the designated operator changes settings. Stop the machine before anyone enters the delivery path or retrieves a ball near moving parts. The bowling machine setup and safety guide provides a fuller inspection and operating sequence.
Fielding drills: choose the ball for the purpose
The hardest ball is not automatically the best training ball. Match the ball, distance and speed to the skill being practised.
Useful progression:
- stationary technique with a soft or reduced-impact ball
- controlled movement at short range
- increased pace or distance
- pressured or reactive practice
- match-like hard-ball work for players ready for it
Give every station a safe backing area. A fielder tracking a high ball will look up rather than behind, so cones alone do not make an overlapping drill safe.
Use the training cricket ball guide to select ball types for confidence, technique and realistic practice.
Wicketkeeping and close catching
Keepers and close catchers need their own protected space. They should not be placed where a missed ball from another station can arrive from behind.
Check that:
- the keeper can see the release point
- the feeder and receiver share a ready signal
- protective equipment suits the drill and current policy
- the stumps or target are stable for the surface
- balls cannot roll into an active net
- intensity increases only after technique is stable
The wicketkeeping practice equipment guide sets out a progression from receiving drills to standing-up and deflection work.
Junior players and mixed-experience groups
Age labels do not tell a coach everything about skill, pace tolerance, concentration or confidence. Build groups around the task and the player’s readiness.
For juniors:
- use short instructions and demonstrate the safe waiting position
- check understanding by asking a player to explain the stop signal
- avoid long queues where attention drifts
- keep adult-to-player supervision appropriate to the activity
- separate high-pace work from beginners
- plan toilet, water and parent handover arrangements
- follow the club’s safeguarding and supervision policy
If a player appears worried, fatigued or unable to control the equipment, reduce the task before adding pressure.
Protective-equipment check
The session leader is not expected to certify every item. They should, however, stop obviously damaged or unsuitable equipment entering a drill.
Look for:
- a helmet that moves, has visible damage or has missing fasteners
- gloves with torn protection or a fit that prevents a safe grip
- pads that expose the knee or rotate during movement
- an abdominal guard that is cracked or not held securely
- footwear that slips on the actual surface
- a batter using equipment sized for someone else without a movement check
Use the complete protective equipment guide for a role-by-role overview.
Weather decision points
Do not wait for conditions to become extreme before stating the response.
Heat and sun
Set water breaks, provide shade where practical and reduce repeated high-intensity work. Watch for players who stop sweating, become confused, feel faint or report a severe headache; follow the club’s emergency procedure.
Rain and slippery surfaces
Recheck run-ups, creases, mats, grass and footwear. A surface that is acceptable for a static drill may be unsafe for sprinting or bowling.
Lightning and poor light
Use the venue and club’s current weather procedure. The session leader, not the most enthusiastic player, decides when play stops and when it may resume.
Wind
Portable nets, screens, covers, cones and lightweight goals can move or fall. Remove or secure equipment according to its instructions rather than adding improvised weights.
First aid and incident response
Before training, confirm:
- where the first-aid kit is
- who is trained and responsible
- who has a charged phone
- the venue address and access point
- emergency contacts and player-specific information are available under club policy
- concussion and return-to-play processes are current
Do not place private medical details on a public whiteboard or general equipment list.
After an incident, secure the area, care for the person and preserve accurate information. Record near misses as well as injuries: a ball that crosses a walkway without striking anyone still reveals a layout problem.
End-of-session close-down
The safety process continues after the last ball.
- count players before junior handover
- stop all lanes before collecting balls
- switch off and secure powered equipment
- inspect damaged or wet gear before storage
- place questionable equipment in physical quarantine
- report new site hazards
- record incidents and near misses
- assign an owner and date to every follow-up action
The club equipment inventory and inspection system explains how to keep repair and quarantine items out of circulation.
Printable briefing checklist
- Venue walked and active hazards controlled
- Session zones and player flow defined
- Nets, machines, stumps and training aids checked
- First-aid lead, phone and access point confirmed
- Groups and rotations explained
- No-go zones and ball-retrieval rules explained
- Protective-equipment requirements stated
- Stop signal demonstrated and understood
- Weather and water plan stated
- Junior supervision and handover arrangements confirmed
- Incidents, near misses and damaged gear recorded after training