Wicketkeeping Practice Equipment and Drill Setup Guide
How to set up safe, progressive wicketkeeping practice with the right gloves, pads, helmet, balls, targets, feeders and drill spacing.
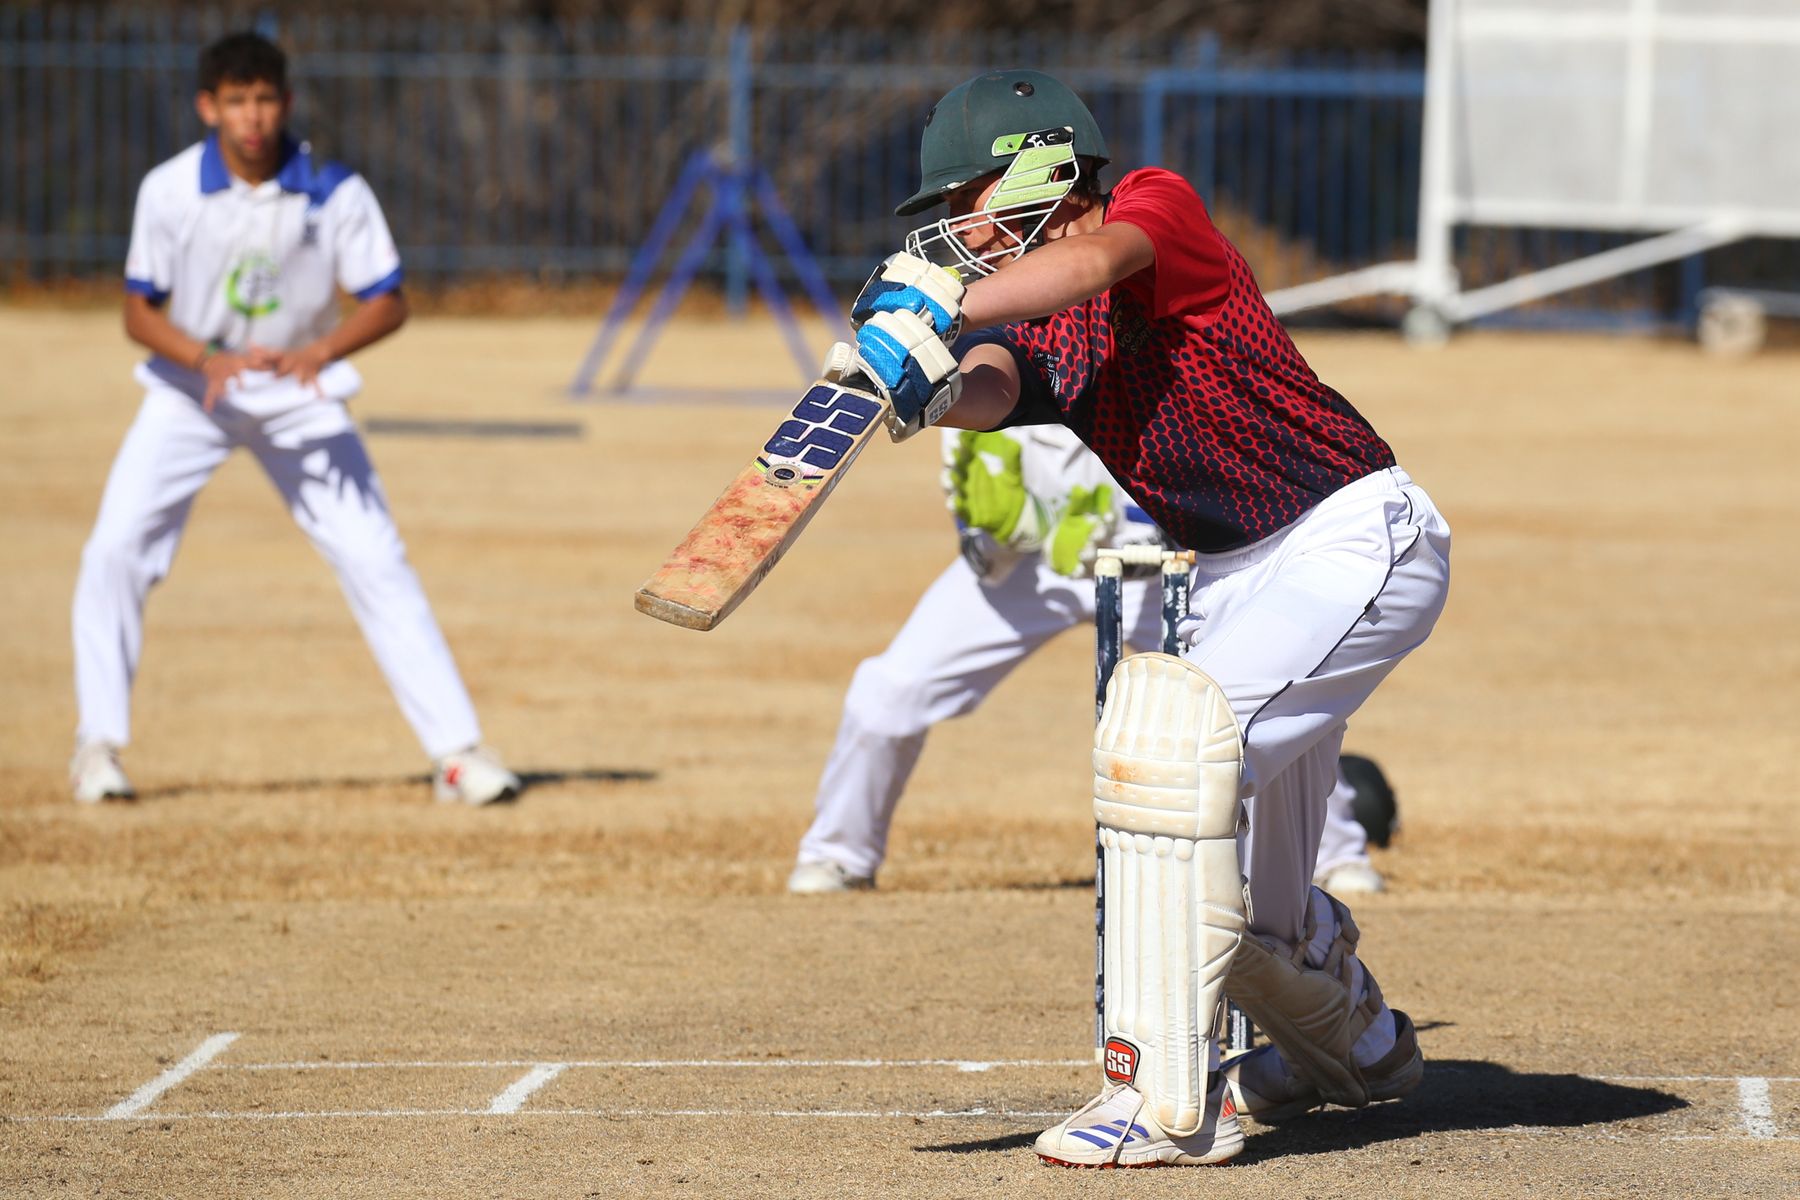
A useful wicketkeeping practice station needs a keeper in correctly fitted gloves and protective gear, one competent feeder, a clear release point, stable stumps or a target, enough stopping space and balls matched to the player's level. Start with soft-ball receiving from a visible underarm feed, then add lateral movement, bounce, deflection and standing-up work. Increase only one variable at a time: speed, distance, movement, visibility or decision pressure. Hard-ball practice should follow current helmet and club safety requirements and never share an uncontrolled ball path with another drill.
Wicketkeeping practice should progress by purpose
Buying more equipment does not automatically create a better keeping session. The useful question is what the keeper needs to learn next.
A beginner may need to present the hands and stay balanced. An experienced keeper may need late deflections, footwork to the stumps or decision-making under fatigue. The equipment and feed should make that skill easier to practise, not merely make the drill look realistic.
Use this progression:
- Position: stable stance and head alignment.
- Receive: clean hands and controlled give.
- Move: feet take the body to the line of the ball.
- Recover: return to a ready position after every attempt.
- Decide: catch, leave, gather or move to the stumps.
Add speed only after the movement pattern is repeatable.
Core practice equipment
| Item | Why it matters | Setup check |
|---|---|---|
| Wicketkeeping gloves | Match-like receiving surface and hand protection | Correct size, sound palms and legal webbing |
| Inner gloves | Sweat control, comfort and fit consistency | Dry, close fitting, no folded fingertips |
| Keeping pads | Lower-leg protection without batting-pad bulk | Knee centred, no rotation in crouch |
| Abdominal guard and supporter | Protection during close and deflection work | Correct size and secure through movement |
| Helmet with faceguard | Protection where current policy or drill risk requires it | Correct fit, standard and grille clearance |
| Suitable footwear | Stable base for repeated lateral movement | Grip matches the surface; laces secure |
| Balls in several types | Controls pace, confidence and realism | Sound, clean and appropriate to the drill |
| Stumps or target | Gives line, height and movement reference | Stable and suitable for the surface |
| Cones or flat markers | Defines stance, movement and waiting zones | Outside landing and escape paths |
| Feeder screen where appropriate | Adds protection for close feeds or throwdowns | Stable, correctly placed and not blocking vision |
The keeper should practise in the equipment intended for matches often enough to find fit or movement problems before match day.
Fit the keeper before building the drill
Gloves and inners
Put the inner gloves on first. The keeping glove should close naturally without the fingertips being crushed or the palm twisting.
Ask the keeper to:
- open and close both hands ten times
- receive a soft ball at chest, knee and ankle height
- turn the wrists over without the cuff biting
- hold the ball securely with relaxed forearms
If the glove moves around the hand, size and cuff adjustment should be checked before increasing pace.
Our wicketkeeping glove size, fit and care guide provides the detailed fit sequence.
Pads
The knee should align with the knee roll or cup. The keeper must be able to crouch, rise and cross the feet without the pads colliding or turning.
Use the wicketkeeping pad fit guide for strap order and movement checks.
Helmet and guard
Follow current New Zealand Cricket, local association and club requirements for the player’s age, role and distance from the stumps. Check the helmet before every hard-ball session in which it is required.
The abdominal guard should stay in position during crouching, lateral movement and a short sprint. A loose supporter can make a correctly sized guard ineffective.
For New Zealand players selecting batting gloves and pads as part of a wider kit, this free glove and pad sizing calculator is a practical measurement starting point; confirm the exact model and perform a full movement test before training.
Choose the ball before the feed
Ball choice controls risk and learning speed.
| Ball type | Useful for | Limitation |
|---|---|---|
| Large soft ball | First hand shape, confidence, young beginners | Less realistic flight and rebound |
| Reduced-impact training ball | Receiving, lateral movement, indoor or confidence work | May not behave like a leather ball |
| Tennis ball | Deflection, wall and reaction drills | Bounce can be exaggerated or surface-dependent |
| Practice leather ball | Match-like seam and carry | Requires appropriate skill, protection and space |
| Match ball | Advanced, controlled realism | Costly and unnecessary for many repetitions |
Do not disguise a control problem by asking the keeper to tolerate a feed that is too fast. Reduce pace, distance or ball hardness, then rebuild.
The cricket training ball guide explains how different ball types change pace, bounce and confidence.
Build a safe station
A wicketkeeping station needs more space than the catching line suggests. Allow for missed balls, rebounds, a diving keeper and the feeder’s follow-through.
Mark five points
- feeder position
- release line
- keeper starting position
- movement or target line
- waiting and ball-collection zone
Waiting players must not stand behind the keeper where a missed or deflected ball will travel. They should be outside the active path and able to see the drill.
Place bags, spare balls and drink bottles beyond the movement area. Cones should define space without becoming trip hazards.
Feeder rules
One competent feeder should control each station.
The feeder should:
- show the ball before beginning
- use a consistent ready signal
- wait until the keeper is set
- feed one ball at a time unless the drill explicitly uses multiples
- stop immediately if another person enters the lane
- adjust speed and line to the skill being trained
- collect balls only after the station has stopped
For throwdowns or close feeds, position a suitable screen where the risk assessment and equipment call for one. A feeder should never rely on the keeper to catch every ball.
Drill 1: stance and quiet receiving
Purpose: balanced setup, head still, hands receiving in front of the body.
Equipment: keeping gloves, inners, five to ten soft or reduced-impact balls, two flat markers.
Setup: place the markers at the keeper’s feet. The feeder stands five to eight metres away and delivers visible underarm feeds between knee and chest height.
Sequence:
- Keeper settles into stance.
- Feeder gives the ready signal.
- Keeper receives with soft hands and holds the finish for one second.
- Keeper returns the ball and resets.
- Complete two sets of eight.
Coaching cue: head over the base, hands relaxed, ball received rather than snatched.
Progression: vary height before adding speed.
Drill 2: lateral footwork gate
Purpose: move the body to the ball instead of reaching from a fixed stance.
Equipment: gloves, pads, three flat markers, reduced-impact or leather practice balls appropriate to the player.
Setup: one centre marker and one marker about a metre to each side. The feeder delivers to the side gates.
Sequence:
- Start at centre.
- Move the feet and head towards the called gate.
- Receive outside the line of the body without collapsing the base.
- Recover to centre under control.
Use six balls each side. Keep the feed predictable until movement is clean, then remove the call.
Common error: the first movement is a reach with the gloves. Reduce the distance and cue the feet to lead.
Drill 3: bounce and gather
Purpose: stay low, read bounce and gather with the body behind the ball.
Equipment: stumps or target, balls suited to the surface, gloves and protective equipment.
Setup: feeder stands far enough away to create a controlled bounce. The keeper starts behind the target at an appropriate distance.
Feed a mixture of one-bounce balls inside a defined channel. The keeper gathers, secures and rises ready to throw without rushing the pickup.
Progress from predictable bounce to gentle variation. Do not use an uneven surface merely to manufacture difficulty; a hidden hazard is not a coaching aid.
Drill 4: take and move to the stumps
Purpose: link receiving with efficient footwork for a stumping or run-out action.
Equipment: stable stumps or portable target, gloves, soft or reduced-impact balls to begin.
Setup: feeder sends the ball slightly outside the keeper’s body line. The keeper receives, brings the feet towards the stumps and completes a controlled break.
Key points:
- secure the ball before accelerating the hands
- keep the head level through the movement
- use the nearest efficient path to the stumps
- avoid sweeping blindly across the wicket
- reset the bails or target only after the feeder stops
Increase distance or pace, not both at once.
Drill 5: standing up to a visible feed
Purpose: compact receiving and recovery close to the stumps.
This drill requires careful ball, distance and protection choices. Begin with a soft or reduced-impact ball and a visible feed. The keeper wears the equipment required by current policy and the session plan.
The feeder should deliver on a consistent line. The keeper practises:
- starting at a repeatable depth
- keeping the head outside the line of the stumps
- receiving close to the body
- taking the ball cleanly before moving to the bails
- leaving a ball that is not safely receivable
Only progress to harder or faster feeds when the keeper maintains balance and vision.
Drill 6: deflection and reaction
Purpose: adapt to late changes without losing basic shape.
Use a rebound board, angled bat face or coach-controlled deflection only when the equipment is stable and the keeper can see the initial release.
Start with a tennis or reduced-impact ball. Define the rebound zone and keep other players out of it. The coach controls the angle; waiting players do not add random balls.
The rebounder net and board guide explains setup, anchoring and progression.
Drill 7: edges with a batter or bat face
Purpose: read a realistic cue and carry.
This is an advanced station because a bat introduces greater speed and wider possible angles.
Controls include:
- a competent feeder and batter or coach
- a defined shot or contact area
- keeper and close-catcher protection suited to the drill
- no waiting players behind the catching line
- side netting or safe stopping space
- one ball live at a time
- an immediate stop signal
Begin with a controlled bat face and reduced pace. The person creating the edge must value repeatability over power.
A 45-minute keeper session
| Time | Activity | Focus |
|---|---|---|
| 0–5 min | Equipment and movement check | Fit, stance, surface grip |
| 5–12 min | Quiet receiving | Hand shape and balance |
| 12–20 min | Lateral gate | Footwork and recovery |
| 20–28 min | Bounce and gather | Staying low and securing |
| 28–36 min | Move to stumps | Transfer and efficient path |
| 36–42 min | Role-specific progression | Standing up, deflection or edges |
| 42–45 min | Low-intensity clean finish | Confidence, gear check, notes |
Shorten the plan for juniors or hot conditions. Quality falls when every drill is extended simply to fill time.
Coaching one keeper versus a group
One keeper
Use more feedback but preserve rest. Repetition without recovery can create poor posture and sore hands.
Two keepers
Rotate feeder assistance, observation and receiving. Give the resting keeper one specific observation task.
Group station
Keep the active group small. Use a clearly marked waiting area and a separate low-risk skill for players waiting. Do not allow several players to feed from different angles unless the drill is designed and supervised for it.
Track quality, not just catches
Counting completed catches can hide poor movement. Record a small set of process measures:
- balanced start
- head moved to line
- body behind or appropriately beside the ball
- clean first contact
- secure finish
- controlled recovery
- correct decision to catch, gather or leave
A set of eight with six technically sound receives may be more valuable than ten catches produced by reaching and scrambling.
Common setup mistakes
Too much pace too early
The keeper survives the feed but stops moving well. Reduce one variable and restore technique.
Equipment introduced only on match day
Pads, gloves and helmet feel unfamiliar together. Schedule regular full-kit practice.
Ball collection during live feeds
A player walks into the lane because the drill has no stop-and-collect routine. Make collection a planned phase.
Waiting players behind the keeper
Deflections and missed balls travel directly towards the queue. Move the queue outside the rebound path.
Random feeds described as reaction training
Uncontrolled feeding produces fear and poor technique. Variation should be purposeful and appropriate to the keeper.
Same station for every surface
Indoor flooring, synthetic turf and grass change bounce and grip. Recheck spacing, footwear and ball choice at each venue.
Practice-day checklist
- Drill purpose and progression chosen
- Surface and stopping space checked
- Feeder, keeper and waiting zones marked
- Gloves, inners, pads, guard and helmet checked as required
- Ball type matched to age, skill and drill
- Stumps, screen and rebound equipment stable
- Ready and stop signals understood
- Other drills cannot cross the ball path
- Balls collected only when the station stops
- Intensity increased one variable at a time
- Damaged or wet equipment separated after practice
- Keeper leaves with one clear technical note