Cricket Coach Equipment Bag Checklist for Training and Match Day
A practical cricket coach equipment checklist covering balls, markers, safety gear, repair items, administration and a modular packing system for clubs and schools.
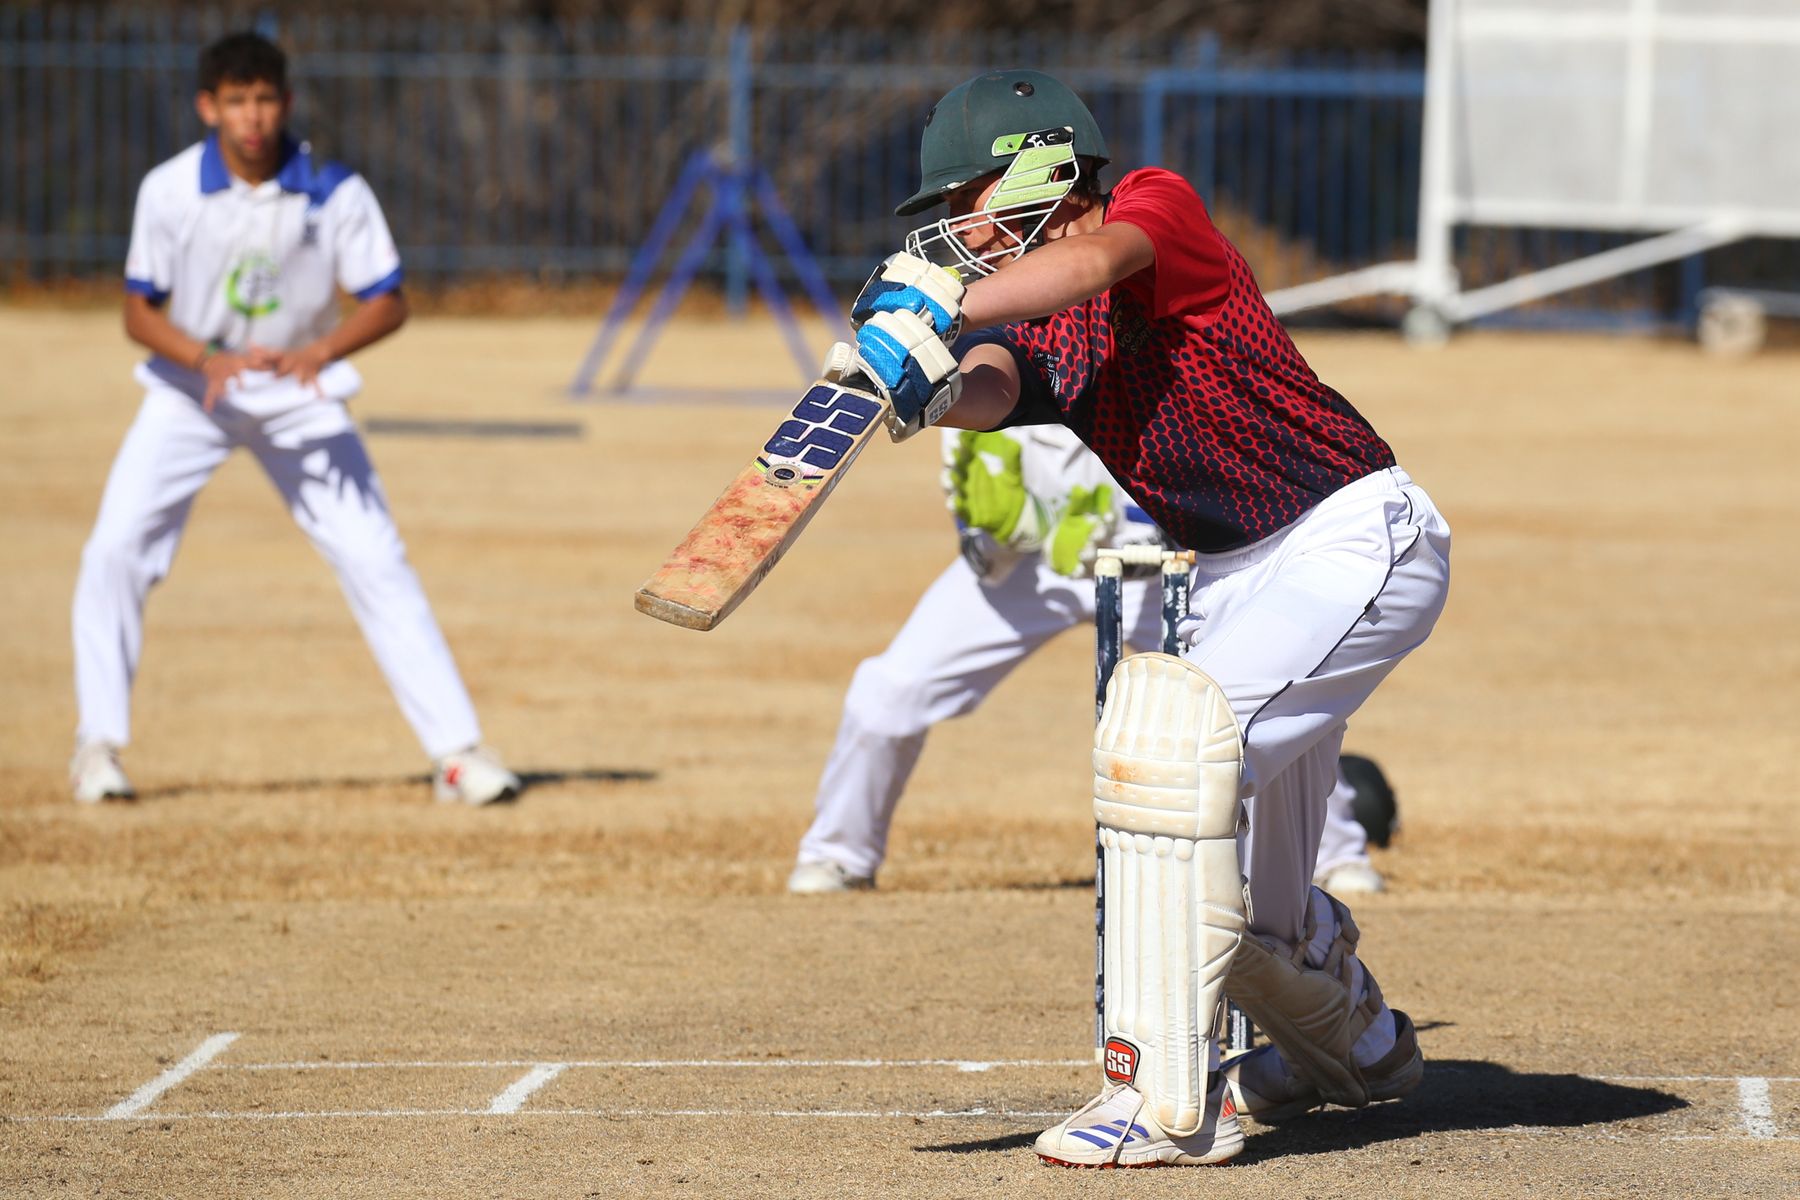
Pack a coach bag by function: session control, balls and targets, safety and first aid, repairs, hydration and administration. Keep a small core bag ready, then add clearly labelled modules for hard-ball nets, fielding, junior games or match day. Count equipment before and after every session, quarantine damaged items and assign one person to replenish consumables.
Why a coach bag needs a system
A coach often carries the pieces that turn an open space into a controlled cricket session. When those items are mixed into one heavy bag, time disappears into searching, balls go missing and safety checks become inconsistent.
The solution is not to carry everything. It is to define a small core kit and add modules for the session being delivered. A junior soft-ball festival, a senior hard-ball net and a match warm-up do not need identical equipment.
This checklist is designed for community clubs, schools and volunteer coaches. Adapt it to the venue, age group, playing conditions and your organisation’s safety plan.
The core bag
These are the items most coaches use across many sessions.
| Item | Practical quantity | Why it earns a place |
|---|---|---|
| Flat markers or cones | 20–30 | Boundaries, lanes, queues, targets and safe zones |
| Whistle | 1 plus spare | Stop command and group control where appropriate |
| Clipboard or waterproof notebook | 1 | Plan, attendance, incidents and equipment faults |
| Pens and permanent marker | Several | Labels, teams and quick records |
| Measuring tape | 20–30 m | Drill distances, pitch checks and small boundaries |
| Ball counter or tally tool | 1 | Bowling loads and drill repetitions |
| Small repair pouch | 1 | Tape, cable ties, scissors and basic fasteners |
| Phone and charged power bank | 1 | Emergency contact, timing and approved team tools |
| Rubbish bags | 2–3 | Wet gear isolation and leaving the venue clean |
| Hand sanitiser and wipes | Small supply | Shared-equipment hygiene |
Use flat markers wherever a raised cone would create a trip or ball-deflection hazard. Bright colours help players see a waiting line and help the coach spot when a zone has moved.
Module 1: balls and targets
Pack ball types for the players and purpose, not simply whatever is in the shed.
Ball selection
Include:
- soft or foam balls for early contact and confined spaces
- low-compression or reduced-impact balls for progression
- approved training balls for repeat practice
- match-specification balls only when the drill and protection are ready
- a clearly separate bag for wet, damaged or questionable balls
Our cricket training ball guide explains how softness, seam, weight and surface affect a drill. The ball sizes and weights guide covers official adult, women’s and junior specifications.
Do not mix very different balls in an unplanned feed. The bounce and pace may change while the player thinks the drill is constant.
Targets
Useful options include:
- single target stump
- flat landing-zone mats
- numbered or coloured cones
- hanging or net targets approved for the facility
- chalk or removable tape where the surface owner permits it
- hoops that sit flat and cannot catch a foot
A target should clarify the task without adding a new hazard. Keep hard or raised objects out of running lines.
Module 2: net and hard-ball practice
Hard-ball sessions need deliberate controls.
Pack or confirm access to:
- suitable batter and wicketkeeper protection
- spare helmet adjustment pads only where the manufacturer allows them
- a protective screen for a close feeder or machine operator
- a ball basket positioned away from feet
- stumps that suit the net surface
- lane signs or barriers for a controlled entrance
- the facility’s emergency and concussion process
- a written stop command and rotation plan for large groups
Before practice begins, work through the cricket net safety checklist. Check the surface, side and backstop netting, entrance, lighting, run-up and waiting positions.
Shared protective equipment should have an owner. Record its condition and size, clean it after use and remove it from service after significant damage or an impact that requires assessment.
Module 3: fielding and movement
A fielding kit can be light and still produce varied sessions.
- 12–20 flat markers
- 4 corner markers in a second colour
- 2–4 target stumps or stable bases
- several appropriate balls
- bibs for small-sided games
- one tape measure
- a timer
- optional rebound equipment inspected before use
Use colour consistently. For example, yellow can mark the playing area, red a no-entry or waiting line, and blue a scoring target. Players learn the layout faster and assistants can reset it correctly.
For boundary work, our boundary rope set-up guide covers measurement, gaps and trip-risk checks. A training boundary can be smaller than a match boundary, but it still needs clear run-off and separation from other activities.
Module 4: wicket and pitch set-up
For games or scenario training, add:
- two complete wicket sets appropriate to the surface
- spare bails
- stump gauge where turf stumps are used
- long non-stretch pitch tape
- crease tape, chalk or paint authorised by the venue
- string line
- small wooden mallet for turf stumps
- brush for loose debris
- portable-base weights or anchors specified by the equipment maker
Count six stumps and four bails before leaving. Our stumps and bails guide explains full-size dimensions, portable options and safe placement of bases. The crease-measurement guide provides a step-by-step marking sequence.
Never drive pegs, paint lines or attach equipment without the ground owner’s permission and a check for underground or surface risks.
Module 5: safety and first-aid readiness
A coach bag does not replace the organisation’s first-aid system. It should support it.
Confirm before the session:
- who is the qualified first aider
- where the stocked first-aid kit and automated external defibrillator are
- how emergency services enter the ground
- the exact venue address
- who holds emergency contacts and medical plans
- the concussion and head-impact process
- how an incident and equipment defect are recorded
If the coach is responsible for a portable first-aid kit, seal and inspect it to the organisation’s schedule. Replace used or expired items rather than assuming the next person will.
Add weather protection appropriate to the venue: sunscreen managed under the organisation’s policy, drinking-water access, a shade plan and warm or waterproof layers for staff. A coach should be ready to shorten or cancel an activity when heat, lightning, rain, wind or visibility changes the risk.
Module 6: quick repairs
A small repair pouch can save a drill, but it should not disguise unsafe equipment.
Useful items:
- cloth tape for labels and temporary non-safety-critical fixes
- spare marker discs
- cable ties for organising—not repairing protective equipment
- scissors with covered points
- small screwdriver set where the equipment manual allows user adjustment
- spare whistle
- marker pen
- resealable bags
- spare batteries for approved low-voltage devices
- basic sewing kit for a bib or ball bag
Never tape a cracked helmet, damaged guard, exposed cable, split stump or unstable machine back into service. Tag it, quarantine it and record the fault.
Module 7: match-day administration
For a match or festival, add the information that keeps the day moving:
- team list and player roles
- current competition playing conditions
- scoring method and backup
- match ball and approved spares
- toss information
- contact details for venue and opposition officials
- emergency action plan
- incident forms
- weather and abandonment process
- junior participation or rotation plan
- equipment return checklist
Keep personal information to the minimum needed and secure it. Do not leave medical notes or contact lists visible in an unattended bag.
Build labelled modules
Small zip pouches or light tubs make a coach kit easier to audit.
| Label | Typical contents | Add when |
|---|---|---|
| Core | Markers, whistle, notebook, tape, timer | Every session |
| Soft-ball | Foam and reduced-impact balls, light stumps | Introductory and confined-space sessions |
| Hard-ball | Approved balls, control signs, protection check sheet | Controlled nets and advanced practice |
| Fielding | Targets, bibs, extra markers | Fielding blocks and small-sided games |
| Pitch | Tape, string, bails, authorised marking items | Match set-up or scenarios |
| Repair | Labels, scissors, ties, small tools | Every session, kept separate |
| Admin | Rules, contacts, forms, score backup | Matches, festivals and travel |
Label every module with the club name and a contact method. A simple inventory card inside the lid makes missing items obvious.
A one-bag session plan
When transport is limited, a compact setup can still deliver a full practice:
- Warm-up: eight markers create a movement grid.
- Skill block: six balls and two flat targets support paired throws.
- Batting block: one set of portable stumps and appropriate balls create a controlled station.
- Fielding game: four markers become a boundary and two colours define scoring zones.
- Review: notebook records attendance, bowling count and kit faults.
The same marker set is reused rather than carrying a different product for every drill. Plan the session before packing and one item can serve several roles.
How many balls does a coach need?
There is no universal number. Work backwards from group size and supervision.
A pair drill may need one ball per pair. A net lane can use a small controlled basket. A fielding circuit may need one set at each station. Extra balls reduce waiting, but a large loose supply creates more retrieval, counting and trip risk.
Number or colour-code ball batches. At the end, count them before opening another activity area. Remove balls with split seams, deep cuts, waterlogging or unpredictable shape.
Buying for a club or school
Start with an inventory and a session plan. Standardise items that benefit from consistency—ball batches, marker colours, spare bails and labelled storage—before buying specialist tools.
Prioritise:
- safety-critical replacement
- equipment used every week
- items that allow more players to participate
- durable storage and spares
- specialist devices with a named trained operator
For New Zealand clubs consolidating an order, the club and team ordering options at NZ Cricket Store are one practical supplier route. Compare availability, suitability and total cost with other reputable suppliers, and keep CricketWise’s checklist as the independent specification for what the programme actually needs.
That is today’s only commercial referral in this guide. It is contextual, not a reason to buy unnecessary equipment.
Care, drying and seasonal reset
Do not zip wet balls, bibs or protective equipment into a closed coach bag. Separate them, dry them according to the maker’s instructions and clean the bag before repacking. Our guide to drying wet cricket gear explains a safe, patient process.
At the end of the season:
- complete a full count
- dispose of or repair equipment through the approved process
- record sizes and quantities needed next season
- wash and dry storage bags
- remove batteries from devices where instructed
- archive personal paperwork securely
- update emergency contacts and current rules before the next programme begins
Pre-departure checklist
- Session plan matches participant age and ability
- Venue and weather checked
- Core bag packed
- Correct ball module selected
- Protection and net controls confirmed
- First-aid and emergency arrangements confirmed
- Water and weather plan in place
- Equipment counted and inspected
- Faulty gear quarantined
- Competition information current
- Return count assigned to a named person
Sources and further reading
- ECB Recreational Cricket Safety Guidelines, December 2025
- New Zealand Cricket community and coaching resources
- New Zealand Cricket: Transition to Hard Ball coaching manual
- MCC: The Laws of Cricket
Use the current rules, safety processes and medical policies that apply to your club, school, venue and competition.