Cricket Stumps and Bails: Sizes, Set-up and Training Options
Official cricket stump and bail dimensions, how to set a wicket correctly, and which portable or fixed stumps suit matches, nets and junior training.
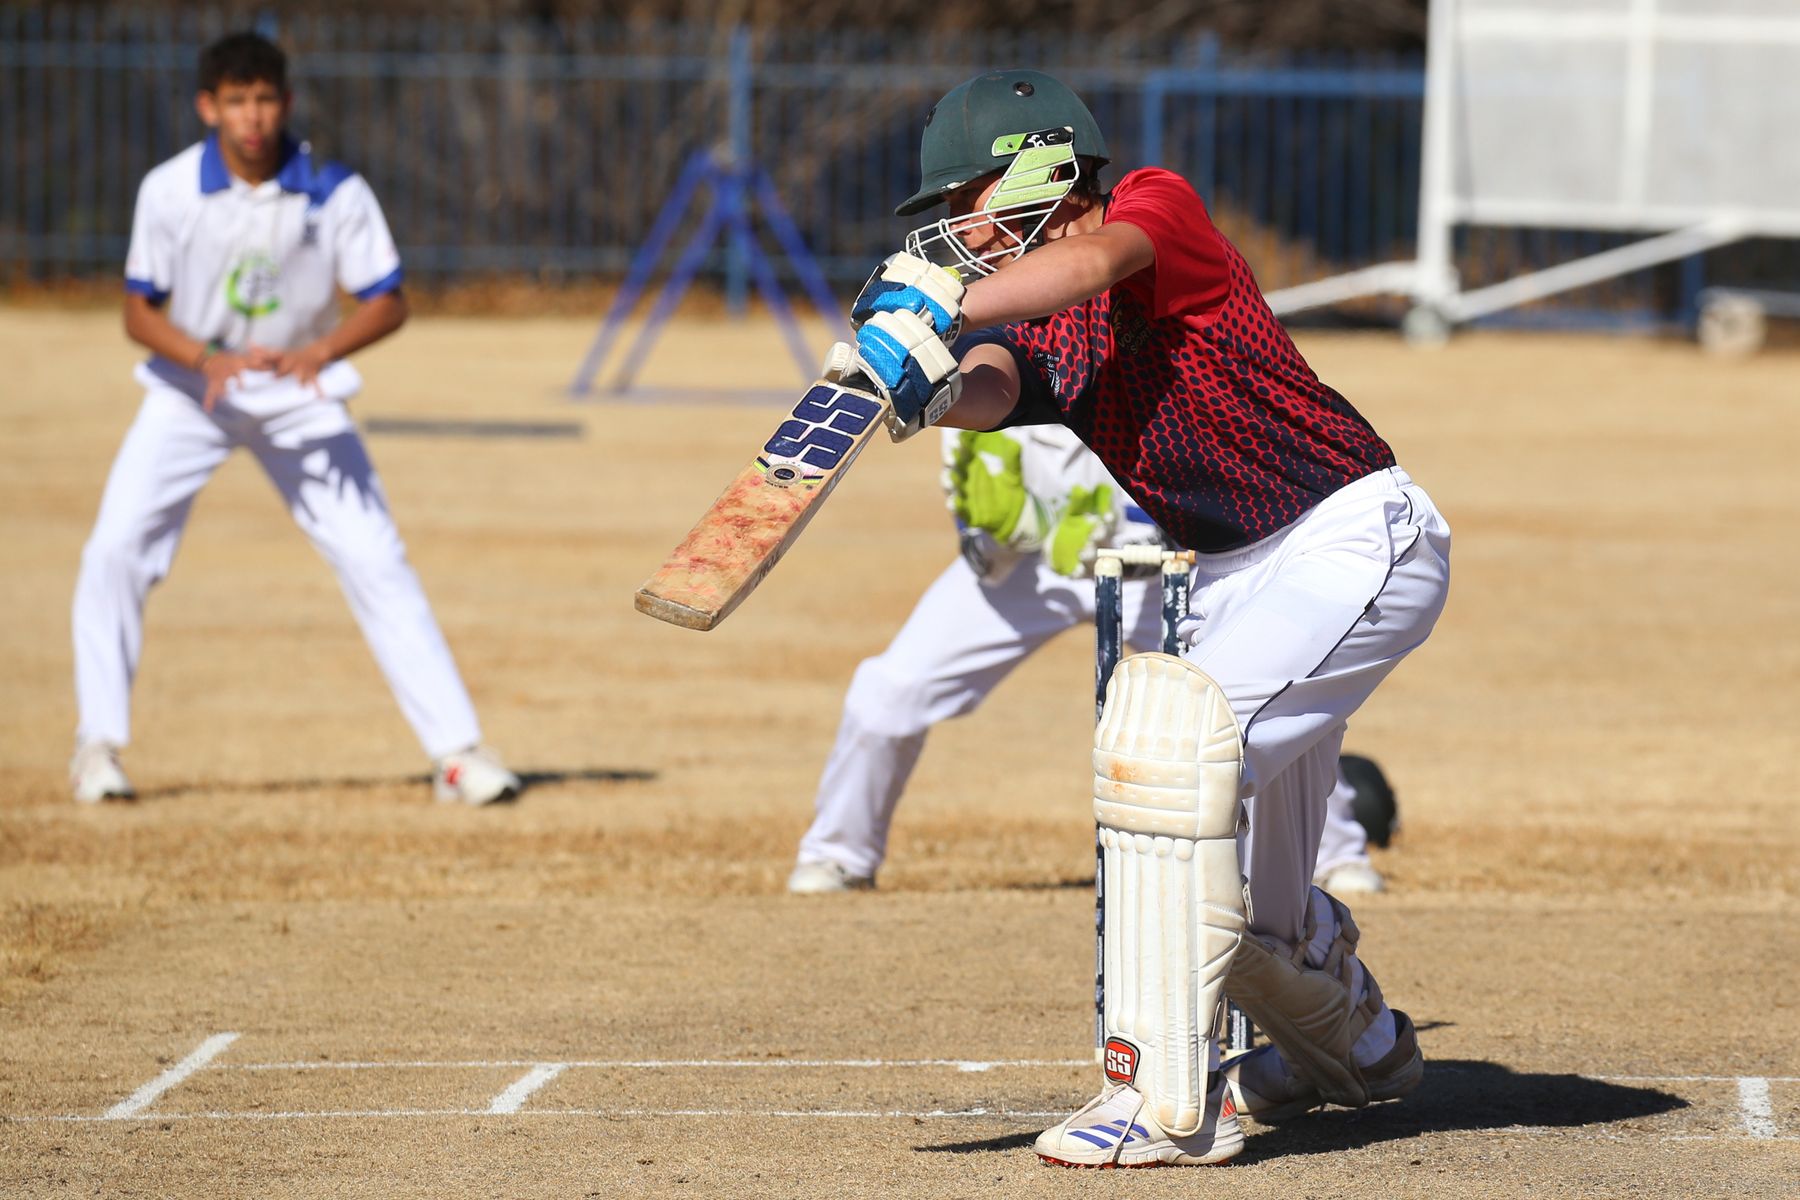
A full-size wicket is 9 inches (22.86 cm) wide, with three stumps whose tops stand 28 inches (71.12 cm) above the playing surface. The centres of the two middle stumps are 22 yards (20.12 m) apart. Competitions and junior formats can modify those dimensions, so match rules come before a generic equipment chart.
The official wicket dimensions
A cricket wicket is the three stumps and two bails at one end of the pitch. For a standard full-length game, the two wickets are set opposite and parallel to each other. Measure 22 yards (20.12 metres) between the centres of the two middle stumps—not between the front faces of the wickets.
| Part | Full-size specification | What to check in practice |
|---|---|---|
| Overall wicket width | 9 in / 22.86 cm | Measure outside edge to outside edge |
| Stump height above the surface | 28 in / 71.12 cm | All three tops should finish level |
| Number of stumps | 3 | Off, middle and leg stump |
| Number of bails | 2 | They must sit freely in the grooves |
| Distance between wickets | 22 yd / 20.12 m | Centre of middle stump to centre of middle stump |
| Bail length | 4.31 in / 10.95 cm | Match equipment should meet the competition standard |
The dimensions describe the wicket after it has been pitched. Wooden turf stumps are longer than 28 inches overall because part of each stump goes into the ground.
The MCC Laws allow a governing body to approve different wicket dimensions for junior cricket. That matters in New Zealand, where local associations may use modified pitches and equipment to suit a grade. Before setting up a junior match, check the competition handbook rather than assuming that every age group uses an adult wicket and a 22-yard pitch.
How to set up a wicket correctly
1. Confirm the playing conditions
Start with the competition’s current rules. Confirm the pitch length, wicket dimensions, ball specification and any portable-wicket requirements. A social training session can be flexible; an organised match cannot.
2. Find the centre line
Mark the centre line through both wickets. The middle stump at each end should sit on that line. If one wicket is offset, the pitch will look skewed and the crease markings will not align correctly.
3. Measure the pitch
Measure from the centre of one middle stump to the centre of the other. Use a proper pitch tape or a non-stretch measuring tape. Do not measure from popping crease to popping crease: the creases are reference lines around the wickets, not the definition of pitch length.
4. Pitch the three stumps
On natural turf, use a stump gauge if available. Insert the middle stump first, then set off and leg stump so the finished wicket is 9 inches wide. The stumps should be vertical, evenly spaced and level across the top.
Do not hammer a stump directly with a metal object. A wooden mallet or purpose-made stump setter is less likely to split the dome or crush the grooves.
On synthetic or indoor surfaces, use the base designed for that wicket system. A weighted base must sit flat and should not rock when a ball strikes it.
5. Place the bails
The bails should rest cleanly in the grooves without being wedged. If a bail is too long, warped or forced into position, the wicket will not respond normally when struck.
Wind can make normal bails impractical. The umpires may agree to dispense with bails where conditions require it, but that is a match-management decision—not a reason to use mismatched equipment.
6. Mark the creases
For a full-size pitch, the bowling crease runs through the stump centres and is 8 feet 8 inches (2.64 metres) long. The popping crease is parallel to it, with its back edge 4 feet (1.22 metres) in front. Return creases are perpendicular to the popping crease.
Clear, accurate crease markings make run-out, stumping and no-ball decisions easier. On a training mat, use flat markers or removable tape that will not create a trip edge.
Which type of stumps should you buy?
| Type | Best for | Advantages | Limitations |
|---|---|---|---|
| Traditional wooden turf stumps | Grass match pitches | Correct match behaviour and appearance | Need prepared holes and careful storage |
| Spring-return stumps | Nets and repeated practice | Reset quickly; useful for high-volume drills | Base can move if it is too light |
| Heavy-base portable stumps | Artificial pitches, indoor centres and school grounds | No ground penetration required | Bulky; base must sit flat and outside dangerous footfall |
| Lightweight plastic stumps | Soft-ball, backyard and introductory sessions | Easy to carry and low cost | Not a substitute for match-grade equipment |
| Single target stump | Bowling accuracy and fielding drills | Clear target; fast drill reset | Not a complete wicket |
Match use
Choose equipment that meets the competition specification and suits the surface. Keep a spare set of bails and inspect the grooves before match day. A cracked stump can fail unpredictably and should be replaced.
Club nets
Spring-return or heavy-base stumps save time when many batters rotate through a lane. The base should not intrude into a bowler’s follow-through or a batter’s running line. If the lane is used for realistic running-between-wickets practice, mark and inspect every transition between mat, turf and base.
Junior and soft-ball sessions
Lightweight portable stumps are useful when the session moves between small-sided games. Use the pitch length and wicket size prescribed by the grade. A shorter pitch is a deliberate development tool, not an incorrectly measured adult pitch.
Backyard practice
Portability and stability matter more than match appearance. Choose a broad base that will not topple in a light breeze, or a ground spike suitable for the soil. Leave enough safe run-off behind the batter and protect windows, paths and neighbouring property.
A wicket set is more than three sticks
When comparing sets, check what is actually included:
- six stumps and four bails for a complete two-end setup
- one or two bases for portable systems
- a carry bag that keeps bails from disappearing
- replacement bails available separately
- a stump gauge or pitch tape for club grounds
- weather-resistant finish for regular outdoor use
A very cheap set can become expensive if the bails are an unusual length or the base cannot be replaced.
Care and storage
Brush off loose soil after use and let wooden stumps dry naturally before putting them in a closed bag. Do not store damp timber against a concrete shed floor. Moisture encourages swelling, mould and splitting around the grooves.
Keep the bails together in a small labelled pouch. Inspect wooden parts for sharp splinters, crushed grooves and long cracks. Check portable bases for exposed metal, loose fasteners and feet that no longer sit flat.
For a shared club kit, number each set. That makes it obvious when a bail or stump has migrated into another bag.
The same dry-before-storage rule applies to protective equipment. Our guide to cleaning cricket pads, gloves and helmets explains how to avoid trapping sweat and moisture in the rest of the kit.
Common set-up mistakes
Measuring between the wrong points
The 22-yard measurement is between the centres of the middle stumps. Measuring from the nearest stump faces shortens the pitch.
Using a crooked centre line
Both middle stumps, the pitch centre and the crease markings must agree. Check alignment from behind each wicket before play.
Forcing bails into damaged grooves
Bails should dislodge normally. Replace warped bails or damaged stumps rather than forcing them together.
Mixing junior and adult assumptions
Modified junior formats exist to create an age-appropriate game. Confirm the local grade’s current pitch and wicket rules before marking the ground.
Leaving a portable base in a running line
Position and stabilise portable equipment so players do not have to step across an unexpected edge. Recheck the base if it moves after a ball strike.
Club set-up checklist
- Competition dimensions confirmed
- Surface inspected for holes, raised edges and debris
- Pitch measured centre-to-centre
- Wickets aligned and parallel
- Stumps level and stable
- Bails matched and free in the grooves
- Creases measured and visible
- Spare bails available
- Portable bases clear of running and follow-through areas
- Damaged components removed from service
Sources and further reading
- MCC: The Laws of Cricket
- MCC: 2026 edition of the Laws takes effect from 1 October 2026
- New Zealand Cricket community and playing resources
The Laws provide the default framework. Competition playing conditions and local junior rules can add to or vary it.