How to Mark a Cricket Pitch: Crease Measurements and Set-up
A practical cricket pitch-marking guide with official full-size crease dimensions, a step-by-step layout method, junior-format checks and match-day inspection tips.
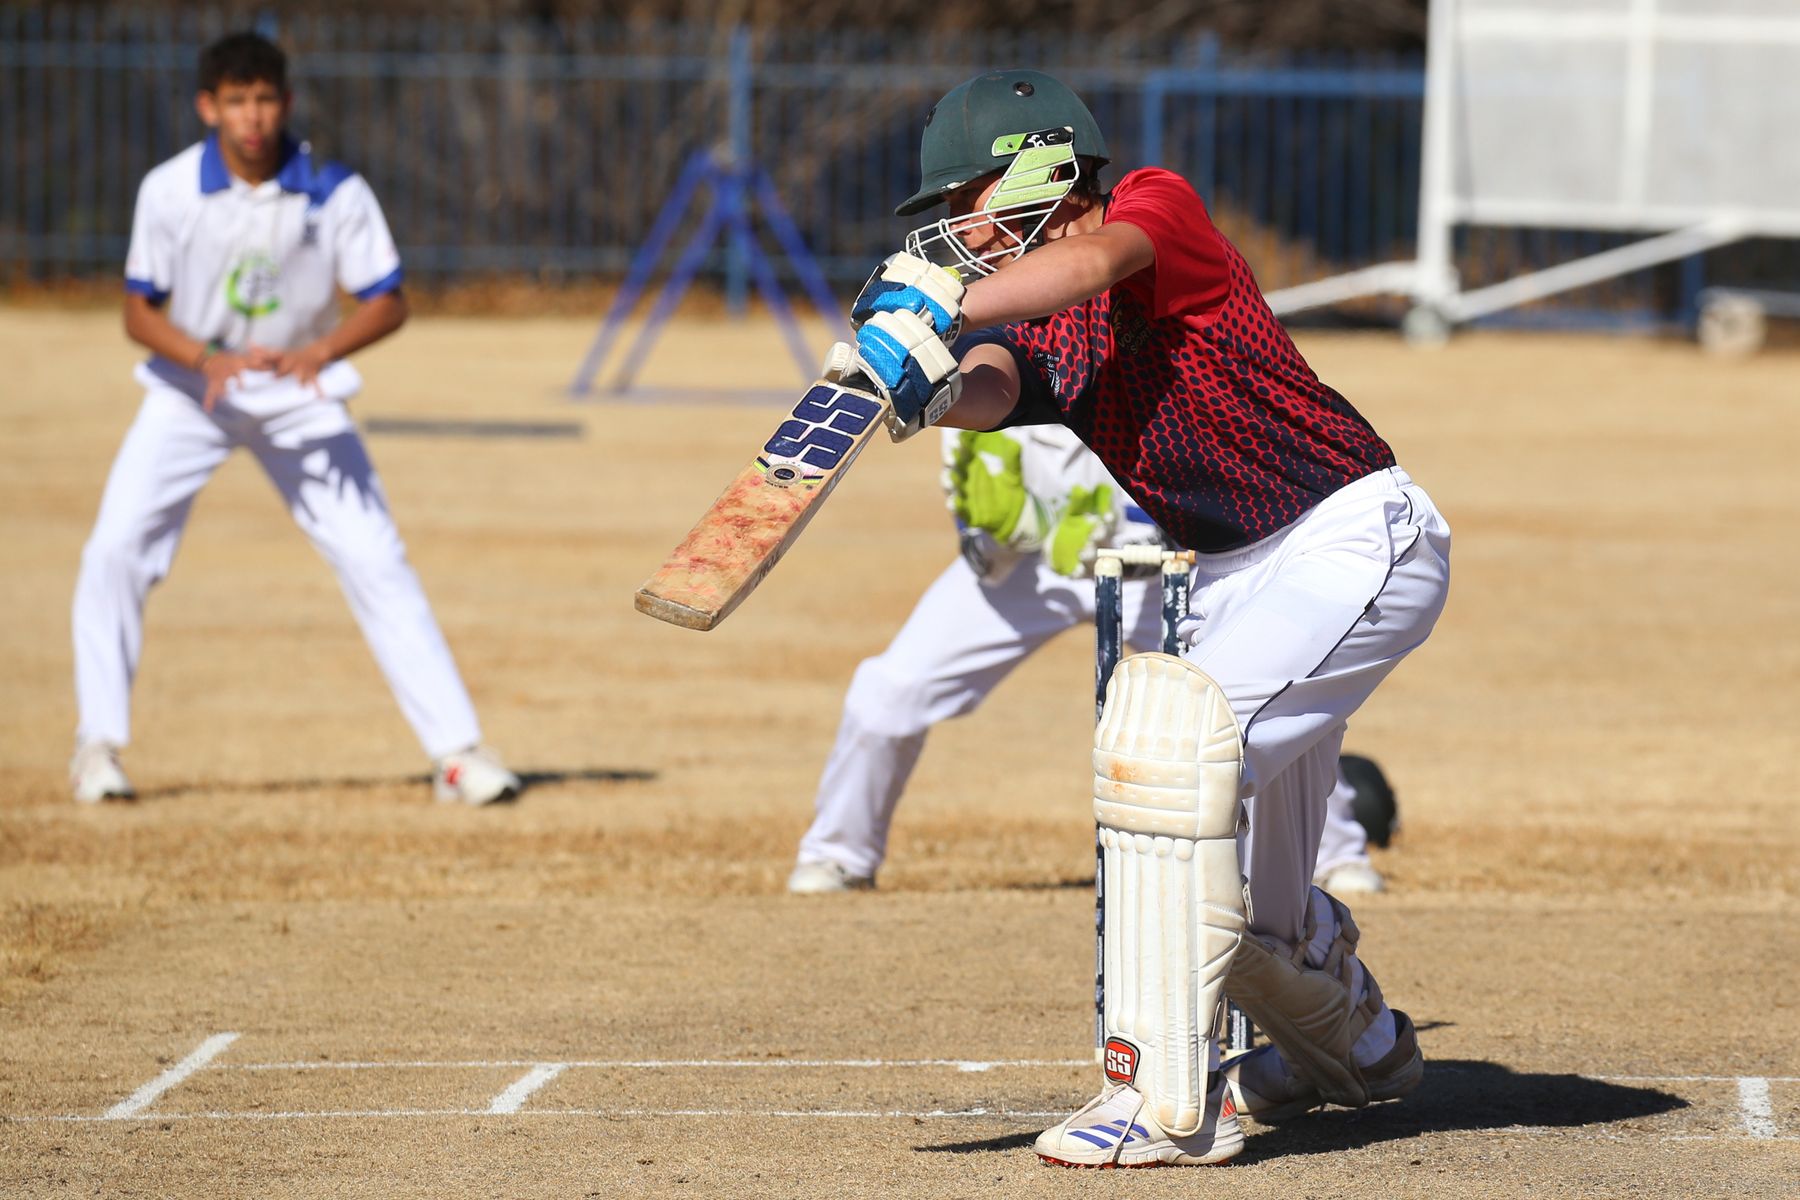
For a full-size pitch, set the wicket centres 22 yards (20.12 m) apart. The bowling crease runs through each wicket centre and is 8 ft 8 in (2.64 m) long. The back edge of the popping crease is 4 ft (1.22 m) in front of and parallel to the bowling crease. Return creases are perpendicular to the popping crease, 4 ft 4 in (1.32 m) either side of the centre line. Always check local junior and competition rules before marking.
The full-size layout at a glance
Accurate crease markings give umpires, bowlers, batters and scorers the same physical reference. A line that is only a few centimetres out can affect front-foot no-ball calls, run-outs and stumpings, so a match pitch should be set out from fixed measurements rather than copied by eye from last week’s paint.
The table below summarises the standard adult layout in the Laws of Cricket.
| Measurement | Official full-size value | Measure from |
|---|---|---|
| Length between wicket centres | 22 yd / 20.12 m | Centre of middle stump to centre of middle stump |
| Pitch width | 10 ft / 3.05 m | Across the prepared pitch |
| Bowling crease length | 8 ft 8 in / 2.64 m | 4 ft 4 in each side of the centre line |
| Popping crease position | 4 ft / 1.22 m in front | Back edge to back edge of bowling crease |
| Minimum popping crease marking | 6 ft / 1.83 m each side | From the centre line |
| Return crease position | 4 ft 4 in / 1.32 m each side | From the centre line |
| Minimum return crease marking | 8 ft / 2.44 m behind popping crease | Along each return crease |
The Laws treat some creases as extending indefinitely even though only a minimum length must be painted. The back edge of each painted line is the important reference edge. Here, “back” means the edge farther from the opposite wicket.
Junior, school, indoor and modified competitions can use different pitch lengths or markings. The competition handbook overrides an adult template, so confirm the grade before opening the paint.
What you need
A reliable pitch-marking kit is simple:
- a non-stretch 30 m tape or purpose-made pitch tape
- two long string lines
- at least eight ground pins or flat markers
- a builder’s square, large set square or a 3-4-5 triangle method
- a stump gauge or wicket template
- approved white marking paint
- a line-marking machine or steady spray applicator
- a printed plan and a second person to cross-check measurements
Use ground pins only where they can be removed before play. On artificial surfaces, use removable chalk, tape or the facility’s approved marking system. Never create a raised tape edge in a batter’s, bowler’s or fielder’s running path.
Step 1: confirm the match format
Before measuring anything, confirm:
- the grade and age group
- the prescribed pitch length
- the wicket size
- whether a natural or portable wicket is required
- any coloured-line convention shared with other sports
- the competition’s current playing conditions
This check matters most in junior cricket. Shorter pitches are a deliberate development setting, not a scaled-down guess. If the local handbook supplies a diagram, use its measurements from the same reference points stated in that diagram.
Step 2: establish a straight centre line
Set a pin beyond each end of the intended pitch and pull a string through the two wicket centres. This is the centre line for both wickets, both sets of creases and the 22-yard measurement.
Check the line from both ends. It should agree with the prepared strip and leave safe run-off behind each wicket. A centre line that looks right from one end can still drift sideways at the other.
Do not use a painted seam, worn footmarks or the edge of a synthetic mat as the sole reference. Those features can move or be installed slightly off centre.
Step 3: position the wickets
For a full-size pitch, measure 22 yards (20.12 metres) from the centre of one middle stump to the centre of the other. Mark both centres on the string line.
If the stumps are already pitched, check the centre-to-centre distance before trusting them. On turf, use a stump gauge so the finished wicket is vertical, level and 9 inches (22.86 cm) wide.
Our cricket stumps and bails guide covers wicket dimensions, portable bases and the correct centre-to-centre measurement in more detail.
Step 4: mark each bowling crease
The bowling crease passes through the centres of the three stumps. For a standard wicket it is 8 feet 8 inches (2.64 metres) long, with 4 feet 4 inches (1.32 metres) on each side of the centre line.
At one wicket:
- place a square reference across the centre line through the wicket centre
- measure 4 ft 4 in to each side
- pin a string between those two points
- verify that the string passes through the middle-stump centre
- mark the line with a consistent width
Repeat at the opposite end. The two bowling creases should be parallel.
Remember that the back edge—the edge behind the stumps—is the decision line. Keep the paint crisp enough that an umpire can identify that edge.
Step 5: set the popping crease
The popping crease is parallel to the bowling crease. Its back edge is 4 feet (1.22 metres) in front of the back edge of the bowling crease.
Measure at both sides, not only on the centre line. If the two measurements disagree, the line is not parallel.
The popping crease must be marked for at least 6 feet (1.83 metres) on each side of the centre line. Many grounds extend it farther because the crease is treated as unlimited in length for decisions.
Mark the back edge first with the string, then paint away from that reference edge. This prevents the width of the painted line from accidentally shifting the legal measurement.
Step 6: mark the return creases
Each return crease is perpendicular to the popping crease and sits 4 feet 4 inches (1.32 metres) from the centre line. That places it level with the end of the bowling crease.
Use a large square or the 3-4-5 method to make the angle accurate. From its intersection with the popping crease, mark each return crease for at least 8 feet (2.44 metres) behind the popping crease. It is treated as extending indefinitely behind the wicket.
The return creases matter for a bowler’s back-foot position. A line that splays outward or inward changes the legal area, so do not simply follow worn foot traffic.
How to make a reliable right angle
A large builder’s square is fastest. If you do not have one, use a 3-4-5 triangle:
- mark 3 units along the popping crease
- mark 4 units roughly along the proposed return crease
- adjust the second line until the diagonal between those points is exactly 5 units
- extend the aligned return crease
The units can be metres, feet or any consistent scale. A longer triangle reduces small measurement errors.
A useful two-person marking sequence
A grounds team can reduce mistakes by separating the measuring and checking roles.
| Lead marker | Checker |
|---|---|
| Sets the centre string | Confirms alignment from both ends |
| Measures wicket centres | Reads the far end of the tape |
| Pins the bowling crease | Confirms 4 ft 4 in each side |
| Offsets the popping crease | Checks 4 ft at both ends |
| Squares the return creases | Checks both diagonals |
| Paints from the reference edge | Watches line width and gaps |
Before paint goes down, record four diagonal measurements across the crease rectangle. Matching diagonals are a strong sign that the layout is square.
Natural turf, artificial and temporary pitches
Natural turf
Use paint approved for sports turf and apply a light, even coat. Heavy paint can form a crust, hold moisture or break away under spikes. Avoid filling worn depressions with paint; repair the surface first.
Re-string the important edges on match morning if overnight watering, mowing or rolling has softened the marks.
Artificial pitches
Follow the manufacturer’s and facility owner’s marking instructions. Some mats have permanent lines; others require removable markings. Do not use a solvent or adhesive that can damage fibres or leave a slippery residue.
Confirm that the mat itself is centred and tensioned before marking around it. A correct line on a skewed mat is still an unsafe, confusing layout.
Temporary school or park pitches
Flat cones can help establish the layout for a soft-ball activity, but they should not replace required match markings. Remove any pin, peg, can or marking tool from the field before players warm up.
If the surface cannot accept paint, agree the alternative with the competition administrator and umpires before the match.
Match-day inspection
Walk the pitch from both ends and check:
- both wickets are aligned on the centre line
- the wicket-centre distance matches the format
- bowling creases pass through the stump centres
- popping creases are parallel and 4 ft in front
- return creases are square and equally spaced
- reference edges are visible and not feathered
- no pins, string, lids or tools remain
- paint is dry and not slippery
- portable bases do not intrude into running lines
- nearby practice activity cannot send a ball onto the pitch
The umpires make the match-day decisions. Give them time to inspect the markings before the toss rather than discovering an error during the first over.
Common marking errors
Measuring from stump faces
The pitch length is centre to centre, not face to face. Using the nearest faces shortens the pitch.
Measuring the front edge of a line
Crease decisions use the back edge. Establish that edge with string and keep the paint on the correct side.
Copying old marks
Old lines can drift through repeated repainting. Re-measure from the wicket centres on a regular schedule and after pitch renovation.
Squaring only one return crease
Both sides need an independent right-angle check. Parallel-looking lines can still differ enough to affect a close call.
Assuming every junior grade is the same
Pitch lengths and boundary formats can change by age, ball type and association. Use the current competition rules for that match.
Leaving a line marker on the field
Treat pins, cords and paint containers as controlled tools. Count them out and count them back in.
Pitch-marking checklist
- Match format and local playing conditions confirmed
- Wicket centres aligned
- Pitch length measured centre to centre
- Bowling crease measured 4 ft 4 in each side
- Popping crease back edge set 4 ft in front
- Popping crease minimum length marked
- Return creases set 4 ft 4 in from centre
- Return creases square and long enough
- Paint dry and edges visible
- All pins, strings and tools removed
- Umpires given time to inspect
For practice areas around the square, use the separate controls in our cricket net safety checklist. Accurate markings support a fair game; safe session control protects the people using them.
Sources and further reading
- MCC: The Laws of Cricket
- MCC: 2026 edition of the Laws takes effect from 1 October 2026
- New Zealand Cricket community and playing resources
The Laws provide the default adult layout. Competition and junior playing conditions may lawfully prescribe alternatives.