Cricket Arm Guard and Elbow Guard Fit Guide
How to choose, position and test a cricket arm or elbow guard so it protects the exposed forearm without restricting your batting swing.
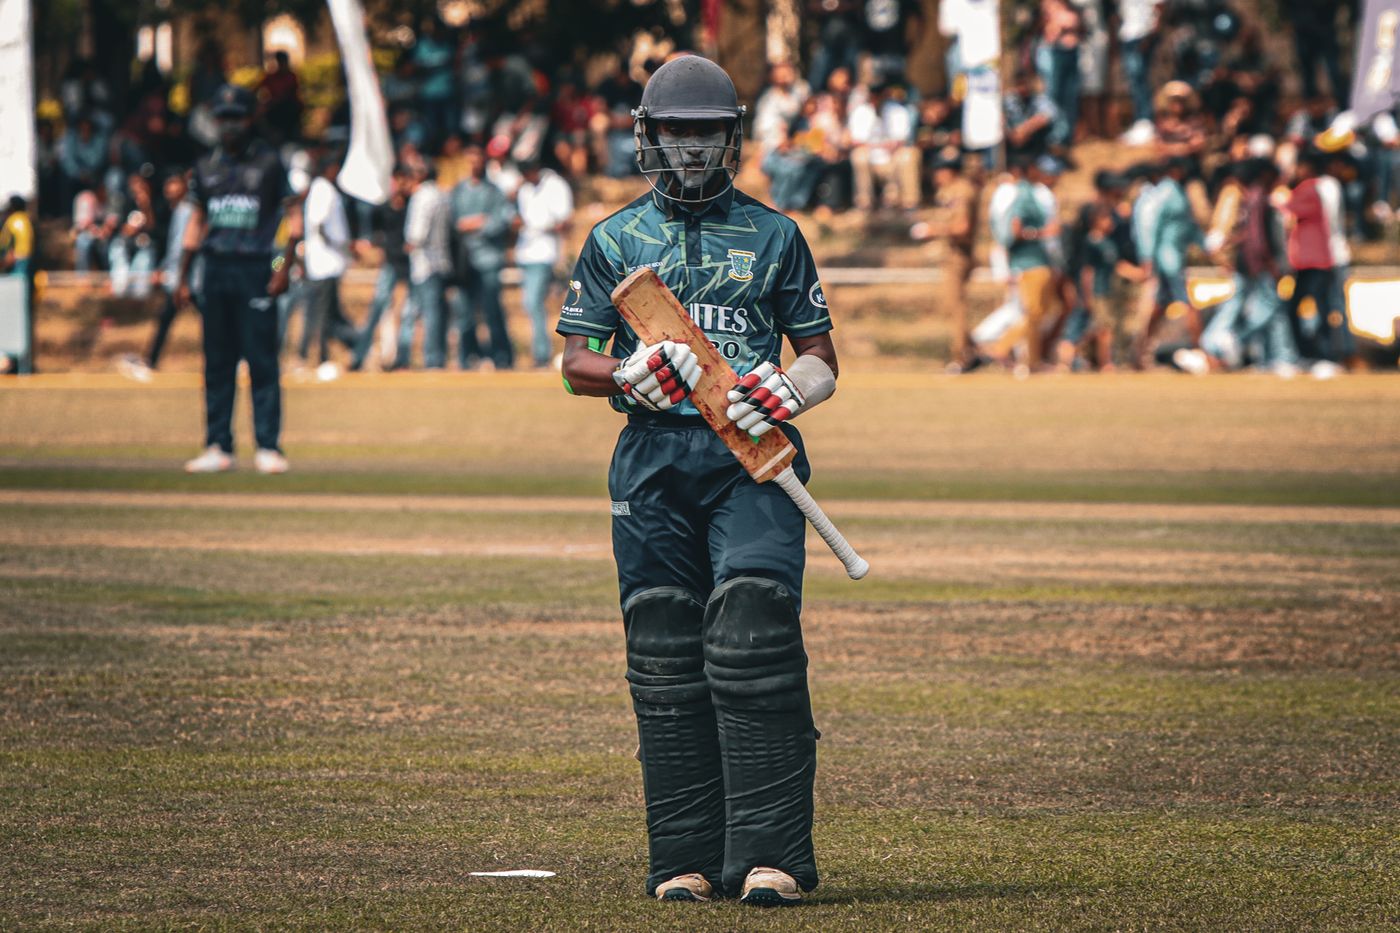
Choose an arm guard that covers the exposed lead forearm and elbow area for your stance, then test it in batting gloves and a long-sleeve shirt if those are part of your match kit. The guard should stay centred through a full backlift, defensive shot, pull-shot motion and running swing without slipping, pinching or colliding with the glove. It is optional protection in many competitions, so fit and freedom of movement matter more than buying the largest shell.
What an arm guard is for
A cricket arm guard adds a protective layer over part of the forearm and elbow that may be exposed when batting. Current ECB recreational safety guidance notes that arm injuries do occur and that some batters choose an arm guard for protection.
It is supplementary equipment. It does not replace a helmet, batting gloves, pads, an abdominal guard or sound technique. A guard also cannot remove the risk of injury from a hard ball.
The useful question is not simply “Do I need one?” It is:
- which arm is exposed in my stance?
- where do I want coverage?
- can the guard stay in that position during a real swing?
- does it work with my glove cuff and shirt?
Arm guard, elbow guard or forearm guard?
The labels overlap. Product shapes vary more than the names suggest.
| Common label | Typical coverage | Best use check |
|---|---|---|
| Forearm guard | Wrist-side forearm to below the elbow | Does it protect the area presented to the ball without touching the glove? |
| Arm guard | A broader section of forearm, sometimes extending around the elbow | Can the elbow bend fully and the bat lift freely? |
| Elbow guard | Concentrated around the point and sides of the elbow | Does it stay centred when the elbow straightens and rotates? |
| Combined guard | Longer shell or linked sections | Does the extra coverage justify the added bulk? |
Do not assume that a longer guard is automatically safer for a particular player. A shell that pushes into the glove or rotates away from the target area can be distracting and may give false confidence.
Which arm should a batter protect?
For many batters, the lead arm is the one most exposed to a rising or misdirected ball. For a right-handed stance this is often the left forearm; for a left-handed stance it is often the right. Technique and stance can change the exposed area, so copy neither a teammate nor a product photograph without checking your own position.
Stand in front of a mirror or ask a coach to view your normal stance and controlled shot movements. Identify the section of arm facing the bowler through:
- the set-up
- the backlift
- a forward defensive shot
- a pull or hook motion
- a leave against a short ball
The guard should follow the exposure created by the player’s movement. It should not be used to encourage unsafe practice against bowling beyond the player’s ability.
How to measure before buying
There is no universal arm-guard size standard. Junior, youth and adult labels can differ by model.
For a useful starting measurement:
- Bend the elbow slightly, as it would be in the batting set-up.
- Measure the straight-line length of the area you want the shell to cover.
- Measure the forearm circumference at the widest point the strap will cross.
- Note the distance from the top of the batting glove cuff to the elbow.
- Compare those measurements with the current chart for the exact guard.
If the maker supplies a different method, follow that chart. Measurements narrow the choice; they do not replace a movement test.
For growing juniors, recheck the fit during the season. A strap at its absolute limit, an exposed section above the glove or a shell that no longer centres on the arm are signs that the original fit has changed.
Position the guard correctly
Put on the match shirt and batting glove first. Some sleeves compress more than others, and glove cuffs vary in height.
Set the lower edge
Leave enough clearance above the glove cuff for the wrist to hinge. The guard should not drive into the glove when the bottom hand rolls through a shot.
Centre the shell
Rotate the protected face towards the area likely to be exposed to the bowler. A guard sitting neatly on the side of the arm while standing may turn away during a backlift.
Set the top edge
If the guard extends to the elbow, confirm that the elbow can straighten and bend without the shell cutting into the upper arm. A forearm-only model should not sit directly on the joint unless it is designed for that position.
Tighten the straps evenly
The guard should be secure, not compressive. Tighten until it stays centred through movement, then stop. Numbness, tingling, deep strap marks or a cold hand mean the fit is not acceptable.
The two-minute batting test
Test the guard with a bat, gloves and the clothing used in matches.
Complete these movements at controlled speed:
- Take your normal stance.
- Make five full backlifts.
- Play five shadow forward-defensive shots.
- Play five controlled pull-shot movements.
- Leave a short ball without turning your head away.
- Run ten metres holding the bat.
- Simulate turning for a second run.
- Repeat the stance and check whether the shell has moved.
Good signs:
- the protected face remains over the intended area
- the wrist and elbow move freely
- the guard does not hit the glove or upper arm
- straps remain flat
- the batter stops noticing the guard
Warning signs:
- the shell rotates underneath the forearm
- the lower edge catches the glove cuff
- the top edge pinches in the elbow crease
- straps loosen during the swing
- the bat path changes to avoid the equipment
How tight should it feel?
You should be able to slide a fingertip beneath a strap without the guard lifting away from the arm. That is only a comfort check, not a formal sizing rule.
Elastic stretches with age, heat and sweat. A guard that felt secure when new may rotate later. Check the closures before every session and replace a strap or the guard when it no longer holds its intended position.
Do not solve movement by wrapping rigid tape tightly around the arm. That can create pressure, restrict circulation and make safe removal harder.
Junior fit: avoid buying too much growing room
An oversized guard can:
- collide with the glove
- extend past the elbow
- rotate around a narrow forearm
- require excessive strap tension
- make the bat feel awkward
Choose protection that works now, with only the adjustment range intended by the maker. A junior should be able to fit and remove it with simple supervision and explain which area it is meant to cover.
Pair the check with the junior cricket gear checklist and the complete cricket size guide.
Left-handed and right-handed models
Some guards are symmetrical. Others are shaped for a particular arm or stance. Check the product label before buying and confirm that contours, hinges and closures sit as intended.
A model described as “right-handed” may refer to the batter’s stance, the arm being protected or the hand orientation in a product range. Do not infer it from the name alone; check the maker’s diagram.
Care after play
Sweat can shorten the life of foam, elastic and hook-and-loop closures.
After use:
- Remove the guard from the kit bag.
- Wipe the outer shell with a clean, slightly damp cloth if the care label permits.
- Open every strap.
- Air it at room temperature.
- Keep it away from heaters, strong sun and hot vehicles.
- Return it to the bag only when dry.
Do not machine-wash a rigid or moulded guard unless the maker explicitly allows it. Avoid bleach, solvents and soaking.
Our protective-equipment cleaning guide gives a practical routine for the rest of the kit.
When to replace an arm guard
Replace it, or seek product-specific advice, when:
- the shell is cracked, split or deeply creased
- foam is crushed, displaced or permanently hard
- stitching has opened around a protected area
- a strap cannot hold the guard securely
- sharp material or hardware is exposed
- the guard has taken a heavy impact and its condition is uncertain
- the player has outgrown its coverage
Cosmetic marks are not automatically structural damage. Inspect the shell, padding and retention system together.
Quick buying checklist
| Check | Good result | Walk-away sign |
|---|---|---|
| Coverage | Intended exposed area is centred | Large vulnerable gap or shell on wrong side |
| Wrist | Full hinge above glove cuff | Guard collides with glove |
| Elbow | Full bend and extension | Pinching at joint |
| Swing | Normal bat path | Player changes swing to avoid guard |
| Straps | Secure with adjustment left | Maximum tension or slipping |
| Condition | Shell, foam and closures intact | Crack, collapse or failed closure |
Related guides
- Cricket protective equipment guide
- Cricket batting glove size guide
- How to fit a cricket thigh guard
- First cricket kit buying guide
Sources and update notes
- ECB Recreational Cricket Safety Guidelines — current protective-equipment context, including arm guards for batters.
- ECB Recreational Cricket Safety Regulations — current hard-ball safety requirements for junior cricket in England and Wales; local competition rules may differ.
Product designs and rules change. Check the current instructions for the exact guard and the current playing conditions for your competition.