A 45-Minute Junior Cricket Training Session Plan for NZ Coaches
A practical 30–45 minute junior cricket session plan with three game-based activities, rotations, equipment and safety checks for coaches, schools and whānau.
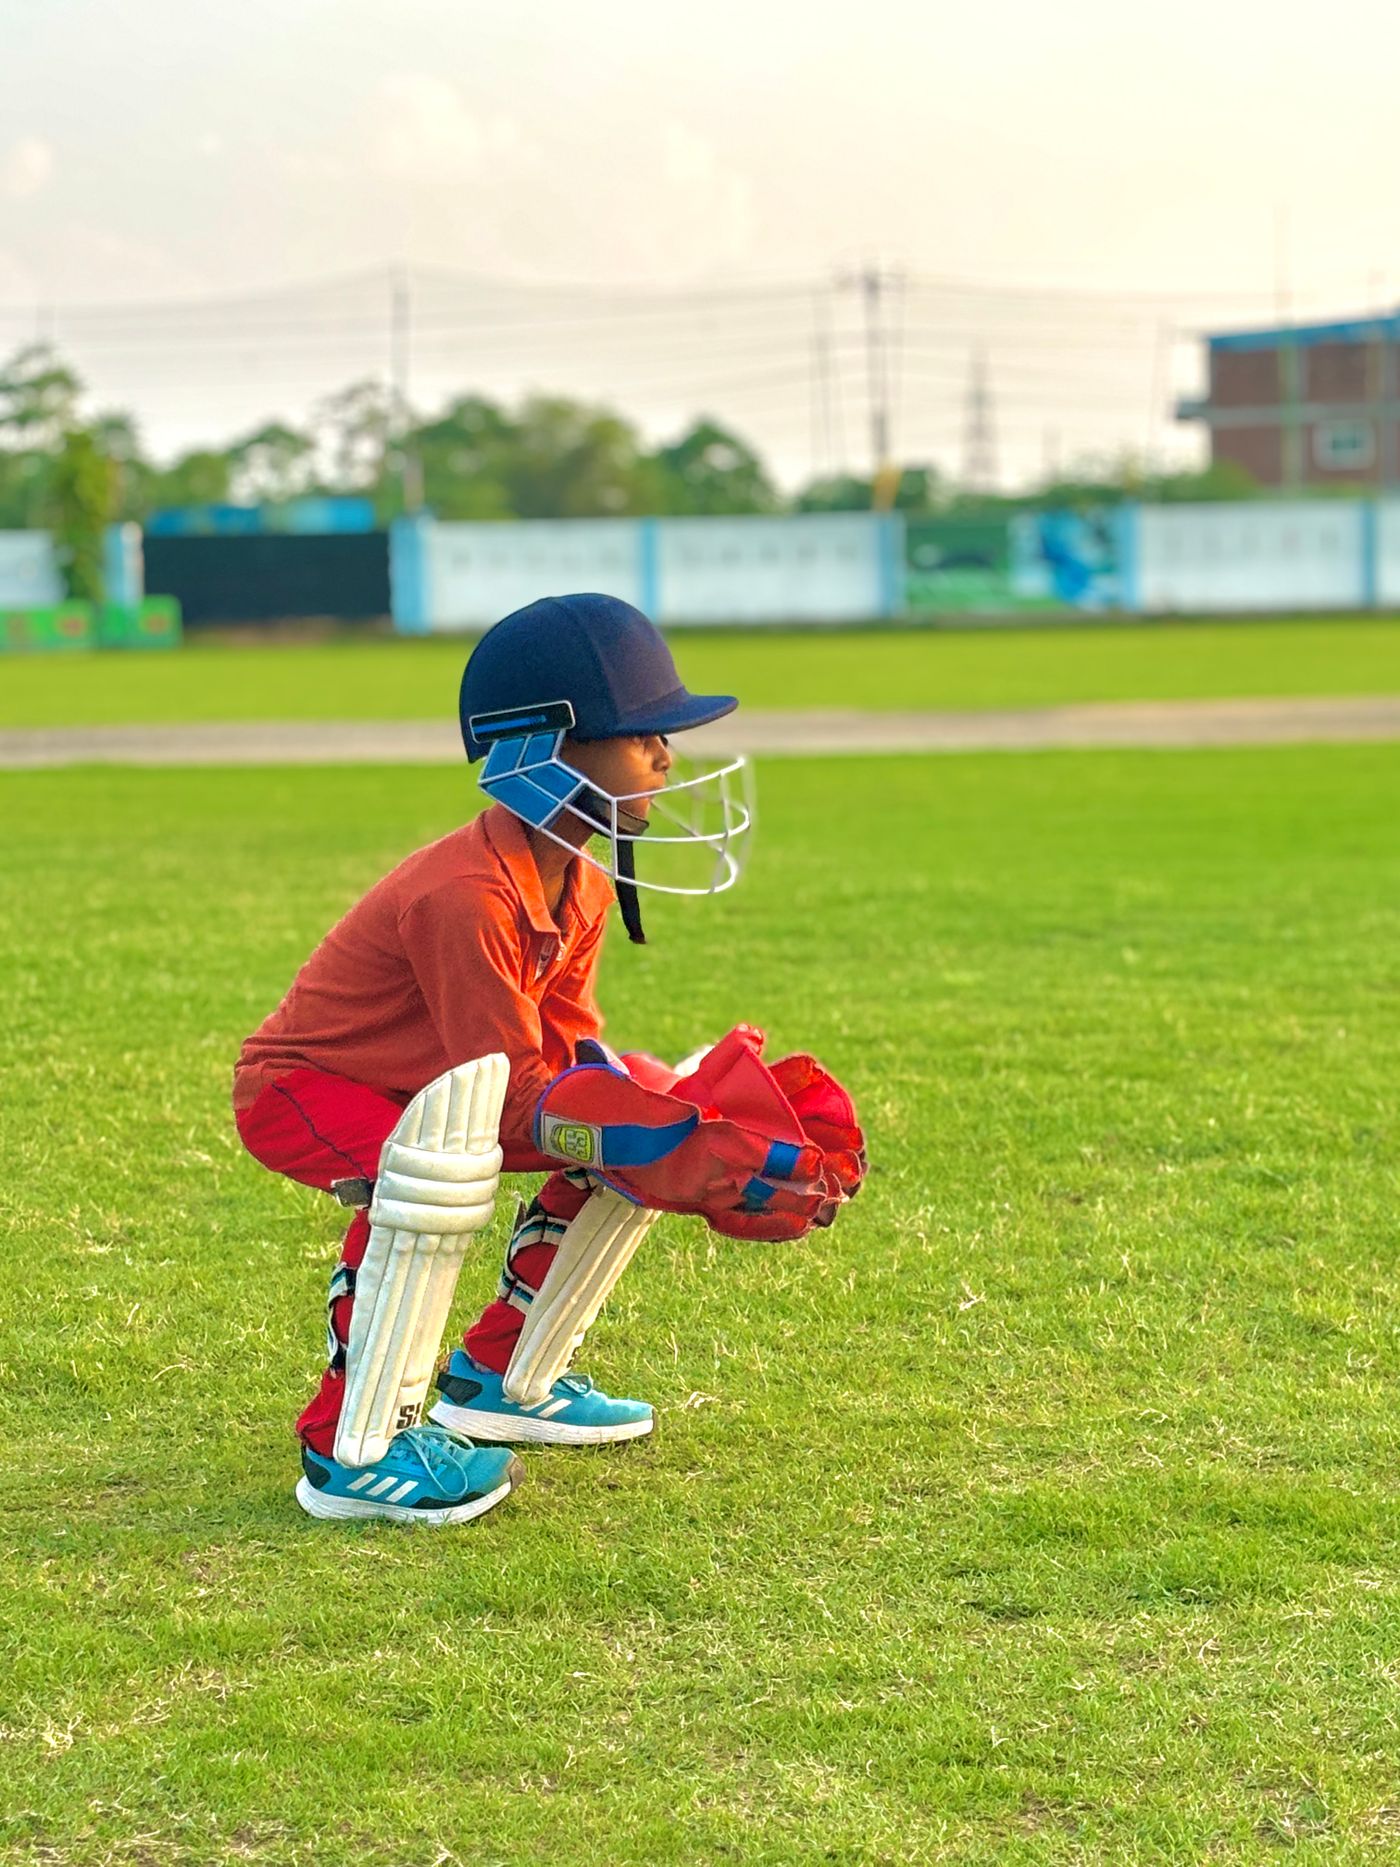
For a junior group, plan a short welcome, up to three game-based activities of about 10 minutes each, free play and a brief reflection. New Zealand Cricket recommends 30–45 minutes for its Smash Play junior-tamariki programme, with shorter sessions for younger children. Keep every player active, use a ball suited to the task, mark safe areas and change the game rather than making children wait in long queues.
Start with the player, not a list of drills
A good junior cricket session is not measured by how many drills a coach fits into an afternoon. It is measured by how often each child gets to take part, make a decision, try a skill and enjoy the game.
That matters particularly for younger players. A long queue for one batting tee can leave most of the group watching. A complicated explanation can use up the time that should have been spent playing. A drill that is too difficult can make a new player feel that cricket is not for them.
New Zealand Cricket’s Smash Play junior-tamariki programme is designed for children aged 5–12. Its coaching guidance recommends sessions of 30–45 minutes, with the shorter end for younger age groups. It suggests using up to three games of about 10 minutes each, then making room for free play and reflection. It also recommends building a programme over four to six sessions rather than treating one practice as the whole learning experience.
This guide turns those principles into a session a community coach, school teacher or parent helper can run. It is a starting template, not a fixed coaching prescription. Adapt it to the players, venue, supervision available and the club’s current safety rules.
The 45-minute session at a glance
| Time | Activity | Main purpose |
|---|---|---|
| 0–5 min | Welcome, movement game and safety briefing | Get everyone moving and explain boundaries |
| 5–15 min | Game 1: hit into a space | Batting contact, balance and choosing a target |
| 15–25 min | Game 2: field, collect and return | Watching the ball, moving into line and throwing |
| 25–35 min | Game 3: bowl through a gate | A repeatable bowling action and direction |
| 35–40 min | Free play or player-chosen challenge | Give players room to explore |
| 40–45 min | Reflection, equipment count and handover | Reinforce learning and close safely |
The three games can be shortened to eight minutes if the group needs more transition time. For younger children, use two games and a shorter finish rather than forcing all three into the session.
The key is to protect the playing time. Keep explanations short, demonstrate once, then let the players try.
Before players arrive: set up the space
A few minutes of preparation makes the session easier to supervise.
- Walk the playing area and remove or isolate hazards.
- Decide where players wait, where equipment sits and where parents or spectators stand.
- Mark each activity area with flat cones or markers.
- Choose the ball before choosing the drill. A soft or reduced-impact ball may be more suitable than a hard ball for a developing player or a confined space.
- Put out enough equipment to avoid long queues.
- Check that the next activity cannot send a ball into the current activity.
- Confirm who is responsible for first aid, emergency contact and junior handover.
Use the cricket training safety briefing checklist for the wider pre-session walk and briefing. If you are using a net, also work through the cricket net safety checklist.
A coach should not split children across several active stations unless there are enough competent adults to supervise each area. With one coach, keep the group together and run one activity at a time.
Game 1: hit into a space
Set-up: Mark two or three wide target zones with flat cones. Give each player a bat and a suitable ball where equipment allows. A batting tee, gentle underarm feed or self-drop can be used depending on ability and supervision.
How to play:
- Show the players the target zones.
- Give each player a turn to hit towards a chosen zone.
- Award a point for a controlled hit into the target, not just the hardest hit.
- Change the target after a few turns so players have to adjust their aim.
- Let players choose a challenge: hit along the ground, hit into a wider zone or move to a different target.
Coaching cues: Watch the ball, stay balanced and finish facing the target. Give one cue at a time. Avoid changing grip, stance and swing all at once.
Make it easier: Bring the tee closer, widen the target or use a larger soft ball.
Make it harder: Narrow the target, vary the feed or ask the player to choose a target after the ball is released.
If you want a more detailed progression for tee work, see the cricket batting tee guide and drills.
Game 2: field, collect and return
Set-up: Create a start line, a collection zone and a large target such as a set of stumps or a marked square. Use rolled or gently thrown balls at first.
How to play:
- Roll a ball into an open area.
- The player moves towards it, gets their body behind the ball and collects it.
- They return the ball towards the target.
- Rotate the starting position so players practise moving left, right and forwards.
- Add a partner only when the group can keep the ball path controlled.
Coaching cues: Move early, get in line with the ball and use a balanced position before throwing. Praise a controlled gather even if the throw misses the target.
Make it easier: Shorten the distance, slow the roll or use a larger ball.
Make it harder: Add a decision about which target to use, or let the player move after collecting the ball.
Do not run two fielding games towards the same target from opposite directions. Keep the waiting area outside the ball path and collect balls only when the activity has stopped.
Game 3: bowl through a gate
Set-up: Place two cones a comfortable distance apart to make a wide gate. Add a target such as a stump or a larger marked area behind it. Begin from a short, controlled distance.
How to play:
- Demonstrate a comfortable approach and balanced finish.
- Let each player bowl a small number of balls towards the gate.
- Give a point for a ball that travels through the gate or reaches the target area.
- Move the gate wider or closer if the task is too difficult.
- Invite players to choose a new target once they can repeat the action with control.
The aim is direction and a repeatable movement, not maximum speed. Keep the waiting line behind the active bowler and make sure no one crosses the delivery path to retrieve a ball.
For older junior pace bowlers, training and match bowling both contribute to workload. Use the junior fast-bowling workload tracker as a recording aid and check the current local rules before setting bowling limits.
Keep the group moving without rushing them
A useful rotation has three features:
- Small groups: players spend more time taking part and less time waiting.
- Simple instructions: explain the task in one or two sentences, demonstrate it and start.
- A visible finish: use a timer, a number of turns or a clear target so players know when to rotate.
If there are enough coaches, three stations can run at once. If not, run the games as one group in sequence. Supervision is more important than running a complicated circuit.
When players have different experience levels, change the challenge rather than labelling the child. A wider target, shorter distance or softer ball can keep a new player involved while another player works on a more difficult variation.
A 30-minute version for younger groups
Shorter is often better when children are very young or new to the game.
| Time | Activity |
|---|---|
| 0–4 min | Welcome, movement game and simple boundaries |
| 4–14 min | One batting or striking game |
| 14–24 min | One fielding or bowling game |
| 24–28 min | Free play with a choice of equipment |
| 28–30 min | One thing learned, equipment count and handover |
You do not need to cover every cricket skill in every session. Revisit a game next week and change one part of it. Repetition with a small variation can be more useful than introducing a new drill every time.
Build a four-to-six-session programme
New Zealand Cricket recommends four to six sessions for a sustainable Smash Play programme. A simple sequence might look like this:
| Session | Theme | Example challenge |
|---|---|---|
| 1 | Confidence and contact | Hit a soft ball into a wide target |
| 2 | Finding space | Choose a target before striking |
| 3 | Fielding and throwing | Collect and return from different angles |
| 4 | Bowling direction | Bowl through a gate and towards a target |
| 5 | Combining skills | Play a small-sided game with batting, running and fielding |
| 6 | Player choice and review | Let players choose a favourite challenge and explain what improved |
This is a suggested sequence, not a New Zealand Cricket programme. Use the official Smash Play coaching and session-planning guidance for the programme principles, games and learning resources.
Equipment checklist
You can run a useful session with a small amount of equipment:
- bats appropriate to the players
- soft or reduced-impact balls suited to the activity
- flat cones or markers
- a set of suitable stumps or a target
- batting tee if the activity needs one
- bibs or coloured markers for teams
- water and a first-aid arrangement
- a clipboard or simple session plan
The cricket coach equipment bag checklist explains how to organise a core kit and separate modules for different activities. The cricket training ball guide helps match the ball to the purpose of the drill.
For a club building a shared training kit, keep player-specific items separate from common equipment and list the quantities needed by age group. The NZ Cricket Store’s club and team order information explains how clubs and schools can submit an equipment list for a quote. Compare any quote against your own stock, budget and current club requirements.
Common session-planning mistakes
Too many drills
A long list creates rushed transitions and short turns. Choose two or three games and give players enough time to understand them.
One player gets all the turns
A single tee or target can leave the rest of the group waiting. Add a second lane only if it can be supervised safely, or change the game so everyone has a role.
The ball is too difficult
If players are frightened of the ball or cannot control the task, reduce the speed, distance or hardness. Realism can come later.
The coach talks for too long
Use a quick demonstration and one coaching cue. Let the players learn through the activity.
The session ends without a review
Ask one simple question: what felt easier today, or what would you like to try next time? A short reflection helps players notice progress and gives the coach a useful starting point for the next session.
A simple coach’s pre-session checklist
- Session goal and age group chosen
- Two or three games selected
- Ball type matched to the activity
- Playing area and equipment checked
- Waiting areas and ball paths separated
- Supervision and emergency roles confirmed
- Instructions and stop signal ready
- Water, free play and reflection included
- Equipment counted and junior handover completed
A strong junior session is simple enough to run well and flexible enough to change when the players need something different. Give children plenty of turns, let the game teach the skill and finish while they still want another go.