Cricket Batting Tee Guide: Set-up, Height and Practice Drills
How to choose and set up a cricket batting tee, find a useful ball height, organise a safe hitting station and progress from repetition to game-like decision drills.
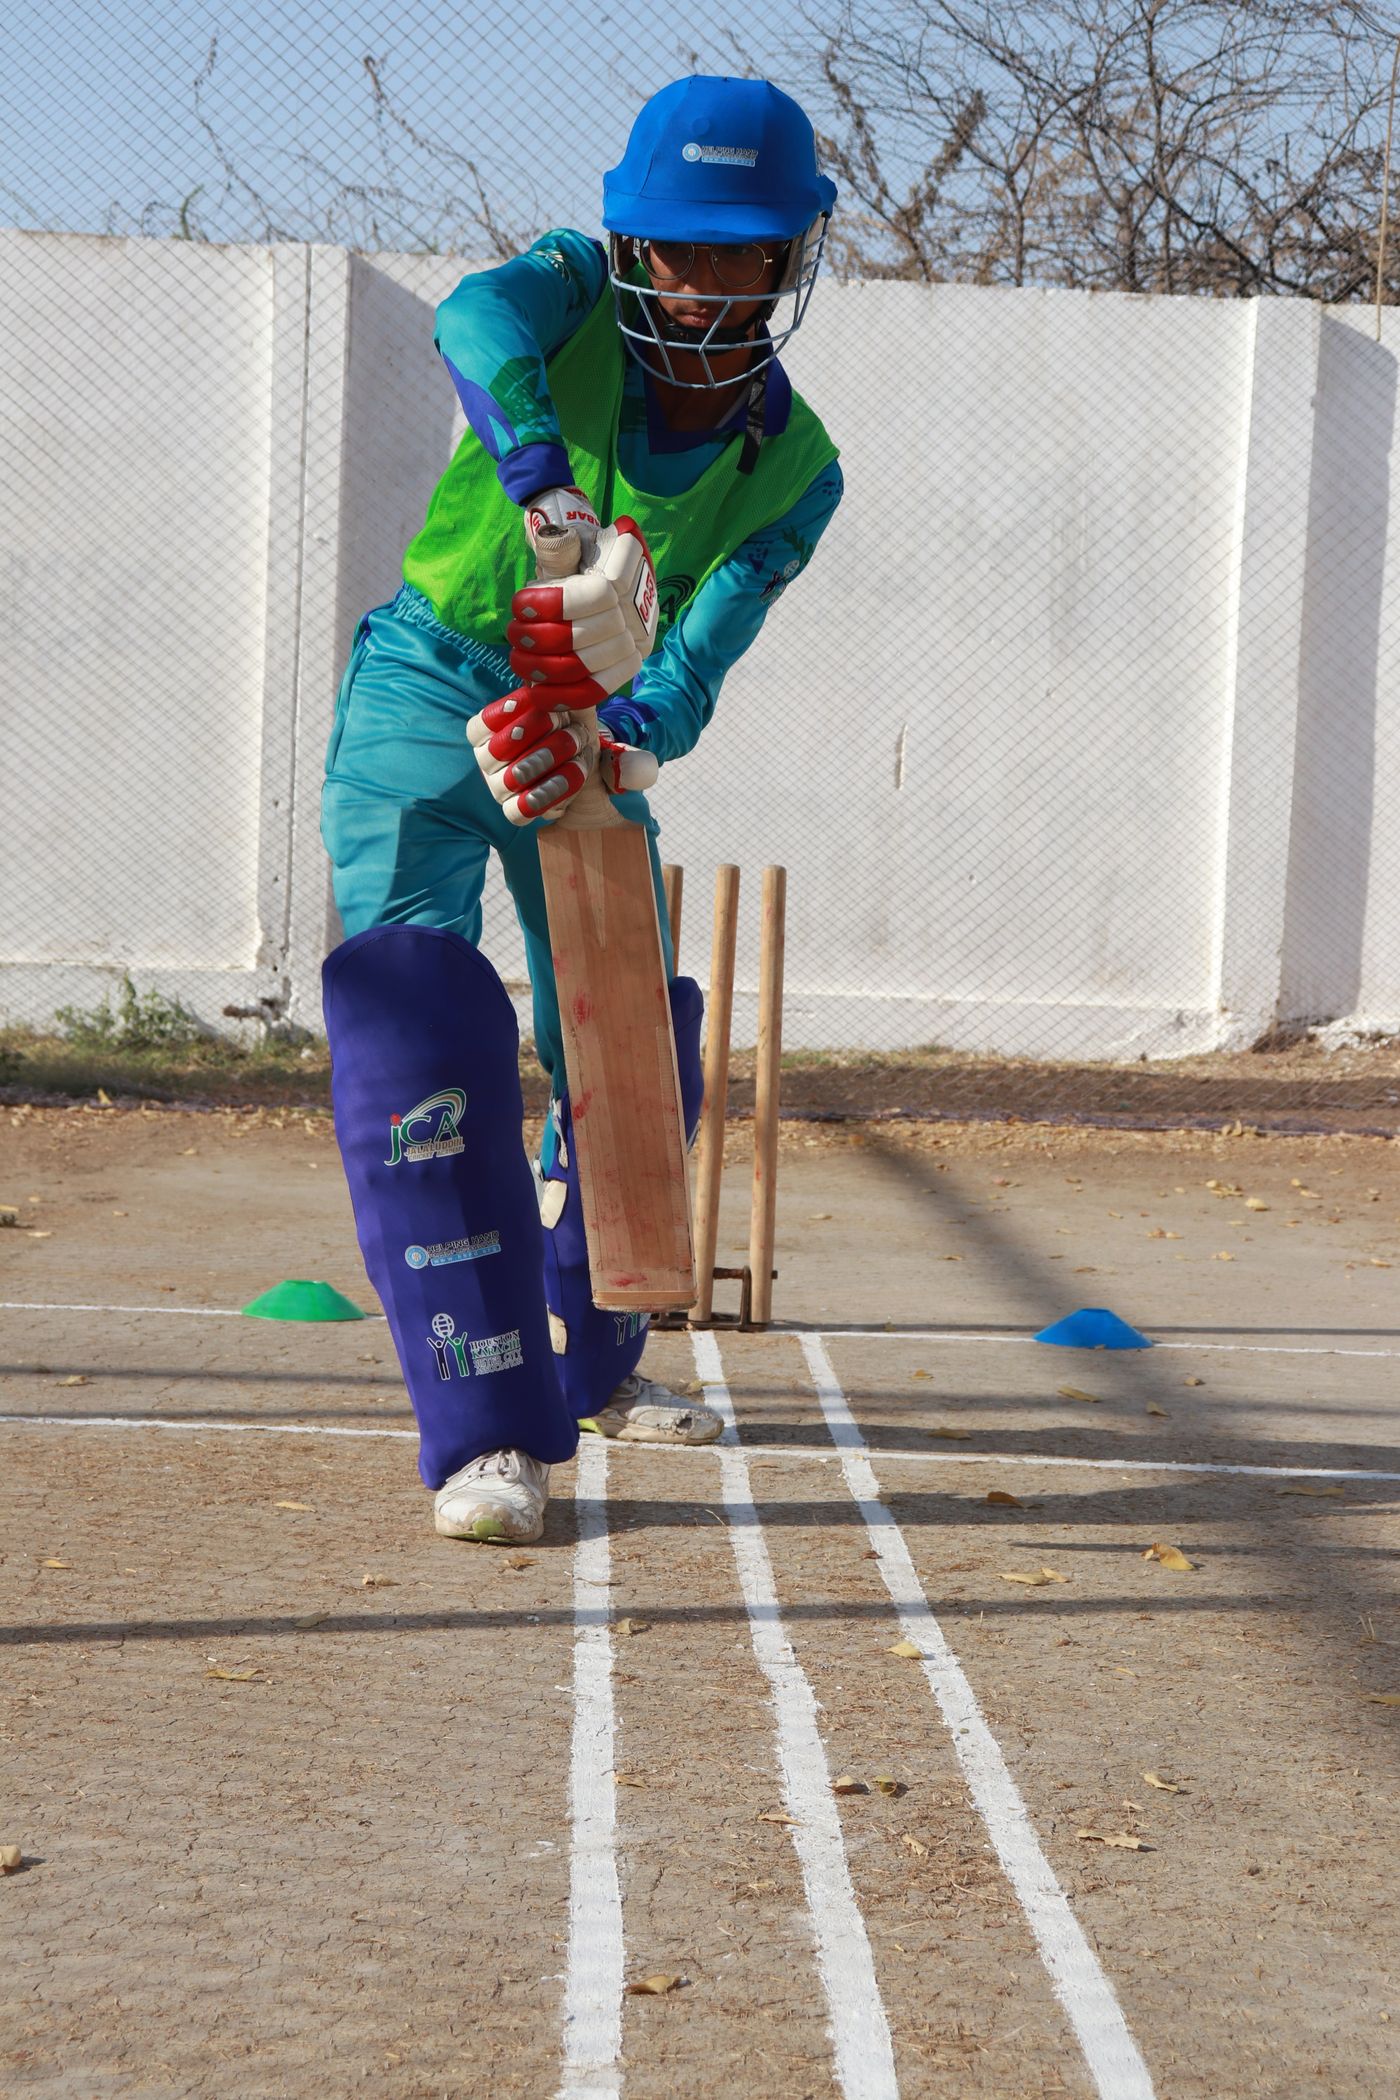
Set a cricket batting tee on stable, level ground and place the ball at a height that lets the player strike with balance and a full bat face. Use a clear hitting lane, soft balls where appropriate and targets that reward direction rather than power. A tee is best for rehearsing contact and exploring swing paths; it should be followed by feeds or games that make the batter watch, decide and move.
What a batting tee can teach
A batting tee holds a stationary ball above a flexible or rigid stem. It removes the delivery so the player can concentrate on the relationship between stance, swing path, contact point and target.
That makes the tee useful for:
- introducing a bat and ball to young players
- rebuilding clean contact after a break
- comparing contact points for different scoring areas
- rehearsing balance and a complete swing
- running high-participation stations without a bowler
- giving a player immediate feedback from ball flight and direction
It cannot teach a player to read length, line, pace or movement by itself. New Zealand Cricket’s current coaching material advises coaches to link perception and action and avoid sessions in which players only go through the motions on stationary balls. Treat the tee as one part of a progression, not the whole batting programme.
Choose a tee for the group and surface
Most cricket tees use a broad base and an adjustable stem. The differences that matter are less glamorous than colour or branding.
| Feature | Why it matters | What to check |
|---|---|---|
| Height range | Players and intended contact points vary | Lowest setting suits small juniors; highest setting remains stable |
| Base width and weight | A narrow base tips when the bat clips the stem | It stays flat on the intended surface |
| Stem material | Flexible rubber usually tolerates accidental contact better | No split, hard edge or exposed insert |
| Ball cup | The ball needs to sit still without being pinched | It holds the ball type used in the drill |
| Adjustment method | Stations need quick, reliable changes | No loose collar or projecting fastener |
| Portability | Clubs may move several stations | Base and stem pack without being crushed |
| Replacement parts | A worn stem should not retire the whole tee | Parts and instructions are available |
For a mixed junior group, one extreme height range is not enough if it becomes unstable at the top or cannot go low enough. Two or three reliable tees at different stations are often more useful than one elaborate unit.
Ball choice changes the session
Match the ball to the player, location and purpose.
- Foam ball: useful for first contact, indoor halls and tightly controlled targets.
- Light plastic ball: suitable for participation games where distance and impact need limiting.
- Tennis-style ball: gives a recognisable bounce and flight with lower impact than a hard cricket ball.
- Purpose-made training ball: can alter weight, swing or feedback; follow its intended use.
- Hard cricket ball: only in a suitable, controlled area with the protection and supervision appropriate to the activity.
A heavier ball does not automatically make a tee drill more realistic. If the player changes the swing just to force the ball off the cup, the equipment is working against the learning goal.
Read the CricketWise training-ball guide before mixing balls across stations. For age and match specifications, use the cricket ball sizes and weights guide.
Set up a safe hitting station
The ball may be stationary, but the bat and struck ball are not. Build a defined lane before anyone swings.
- Place the tee on level, dry ground or a stable indoor surface.
- Point the station away from waiting players, doors, windows and public paths.
- Use a backstop or net suitable for the ball and expected shot.
- Mark a batter-only box around the tee.
- Put targets inside the safe hitting lane.
- Create a waiting area behind the batter and outside the follow-through.
- Agree one stop signal for retrieval or resetting equipment.
With several stations, leave enough separation that one batter cannot enter another’s swing or ball path. Players retrieve balls together only after every station has stopped.
New Zealand Cricket’s Junk Yard Smash activity uses individual tees, several balls and gate targets so many children can hit at the same time without fielders. That is a useful participation model only when each player’s lane and collection routine are clear.
Find the starting height
There is no single correct tee height for every shot. Start from the contact you want to explore.
For a basic straight-drive station:
- place the ball roughly between the top of the knee and lower thigh
- let the player take a comfortable stance rather than reaching for the tee
- position the ball far enough forward for the bat to meet it under the eyes
- check that the head can stay still and the front knee is not locked
- lower or raise the ball in small steps until contact feels balanced
If the player repeatedly hits the stem, first check the tee position. A stem directly beneath the intended bat path may be teaching the player to avoid the equipment. Moving the entire tee a few centimetres forward can be more useful than lifting the ball.
Height by purpose
| Drill | Useful starting height | Coaching question |
|---|---|---|
| Straight contact | Knee to lower thigh | Can the full face send the ball through a straight gate? |
| Square scoring | Mid-thigh, adjusted to player | Where must contact happen to direct the ball safely square? |
| Controlled loft | Slightly higher, with a large safe target | Can the player extend without falling away? |
| Low contact | Near knee height | Can the player stay balanced without collapsing the back leg? |
| Junior first hit | Comfortable waist-to-thigh area | Can the player watch the ball and finish the swing? |
These are starting points, not technical laws. Body proportions, bat length, stance and the intended shot all affect the useful position.
Distance from the player
Set the tee after the stance is established. A common mistake is asking the player to shuffle toward a tee that was placed arbitrarily.
For front-of-body contact, the player should be able to swing through without leaning over the front foot or reaching with the hands. The arms can extend naturally after contact, and the back foot remains connected to the ground long enough to support balance.
Use two floor marks:
- a stance mark that the player can return to
- a tee mark that the coach can move deliberately
Changing the tee position then becomes part of the drill rather than an accidental variation.
A simple contact routine
Give the player one short routine instead of a long list of body-part instructions.
- Look: name the target and look back to the ball.
- Set: become comfortable, balanced and ready to move.
- Swing: move the bat through the ball toward the target.
- Hold: finish for one second and notice the body’s balance.
- Read: use ball direction to decide what to change.
The finish is not a pose for its own sake. It is a quick test: if the player falls across the tee, spins away or cannot hold the position, the swing may have been forced.
Six useful batting-tee drills
1. Three-gate direction drill
Set straight, mid-wicket and cover gates with flat markers. The coach names a gate before the swing. Score one point for the correct direction and a second if the player finishes balanced.
Move the tee position slightly for each gate so the drill explores contact points rather than demanding three shots from one unrealistic location.
2. Ground-ball challenge
Place a low target or line beyond the tee. The task is to strike through the target while keeping the ball below an agreed height. This rewards bat-face control rather than distance.
3. Contact-map drill
Mark three safe tee positions: slightly forward, central and slightly wider. The player hits two balls from each and records where the ball travels. Ask what changed, then repeat with one self-selected adjustment.
4. Non-dominant-hand awareness
Use a light bat or suitable training implement. The player makes small, controlled swings with one hand at a time before returning to the normal grip. The goal is awareness of bat path, not power. Stop if the bat becomes difficult to control.
5. Tee-to-feed ladder
Use this three-step block:
- three stationary balls to one target
- three gentle drop feeds to the same target
- six underarm or overarm feeds in which the player chooses whether to play
This keeps the tee connected to watching and deciding. It also shows whether a contact pattern survives when the ball moves.
6. Team target game
Give each pair several balls and one safe lane. Gates carry different point values. One player hits while the other records direction and replaces the ball only after the bat is down. Swap after a short set.
NZC’s activity library uses target gates and questions about hitting along the ground, over a gate or toward a chosen zone. Those constraints are more useful than simply counting how far a child hits.
Progress from repetition to decision-making
A good progression changes one demand at a time.
| Stage | Ball source | Player task |
|---|---|---|
| Contact | Tee | Send the ball through one known gate |
| Variation | Tee moved between balls | Adjust to a different contact point |
| Timing | Drop feed | Watch and strike a moving ball |
| Length | Underarm feed | Move to the ball and choose a target |
| Line | Overarm or suitable machine feed | Play, defend or leave |
| Game | Bowler or small-sided activity | Read field, score and manage risk |
The tee earns its place when it gives the player a clear experiment, then hands learning back to the game.
Our sidearm ball-thrower guide and bowling-machine guide cover later training stages. Neither should be used simply to chase pace.
Coaching juniors
For young players, reduce waiting and explanation. A short demonstration, one target and frequent turns usually beat a technical lecture.
Good junior stations share a few features:
- the bat is an appropriate length and manageable weight
- the ball type matches the group and location
- the tee can be adjusted without tools
- targets are large enough to create early success
- the activity rewards control, not the longest hit
- every child knows when it is safe to collect
- questions invite exploration instead of prescribing one perfect swing
Parents assembling a first set can also use the NZ Cricket Store junior cricket gear guide to check bat sizing, protection and the difference between soft-ball and hard-ball needs. The batting tee itself is only one small part of a suitable progression.
Common problems and practical fixes
| Problem | Likely cause | Better response |
|---|---|---|
| Tee tips over | Base unstable or swing clips stem | Level the base, reposition the ball and reduce force |
| Ball pops vertically | Bat face or contact point changes | Use a larger ground target and slower swing |
| Player reaches | Tee too far away | Reset stance first, then move tee closer |
| Player crowds the ball | Tee too close | Move the tee forward in small steps |
| Every shot goes one way | One contact point used for every target | Map different tee positions |
| Practice looks tidy but feeds fail | Too much stationary repetition | Move quickly to drop feeds and decision drills |
| Players collect while others hit | Station control is unclear | Use a group stop signal and shared collection break |
Inspection, care and storage
Before a session, inspect the cup, stem, adjustment collar and base. Retire the tee if it has a sharp split, exposed insert, unstable base or adjustment that slips during a swing.
After use:
- wipe off mud and grit
- dry it before packing
- loosen the adjustment if the manufacturer recommends it
- store the stem straight, without heavy kit on top
- keep detachable fasteners with the tee
- record damage in a shared club-equipment list
The ECB’s covered-facility guidance treats batting tees as coaching equipment that needs planned provision and storage. A dry, accessible store reduces both damage and the temptation to leave equipment inside a live lane.
Buying checklist
- Height range suits the smallest and tallest intended users
- Base is stable on the actual surface
- Stem has no hard exposed edge
- Cup fits the training balls being used
- Adjustment locks reliably
- Tee packs and stores without bending
- Replacement parts and instructions are available
- Enough tees are available to avoid long queues
- The facility has a safe backstop and station layout
Frequently asked questions
How high should a cricket batting tee be?
For a first straight-contact drill, start around knee to lower-thigh height and adjust for the player’s proportions and intended shot. The player should not have to reach, crouch excessively or fall away.
Can adults benefit from a tee?
Yes. It can isolate bat-face control, contact position or return-to-play movement. Adults still need moving-ball practice so that perception and decision-making are not removed from the session.
Should a tee drill use a hard ball?
Only when the location, supervision, protective equipment and player experience make that suitable. A softer ball is often better for first contact, halls and multi-station junior sessions.
How many tee swings should a player do?
Use short, purposeful sets—often six to ten balls—then change the target, tee position or ball source. Stop when the player is repeating without attention.
Is hitting the tee a technique fault?
Not necessarily. The tee may be badly positioned, too tall, unstable or directly beneath the intended bat path. Check the equipment and task before changing the player’s swing.
Sources and further reading
- New Zealand Cricket: Junk Yard Smash
- New Zealand Cricket: Transition to Hard Ball
- ECB Covered Outdoor Cricket Facilities Design Guide
- CricketWise cricket net safety checklist
Apply the current safety policies, equipment instructions and coaching requirements for your facility and player group.