Cricket Ball Thrower Guide: Choosing and Using a Sidearm Safely
How to choose a cricket ball thrower, set up a safe sidearm session, build pace progressively and avoid the common mistakes that make practice risky or unrealistic.
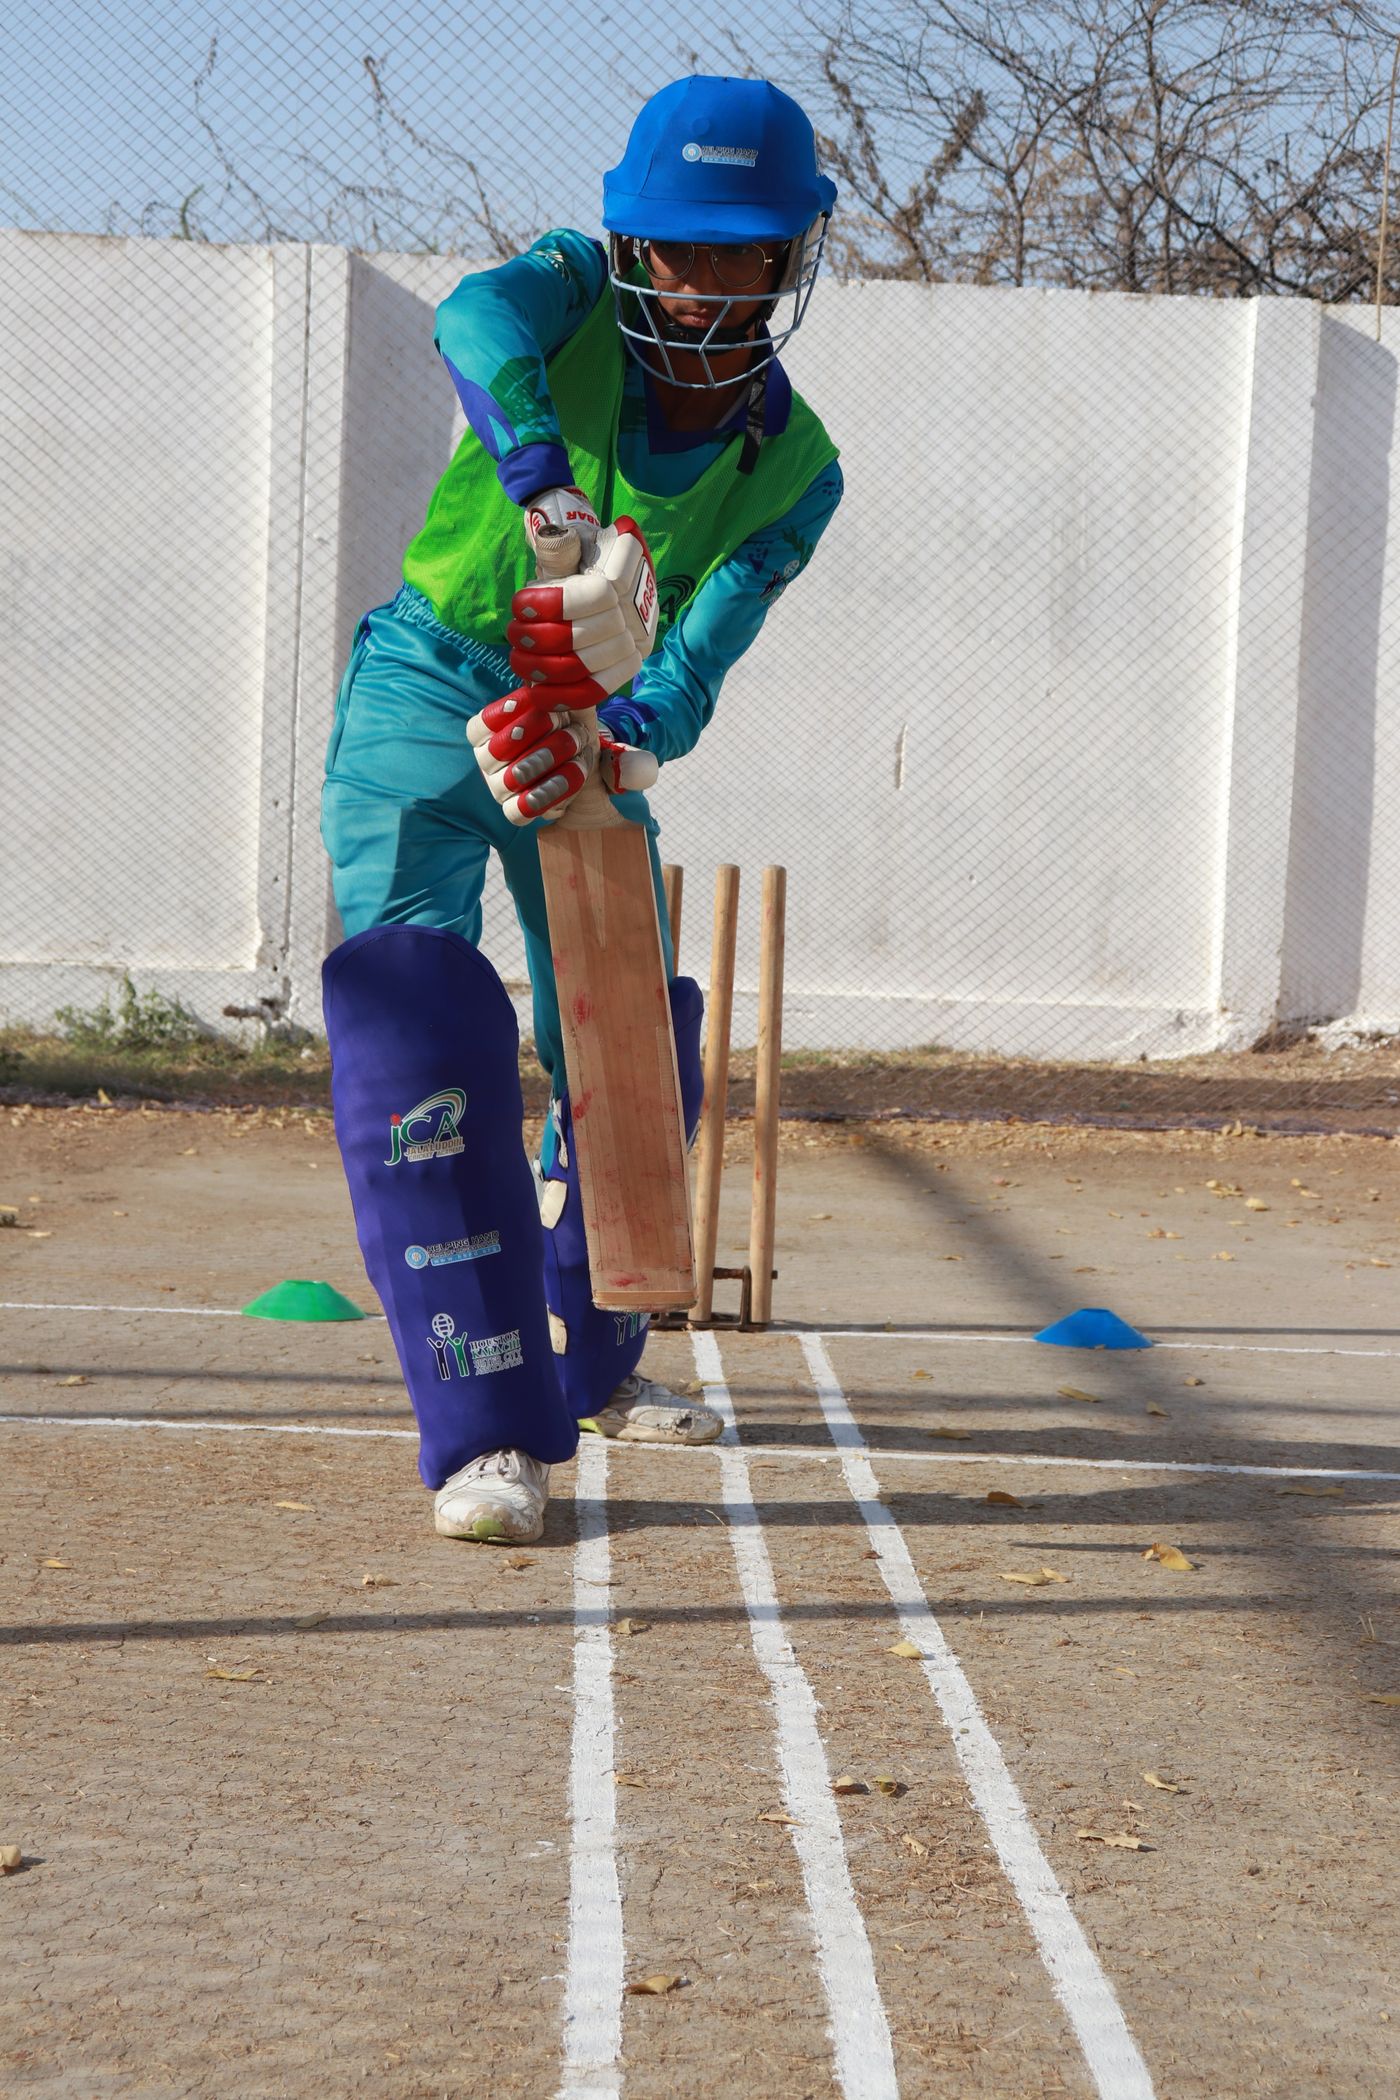
Choose a cricket ball thrower for the ball, pace and operator you actually have—not the fastest model available. Use it only in a controlled net or backstopped lane, with one trained feeder, one live ball and a fully protected batter. Start with predictable lengths at modest pace, increase difficulty in small steps and stop whenever accuracy, visibility or surface conditions deteriorate.
What a cricket ball thrower actually does
A hand-held cricket ball thrower—often called a sidearm—is a curved throwing aid that holds and releases a ball at the end of a lever. It helps a feeder create a quicker, higher release and repeatable length without bowling a full spell.
That makes it useful for batting practice, but it does not make the session automatic. The feeder still controls direction, release point and pace. A poor release can produce a full toss, a ball outside the net, or a delivery the batter never had a fair chance to see.
The best tool is therefore not the one that promises the highest speed. It is the one an operator can control accurately for the player and drill in front of them.
Choose by purpose, not headline pace
Manufacturers use different names and flex ratings, so compare the intended use rather than assuming every model is equivalent.
| Session need | Better starting choice | Why |
|---|---|---|
| Juniors moving from soft ball | Softer-flex trainer approved for the chosen ball | Easier to control and less intimidating |
| Adult club throwdowns | Medium-flex cricket-ball model | Useful pace range without making every feed maximal |
| Advanced pace practice | Firmer model in experienced hands | Can reproduce a faster, higher release when the facility is suitable |
| Tennis-ball or low-impact drills | Model specifically designed for that ball | Correct cup size and flex improve retention and release |
| Coach working with mixed groups | Two controlled options rather than one extreme model | Lets the drill fit the player instead of forcing every player to fit the tool |
Do not put a ball into a cup that does not hold it securely. A device intended for a tennis ball may behave unpredictably with a heavier cricket ball, while an oversized or damaged ball may release late.
If you are also comparing powered options, read our cricket bowling machine buying, setup and safety guide. A machine is better for a tightly repeated line and length; a hand thrower is cheaper, portable and can add more human variation.
The safety rules that do not change
A ball thrower can deliver a hard ball quickly. Treat the lane as live-ball practice, not casual warm-up.
Before the first feed:
- use an enclosed net or a practice area with effective side and backstop netting
- inspect the pitch, mat and feeder’s footing for water, loose material or raised edges
- remove bags, spare balls and people from the feeder’s action and follow-through
- agree a clear ready, ball and stop call
- keep one trained operator in control of the device
- allow only one ball to be live at a time
- give the batter appropriate hard-ball protective equipment
- stop when accuracy falls through fatigue, poor light or worsening conditions
The ECB’s recreational safety guidance emphasises level, consistent surfaces, secure netting and suitable backstops. New Zealand Cricket’s hard-ball transition material also puts confidence, protective equipment and gradual progression ahead of simply using a harder or faster delivery.
Our cricket net safety checklist covers the full lane inspection and waiting-player controls. Do that check before the throwing device comes out.
Protective equipment is part of the drill
For hard-ball throwdowns, a batter will ordinarily need a correctly fitted helmet and faceguard, batting gloves, pads, an abdominal or pelvic protector as appropriate, and any additional thigh, chest or arm protection needed for the drill. Footwear must suit the surface.
A coach should also consider the people beyond the batter. A wicketkeeper standing up, a close catcher, or someone collecting balls can be inside the strike zone even when they are not taking the delivery.
Do not use a faster feed to test whether a player’s equipment is good enough. Fit and inspect the protection first, then design the delivery around the player’s current ability.
Set up the feeder’s zone
Mark a small area from which the feeder works. It should give enough room for the full action without contacting a wall, roof net, bowling-machine frame or another person.
Place the ball basket behind and to the non-throwing side of the operator. Loose balls near the feet are a trip hazard. The feeder should not have to cross the batter’s sightline to reload.
A simple setup has four zones:
- Live lane: only the batter and any essential, protected participant.
- Feeder zone: one operator with clear footing and follow-through.
- Ball store: contained, behind the operator and out of footwork.
- Waiting zone: behind protective netting and outside the line of a deflection.
If the facility cannot create those zones, change to a lower-risk drill.
Learn the tool before feeding a batter
Follow the device manufacturer’s current instructions for ball position, grip and release. Inspect it for cracks, sharp edges, distortion or a loose handle before use.
A new operator should practise into an empty net first. Aim for a large landing area on a good length rather than a stump-width target. Build a repeatable release at modest effort.
Only add a batter when the operator can deliver a set of balls without dangerous full tosses or wide releases. Even then, begin with shadow movements or a suitable soft training ball if the player’s experience calls for it.
The official Sidearm guidance warns users to read the instructions, wear suitable protection and use the product only in a safe practice environment. The brand of tool may vary, but those operating principles remain sound.
A safe progression for a batting session
Progress one variable at a time. If pace, length, angle and decision-making all change together, neither player nor coach can identify what improved.
Stage 1: See and move
Use a soft training ball or controlled feed. The batter practises picking up the release, getting into position and leaving balls outside the agreed scoring area.
Stage 2: Predictable hard-ball length
Move to a hard ball only when the player, facility and protection are ready. Deliver a comfortable pace to one broad length. Tell the batter where the ball is intended to land.
Stage 3: Two-length decision
Mix a fuller ball with a shorter good-length ball. Keep line stable. The goal is an early movement decision, not survival against maximum speed.
Stage 4: Add line
Introduce off-stump and body-line feeds within the operator’s control. Agree the drill’s scoring rule—for example, leave outside the channel, defend straight, or score only into a target zone.
Stage 5: Match-like set
Use a short over or eight-ball block with intentional variation. Reset after each block. Quality falls quickly when an operator tries to throw continuously while tired.
Our cricket training-ball guide explains how softer, heavier and purpose-made balls change a drill. The cricket ball sizes and weights guide is useful when planning age-appropriate progression.
Pace is an outcome, not the first target
Players often ask how fast a thrower can go, but a speed claim means little without release distance, ball type, measuring method and operator. An inaccurate fast feed is poor practice and a safety risk.
Use observable quality measures instead:
- Was the batter ready and able to track the release?
- Did the ball land in the intended zone?
- Was the line inside the agreed corridor?
- Could the feeder repeat it without overstraining?
- Did the drill produce the intended decision or movement?
- Did control remain stable through the final ball of the set?
If three or more balls in a short block miss the safe target area, reduce effort, shorten the block or return to an easier progression.
Useful drills
Front-foot decision lane
Mark a broad good-length area and two scoring gates. Feed six controlled balls. The batter earns a point for a balanced decision and another for keeping the ball through the chosen gate. No point is awarded for a powerful shot made from a poor position.
Back-foot shape
Use a clearly agreed shorter length at moderate pace. The batter practises getting into a stable position, protecting the body and choosing a controlled scoring option. Do not surprise a junior or inexperienced player with an unannounced short ball.
Leave-or-play channel
Create a visual channel around off stump. Mix balls just inside and just outside it without chasing extra pace. This develops judgement and is often more valuable than a sequence of obvious scoring balls.
New-ball set
Use a sound ball with an intact seam and alternate the seam presentation only after the feeder can control basic line and length. Replace any ball that is split, misshapen or unsuitable for the surface.
Fatigue check
Finish with a final six at the original pace and target. Compare accuracy with the first six. If release control has fallen away, the session has already gone long enough.
Common problems and fixes
| Problem | Likely cause | Practical response |
|---|---|---|
| Repeated full tosses | Late or inconsistent release | Reduce effort and rehearse into an empty net |
| Ball pulls across the batter | Operator alignment or wrist path changes | Square the feeder zone and use a larger target |
| Pace varies wildly | Operator trying to force speed | Shorten the action and prioritise smooth rhythm |
| Ball sticks or releases late | Wrong ball, wet cup or damaged device | Stop, clean and inspect; use the specified ball |
| Batter flinches or stops tracking | Progression is too fast | Return to softer ball, lower pace or known length |
| Accuracy fades late in the set | Feeder fatigue | Use shorter blocks and rotate trained operators |
| Operator develops pain | Excessive effort or poor technique | Stop the session; do not throw through pain |
Never solve a control problem by moving the feeder dangerously close. Adjust the drill, not the safety margin.
Buying checklist
Before purchasing, confirm:
- the ball types and sizes the device is designed to hold
- its intended player and pace range
- whether the main operator can control that flex
- the manufacturer’s inspection and care advice
- whether replacement or warranty support is available
- the available lane length and roof clearance
- whether a softer training option is needed for juniors
- how the device will be transported without bending or impact
For New Zealand readers who need to compare availability, the current bowling-aid range at NZ Cricket Store is one practical reference point. Check the individual product instructions before deciding; the right fit depends on who will feed, which ball will be used and where the session will run.
Care and storage
Wipe the device clean after use, especially after wet-grass sessions. Let it dry naturally away from direct heat. Store it without heavy kit pressing on the cup or shaft.
Before every session, check:
- cup edges and ball retention
- shaft and handle for cracks or whitening
- permanent bending or distortion
- slippery residue
- any change in release behaviour
If a device is damaged or releasing unpredictably, remove it from use. Tape is not a substitute for a structurally sound throwing tool.
Session checklist
Before
- Facility and backstop checked
- Correct ball and device matched
- Device inspected
- Batter protected and ready
- Feeder practised and target agreed
- Waiting zone clear
During
- One operator and one live ball
- Ready/ball/stop calls used
- Accuracy reviewed every short block
- Pace progressed only when control is stable
- Loose balls collected during a full stop
After
- Player and feeder debriefed
- Device inspected, cleaned and dried
- Damaged balls removed
- Equipment stored without pressure or heat
Frequently asked questions
Can a beginner use a cricket ball thrower?
A beginner can be introduced to a suitable thrower drill, but usually with a trained feeder, modest pace, a predictable length and an appropriate soft ball first. The device should never be the reason a player is rushed into hard-ball practice.
Is a thrower safer than a bowler?
Not automatically. It may reduce the feeder’s workload and improve release height, but it can also generate demanding pace. Safety comes from the facility, protective equipment, operator control and progression.
Can I use it outside a net?
Only where the practice area has enough controlled space, effective backstop protection and no public access to the strike zone. For most clubs and homes, a properly managed net is the safer setting.
How many balls should a set contain?
Short blocks of six to ten balls make it easier to preserve feeder accuracy and review the goal. Stop earlier if control or attention drops.
Should the batter know what is coming?
At first, yes. Predictability helps the player learn to track the release. Add variation later and state the allowed options before the set.
Sources and further reading
- ECB recreational cricket safety guidance
- New Zealand Cricket: Transition to Hard Ball
- Sidearm instructions and safety
- CricketWise cricket net safety checklist
Safety guidance should be applied alongside the current rules, policies and manufacturer instructions relevant to your competition, facility and equipment.