Cricket Rebounder Guide: Nets, Boards and Safe Catching Drills
Choose a cricket rebounder net or board, set it up safely and use progressive drills for catching, wicketkeeping, close fielding and ground-fielding practice.
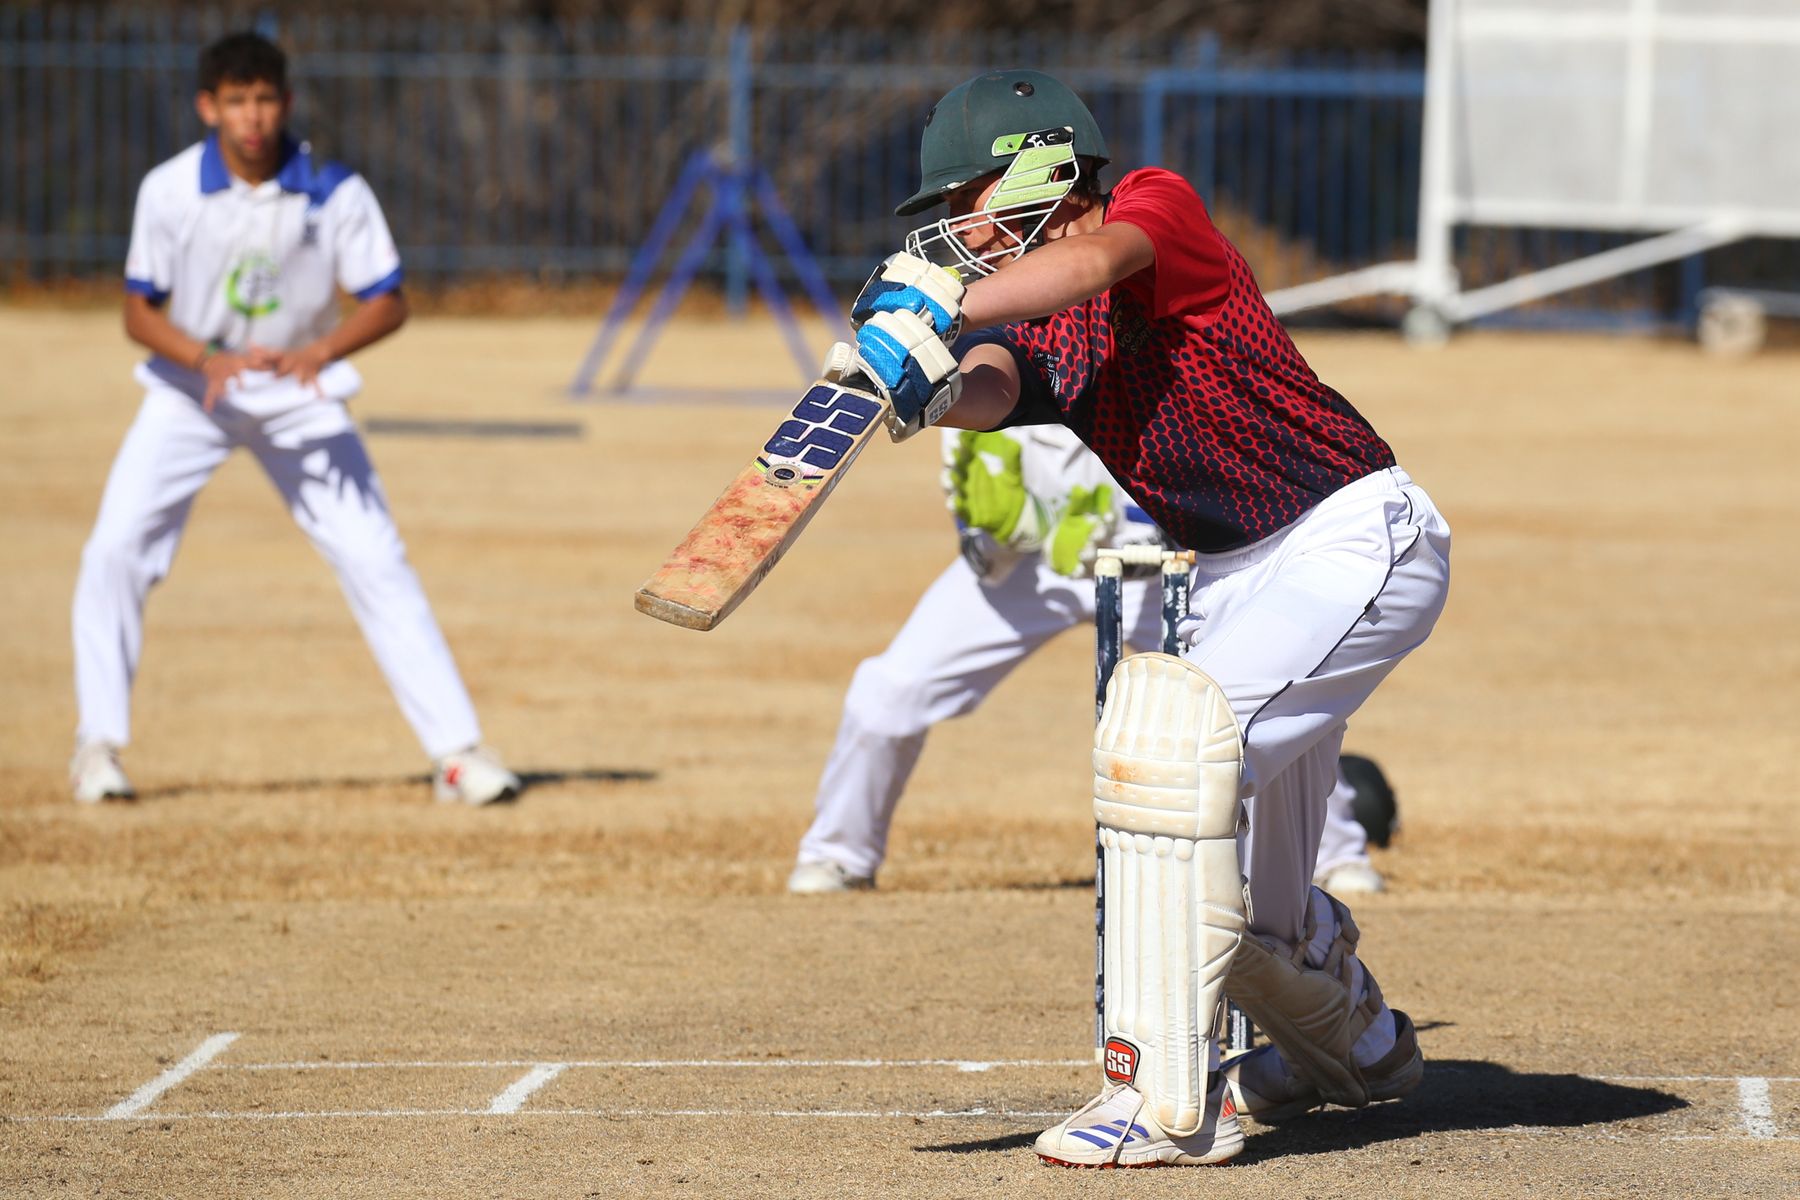
Choose a rebounder that stays stable, returns the ball predictably enough for the user's level and fits the available run-off space. Anchor it exactly as instructed, create a clear return zone, start with gentle underarm feeds and increase angle or pace one variable at a time. Nets usually give a softer, more adjustable return; rigid boards give a quicker, more consistent rebound but demand tighter safety control.
What a cricket rebounder is for
A rebounder returns a thrown or struck ball to the player without a second feeder. Depending on its surface and angle, it can support catching, wicketkeeping footwork, close-field reactions, one-hand pickups and ground-fielding technique.
It is not a substitute for a coach, a partner or varied match practice. Its value is repetition: a player can repeat one movement, receive immediate feedback and make a small adjustment before the next ball.
The return can also be less predictable than it looks. A hard throw, loose frame, worn net, wet ball or unexpected seam contact can send the ball outside the intended line. Set the area up for the worst plausible rebound, not only the perfect one.
Rebounder net or rebound board?
The two main designs behave differently.
| Feature | Tensioned rebounder net | Rigid rebound board |
|---|---|---|
| Return feel | Softer, with variation from net tension | Faster and more consistent on a sound surface |
| Adjustment | Often has several frame angles | Usually changes through board angle or target area |
| Best use | General catching, footwork and junior progression | Sharp catching, wicketkeeping and firm ground returns |
| Noise | Usually quieter | Often louder, especially on hard ground |
| Surface wear | Net and bungees need checking | Face, frame and edges need checking |
| Stability need | Wide feet plus pegs or weights as instructed | Secure base and non-slip contact are critical |
| Storage | Often folds flatter | Can be heavier or bulkier |
| Main hazard | Loose hook, cord or collapsing frame | Fast ricochet and hard exposed edge |
A net is often the more forgiving all-round option. A board can give excellent repetition for experienced users, but the rebound comes back with more energy and leaves less time to react.
Choose the tool for the drill and learner. A young player practising soft hands does not need the fiercest return available.
Start with the operating manual
Rebounders vary in frame geometry, anchoring and allowable ball type. Read the specific assembly and use instructions before training.
One publicly available rebound-net manual sold in New Zealand specifies assembly on a flat surface, checking all fastenings, using the supplied ground pegs on suitable ground, and keeping children clear during assembly. Those are sensible principles for any model, but the instructions packaged with your unit take priority.
Do not invent an anchor method that transfers the load to a weak fence, portable goal or loose object. Do not add bungees or change the return surface unless the manufacturer permits it.
Build a safe return zone
A rebounder needs more space than its frame footprint. The ball may return high, wide or behind the user after an edge.
Create three zones:
- Feed zone: where the player releases or strikes the ball.
- Return zone: the full area the ball could travel back through.
- Run-off zone: clear space beyond the player for a missed catch or deflection.
Keep spectators, siblings, teammates and pets outside all three. Move bags, drink bottles, spare balls and cones that could trip the player.
A wall behind the player is not run-off space. Nor is a footpath, car park or another team’s practice lane.
If a hard ball could leave the practice area, add effective backstop netting or change to a suitable soft training ball. Read our cricket net safety checklist before combining a rebounder with a net facility.
Pre-session equipment check
Inspect the rebounder every time. The quick check should include:
- frame fully opened and locking points engaged
- feet flat with no rocking
- ground pegs, weights or stabilisers fitted as instructed
- net seated evenly with cords, hooks or springs secure
- rigid board face intact and edges covered
- angle mechanism locked
- no corrosion, cracks, sharp points or frayed cords
- ball appropriate for the unit, player and surface
- surrounding ground dry, level and unobstructed
Push the frame gently in the direction of use. If it shifts, twists or folds, do not begin.
Check the ball too. A wet, split or misshapen ball can return differently. Clean tennis balls and soft training balls are useful for early drills because their bounce is easier to manage and the consequences of an error are lower.
Our cricket training-ball guide compares common options.
Protective equipment depends on the drill
A soft-ball catching drill at walking pace is not the same as a hard-ball close-catching drill. Increase protection as ball hardness, speed and proximity increase.
For firmer feeds, consider:
- suitable cricket footwear with reliable grip
- wicketkeeping or fielding gloves for the role
- an abdominal or pelvic protector as appropriate
- a helmet and faceguard where a hard ball could reach the head
- role-specific pads or body protection
- long sleeves for repeated close work where practical
The cricket protective equipment guide explains how protection changes by role. Coaches must also apply current governing-body and competition policies for juniors.
No item of protection justifies standing too close for the user’s ability.
Control the rebound before adding speed
The first session is for learning the unit.
Set the easiest angle and use gentle underarm feeds. Stand far enough away that the user has time to see the return, move and catch with balance. Throw at a large central target.
Watch ten returns before deciding to make the drill harder:
- Does the frame stay still?
- Is the return inside the planned zone?
- Does the ball rise, skid or rotate?
- Can the player keep their eyes level?
- Can they miss safely without colliding with an object?
- Does the ball ever reach another activity area?
Only continue if the answers are acceptable. Adjust one variable—angle, distance, ball or feed force—then test again.
Progression ladder
Level 1: Two-hand body catch
Use a soft ball and a central underarm feed. The player starts balanced, moves their feet into line and catches with relaxed hands. The goal is a quiet, secure catch, not a dramatic one.
Level 2: Alternating chest-height returns
Move the target slightly left and right. The player takes one controlled step, catches in front of the body and resets before the next feed.
Level 3: Ground return
Change the angle only if the rebounder is designed for it. Feed the ball to return along the ground. Practise getting the head over the ball, hands down early and body behind the line.
Level 4: Wicketkeeping movement
The keeper starts in a balanced stance and works across to receive the return. Use keeping gloves only when their fit and condition are suitable. Begin with a soft ball and enough distance to move without rushing.
Level 5: Close-catching reaction
An experienced coach controls a firmer feed while the catcher works from a safe, progressive distance. Keep the return zone empty and stop before fatigue degrades hand position or concentration.
Level 6: Decision drill
Use two target areas that produce different returns. The player calls the movement or technique as soon as the path is clear. Decision quality matters more than reaction theatre.
Do not skip levels simply because the rebounder can return the ball faster.
Eight useful drills
1. Ten quiet catches
Make ten controlled central catches without the hands recoiling into the chest. Count quality catches, not consecutive catches at any cost.
2. Colour-call movement
Place one coloured cone on each side. A coach calls a colour just before the feed. The player moves around that cone, regains balance and receives the return.
3. One-hand support
With a soft ball and modest return, catch with the dominant hand for five repetitions, then the other hand. Keep the free hand close enough to support if needed.
4. Long-barrier return
Set a safe low return. The fielder moves into line, forms a long barrier and completes a controlled pickup. Roll or feed gently at first.
5. Keeper gather and present
The keeper receives the ball, brings it into a secure position and presents the seam or ball face toward an imaginary stumps target. Footwork and head position are scored before speed.
6. Deflection awareness
A coach intentionally feeds near—but not at—the edge of the target to create manageable variation. Use a soft ball and a large clear zone. The player practises staying balanced when the return is imperfect.
7. Catch, move, return
After catching, the player moves to a second marker and makes a controlled return throw at the rebounder. This links receiving, balance and release without turning the drill into an uncontrolled race.
8. Pressure block
Give the player six feeds and a simple scoring system: one point for getting into line, one for secure hands and one for a balanced finish. Rest and review before repeating.
These drills can sit inside a wider practice plan. The coach equipment-bag checklist helps organise balls, cones, first-aid items and spares without cluttering the working area.
Distance and angle: use evidence from the session
There is no universal safe distance because rebounders, balls, surfaces and players differ. A manufacturer’s instruction may specify a minimum or recommended arrangement; follow it.
Beyond that, use a controlled test:
- start farther away with a soft ball
- make five gentle central feeds
- confirm the frame does not move
- confirm the player can track and miss safely
- change only one setting
- repeat the test
Moving closer shortens reaction time. Increasing the angle may raise or lower the return. Throwing harder can magnify both good and bad contacts. Treat each as a separate progression.
Solo practice limits
A rebounder can support solo repetition, but some sessions still need competent supervision.
A junior should not assemble, anchor or use a hard-ball rebounder session unsupervised. An adult should define the safe area and control escalation.
Even for adults, solo work is unsuitable when:
- the unit cannot be anchored reliably
- the return could reach the public
- the ground is wet or uneven
- hard-ball practice requires protection the player cannot check alone
- the drill involves diving near fixed objects
- the player is returning from injury or develops pain
- lighting or visibility is poor
A mobile phone and first-aid access do not turn a bad location into a safe one.
Common setup and training mistakes
| Mistake | Why it matters | Better approach |
|---|---|---|
| Using it unanchored | Frame movement changes the return and may collapse the unit | Fit the specified pegs, weights or supports |
| Beginning with hard, maximal feeds | Player and frame behaviour are not yet known | Test gently with a soft ball |
| Standing too close | Reaction time disappears | Start farther away and progress |
| Letting others collect balls behind the player | A miss or deflection can strike them | Stop the drill fully before retrieval |
| Using a wet ball | Grip and rebound become less predictable | Dry or replace the ball |
| Mixing several balls in the working area | Creates trip hazards and inconsistent returns | Use a container outside the movement line |
| Ignoring a loose cord or chipped board | Can change return direction or create sharp edges | Remove the unit from use |
| Chasing a dropped catch immediately | Player may enter the next ball’s line | One feed at a time, then reset |
Choosing a rebounder
Before buying, check:
- net or rigid-board return style
- ball types allowed by the manufacturer
- frame weight and footprint
- anchoring method for your actual surface
- angle adjustment and locking mechanism
- replacement nets, cords or parts
- folded size and safe storage position
- exposed hooks or pinch points
- warranty and assembly documentation
- whether one adult can move it without unsafe lifting
For a school or club, standardise the setup checklist and label the unit with its permitted balls. Record damaged cords or missing pegs so the next coach does not unknowingly use incomplete equipment.
Care, storage and wet-weather use
Dry the ball, net and frame before storage. Moisture can corrode the frame and leave a net with uneven tension. Do not use direct heat that could weaken synthetic material.
Brush dirt from hinges and feet. Keep pegs and small fittings in a labelled bag attached to the storage rack, not loose inside a ball bag.
After rain, the area around the unit may be the main hazard. A stable frame on wet grass does not make the player’s braking and lateral movement safe. If the ground has lost grip, move indoors or change the session.
Our guide to drying wet cricket gear after rain covers controlled drying principles for the rest of the kit.
A coach’s session card
Set up
- Flat, clear surface
- Manual followed
- Frame locked and anchored
- Return and run-off zones empty
- Correct ball selected
- Protection checked
Progress
- Gentle central test
- Large target first
- One variable changed at a time
- Short blocks with feedback
- Full stop for every ball collection
Stop if
- Frame shifts or folds
- Net, cord or board is damaged
- Returns leave the safe zone
- Ground or light deteriorates
- Player technique or attention collapses
- Pain, fear or fatigue changes movement
Frequently asked questions
Are rebounder nets good for junior cricket?
Yes, when a suitable model, ball and distance are used under adult supervision. Start with a soft ball and gentle return. The rebounder should develop confidence, not overwhelm the player.
Can I use a cricket ball?
Only if the manufacturer permits it and the user, protection, anchoring and environment are appropriate. A hard ball materially increases the consequences of a missed catch or unexpected ricochet.
Is a rebound board better for wicketkeeping?
A rigid board can create a quick, consistent return that is useful for experienced keepers. A net may be better for early footwork and softer variation. Neither is automatically better; choose the return characteristics the drill needs.
Can a rebounder be used indoors?
Potentially, if the unit is designed for the surface, is secured without damaging the floor, and the room has sufficient clear space and backstop protection. Check noise, windows, lights and public access.
How long should a drill last?
Use short, focused blocks—often six to ten returns—then reset. Stop when catch quality, frame stability or concentration declines.
Sources and further reading
- ECB recreational cricket safety guidance
- New Zealand Cricket: Transition to Hard Ball
- Rebound-net assembly and safety manual (New Zealand retail example)
- CricketWise cricket protective equipment guide
Follow the current manufacturer instructions and the rules, policies and supervision requirements that apply to your facility and players.