Cricket Fielding Gloves Guide: Training Use, Fit and Match Rules
Choose fielding gloves or catching mitts for cricket practice, understand when they can be used, and check fit, drill design, hygiene and replacement.
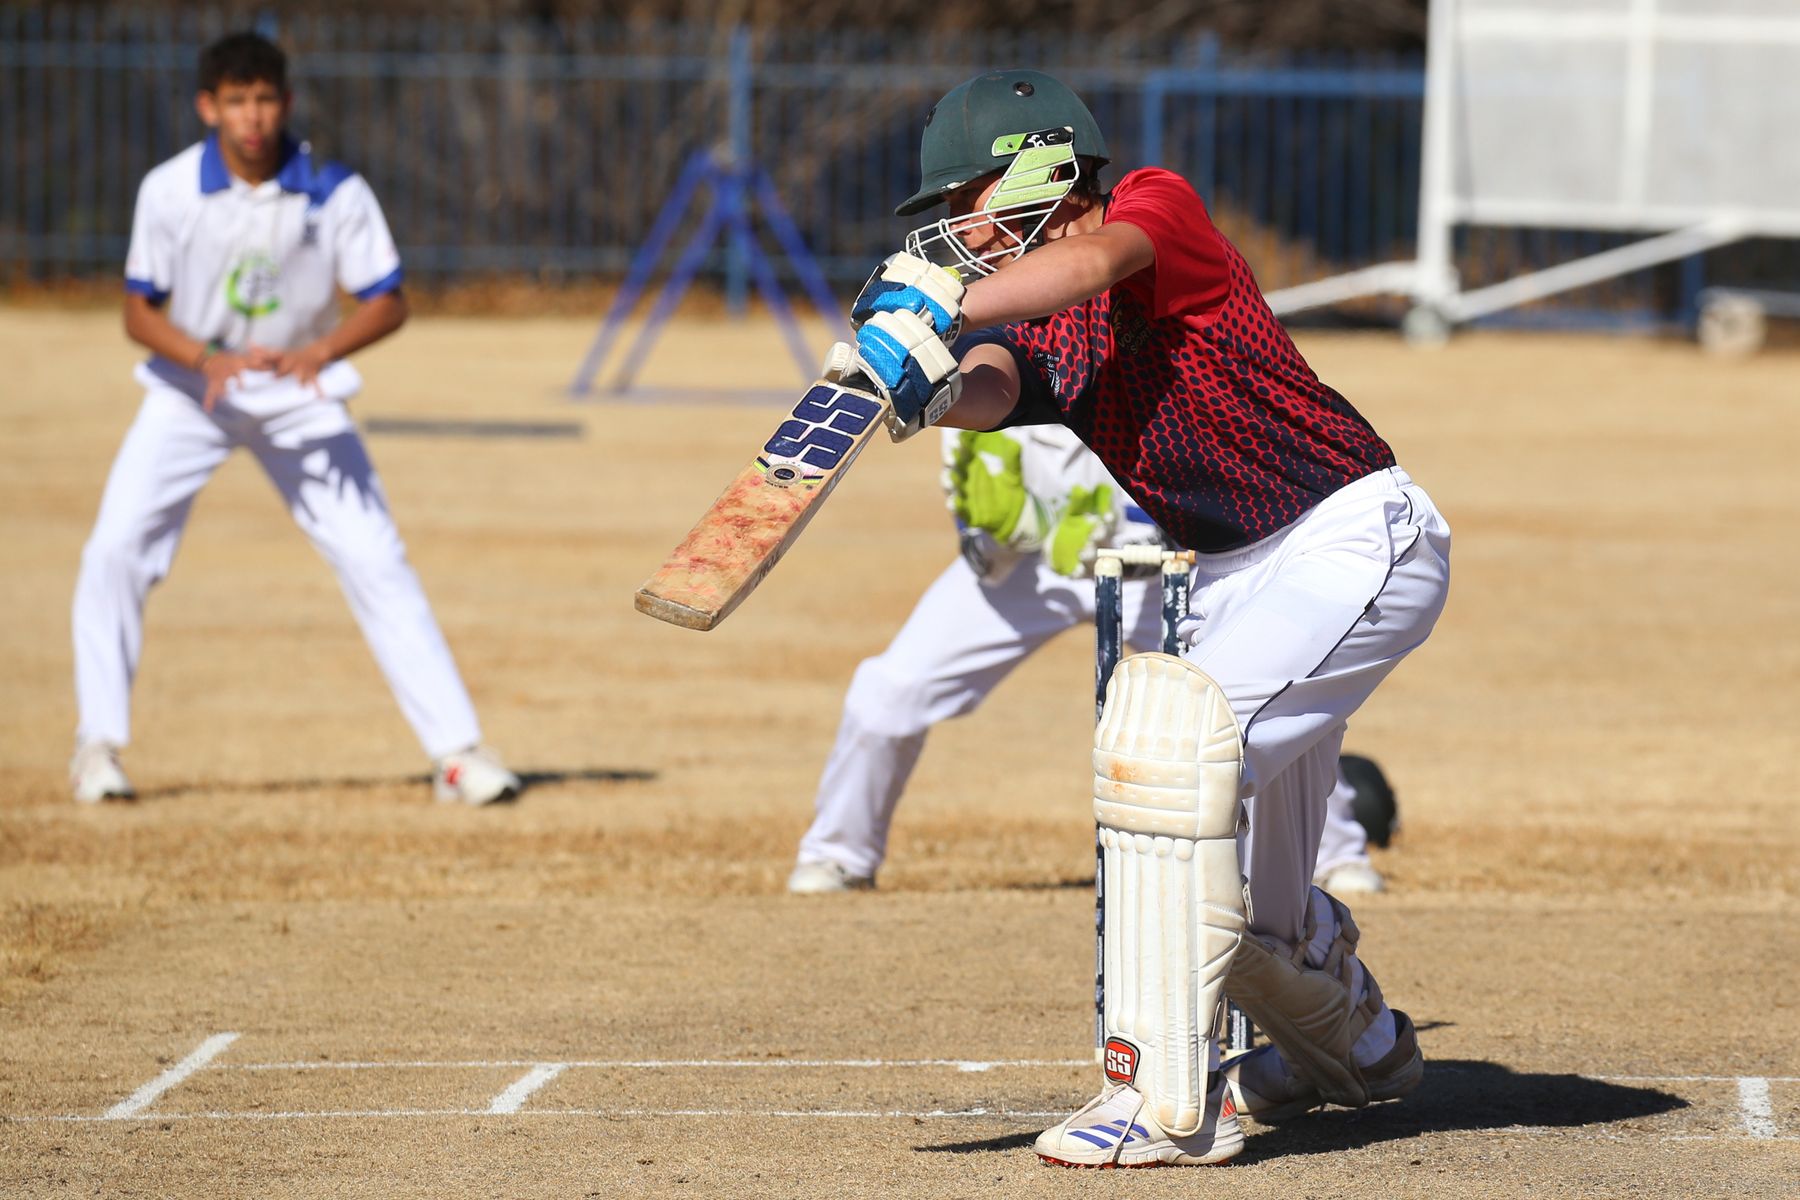
Treat fielding gloves as a training aid, not normal match equipment. The 2026 MCC Laws say that no fielder other than the wicketkeeper may wear gloves, although hand or finger protection may be allowed with the umpires' consent. For practice, choose the least bulky glove that supports the drill, fits securely without limiting finger movement, and still lets the player receive the ball with sound technique. Start with a suitable ball and controlled feeds, inspect the glove before every session, and stop if pain, numbness or damaged padding appears.
Fielding gloves and catching mitts can make high-volume practice more comfortable, but they are easy to misunderstand. They do not turn a dangerous drill into a safe one, and they are not a substitute for learning to watch the ball, move the feet and present the hands correctly.
The first distinction is important: a glove made for catching practice is usually training equipment. It is not automatically permitted in a match.
Are fielding gloves allowed in cricket matches?
Under MCC Law 28.1, no fielder other than the wicketkeeper may wear gloves or external leg guards. The Law adds that protection for the hand or fingers may be worn only with the consent of the umpires.
That means a padded catching glove sold for fielding practice should not be taken onto the field in a match as ordinary equipment. A player who needs protection because of an injury should raise it with the captain and umpires before play, and the competition’s current playing conditions may also matter.
Do not assume that a coach, retailer or previous umpire can approve equipment for a future fixture. The match officials and applicable playing conditions are the relevant authority on the day.
What is a cricket fielding glove?
Products use several overlapping names:
| Name | Typical construction | Best use | Main limitation |
|---|---|---|---|
| Padded fielding glove | Five-finger glove with palm and finger padding | Repeated catching drills and coach-fed practice | Can reduce feel if too thick |
| Catching mitt | Larger receiving surface, sometimes with fewer finger divisions | Controlled high-volume receiving | May encourage passive hands |
| Inner or liner glove | Thin fabric with little impact padding | Sweat control or light abrasion reduction | Does not make a hard-ball drill safe |
| Wicketkeeping inner | Thin glove worn beneath keeping gloves | Wicketkeeping comfort and hygiene | Not designed as a general fielding glove |
| Baseball-style glove | Deep pocket and highly asymmetric shape | Baseball or softball training | Changes cricket catching mechanics and is not match equipment |
Read the product description rather than buying from the name alone. “Protection” can mean anything from a thin abrasion layer to substantial impact padding.
When can a training glove help?
A fielding glove is most useful when the coach has already controlled the drill and wants to increase repetitions without unnecessary hand soreness.
Reasonable uses include:
- gentle reintroduction after a break, subject to medical or physiotherapy advice where relevant
- repeated coach-fed catches at a predictable pace
- close-catching technique with a soft or reduced-impact ball
- cold-weather practice when hands are otherwise difficult to warm
- assistant-coach receiving during a bowling drill
- specific hand-position work where the glove does not hide poor technique
It is less useful when the actual problem is fear, an unsuitable ball, uncontrolled feeds, insufficient space or a drill that is too advanced for the group.
If a player can only complete the drill by relying on thick padding, reduce the pace or change the ball before increasing the equipment.
Start with the drill, not the glove
Before choosing a glove, write down four variables:
- Ball: soft, tennis, incrediball-style, training or match ball
- Feed: underarm, overarm, bat deflection, rebounder or live hit
- Distance: how far the player is from the feed and likely rebound
- Outcome: clean catch, hand position, reaction, movement or repeat volume
Only one variable should usually become harder at a time. Moving closer while increasing ball hardness and feed speed makes it impossible to know whether the player or the equipment is coping.
Our fielding aids guide explains how to build measurable catching, throwing and ground-fielding stations.
Fit: secure without squeezing
Fielding gloves are often sold in broad sizes, so test the actual pair rather than relying only on age labels.
Finger length
The fingertips should reach the end without being forced into a curl. Excess empty space can fold when the ball arrives; cramped fingers reduce control and may create pressure at the nails.
Palm position
The padded palm should sit over the receiving area rather than sliding towards the wrist. Ask the player to open the hand fully, make a gentle fist and form a normal two-handed catching shape.
Wrist closure
A strap should keep the glove from rotating without restricting circulation. The player should still be able to flex and extend the wrist naturally.
Finger spread
Check a high catch, reverse-cup position, low catch and close-catching shape. Padding that prevents the fingers spreading can change the receiving technique.
Warning signs
Stop the fitting test if there is:
- numbness or tingling
- pain at a seam or fingertip
- a wrist strap that leaves a deep mark
- restricted finger spread
- a glove that twists during a catch
- padding that blocks the player’s view of the ball
A larger glove is not always safer. Excess material can move at the moment of contact.
Padding: enough for the task
Thick padding can reduce sting, but it also changes feedback. The player may squeeze late, catch with a flat rigid hand or stop learning how the ball should be received.
Use the least padding that supports the planned practice. For beginners, changing to a softer ball is usually a better first adjustment than adding a heavily padded glove.
Inspect whether the padding is:
- evenly distributed across both gloves
- secured rather than bunching inside a pocket
- flexible at the finger joints
- intact at the edges
- dry and free from hard contaminated areas
Padding that has compressed, split or shifted should not be trusted because the outside still looks tidy.
Palm material and grip
Rubberised or textured palms can help a glove feel secure, particularly in repeated coach-fed drills. Too much tack can create a different problem: the ball may stick unnaturally or the player may stop using soft hands.
Compare grip with the ball that will be used. A surface that works with a dry training ball may become slippery with sweat, dust or moisture.
Never add an adhesive or grip product unless the glove maker explicitly permits it. Residue can transfer to balls and make the equipment difficult to clean.
A safe catching progression
The following progression is deliberately conservative. Adjust it to the player’s age, experience and the coach’s risk assessment.
| Stage | Feed | Ball | Coaching focus |
|---|---|---|---|
| 1 | Self-toss or gentle partner toss | Soft ball | Watch into hands, balanced base |
| 2 | Predictable underarm feed | Soft ball | Move feet before presenting hands |
| 3 | Varied but controlled feed | Suitable training ball | Adjust height and body position |
| 4 | Rebounder or bat deflection | Suitable training ball | React without guessing |
| 5 | Cricket-specific pace and angle | Ball chosen for group and venue | Decision, movement and recovery |
Do not progress merely because a set number of catches has been completed. Progress when technique remains stable and the player is comfortable.
For a rebounder session, use the CricketWise rebounder guide to check anchors, return paths and station separation.
Fielding gloves for junior players
Junior equipment should support learning and independence.
Check that the child can:
- put the gloves on the correct hands without help
- close and release the wrist strap
- explain where the glove feels tight or loose
- pick up a ball from the ground
- throw the ball normally after removing the glove if the drill requires it
- follow the stop signal immediately
Do not use a large adult glove for a child to grow into. A loose glove changes catching position and can give a false impression that the player lacks coordination.
Parents and coaches should also avoid treating gloves as compulsory. Some players may learn better with an appropriately soft ball and bare hands.
Hygiene and shared club equipment
Gloves trap sweat and are often shared across groups. A club needs a cleaning and allocation routine, not just a storage tub.
After practice:
- open every strap and allow the gloves to ventilate
- follow the maker’s cleaning instructions
- wipe only with products compatible with the materials
- dry fully away from direct high heat
- keep clean pairs separate from used pairs
- record damage before the equipment returns to circulation
Where possible, assign pairs by player or size group. Do not share a glove over an open wound or skin infection. A washable liner may help, but it does not remove the need to clean the main glove.
Our club equipment inventory and inspection guide includes labelling, quarantine and replacement records.
Inspection before every session
Check both gloves as a pair:
- palm and finger padding remain aligned
- seams are closed and smooth
- wrist closures hold under gentle pull
- grip material is not peeling
- the inside is dry and clean
- there are no sharp edges, hard lumps or foreign objects
- the current player can spread and close the hand
Mark damaged gloves out of service. Do not leave a questionable pair in the main kit for the next volunteer to discover.
When to replace a fielding glove
Replace or formally withdraw a glove when:
- padding no longer returns to shape
- the palm has split or become hard
- a closure releases during catches
- a seam rubs the hand
- the glove remains loose at the correct nominal size
- odour or contamination cannot be removed safely
- the maker’s stated service life or inspection rule has been reached
Do not repair protective padding with improvised foam or tape. A cosmetic repair can hide the condition that caused the glove to fail.
Buying checklist
- training purpose defined
- match-use limitation understood
- ball, feed and distance selected first
- player can spread and close fingers naturally
- palm padding stays aligned
- wrist closure is secure without pressure
- care instructions suit the club routine
- shared-equipment hygiene plan exists
- damaged-pair quarantine method exists
- player has practised without relying on padding alone
For New Zealand training sessions, one live example of the equipment type is this padded fielding glove for catching practice. Check the current description, availability and fit before deciding whether it suits the drill.
Disclosure: CricketWise may earn a commission from qualifying purchases or referrals through selected links, at no extra cost to you. Our editorial judgement remains independent.
Bottom line
Fielding gloves can support repeated practice, but the session design remains the main safety control. Use a suitable ball, predictable progression and enough space; then choose a glove that fits securely without taking over the catching technique.
For matches, treat a training glove as unavailable unless the Laws, playing conditions and umpires permit the specific protective item.
Sources and further reading
- MCC: Laws of Cricket, 2017 Code 4th Edition (2026)
- ICC: Men’s Test Match Clause 28 — The Fielder
- New Zealand Cricket: Playing Conditions and Policies
- CricketWise: Cricket Fielding Aids Guide
Image: existing CricketWise editorial asset.