Cricket Fielding Aids Guide: Catching, Throwing and Ground Work
Choose cricket fielding aids for catching, throwing accuracy and ground-fielding practice, with safe set-up, progression and club buying advice.
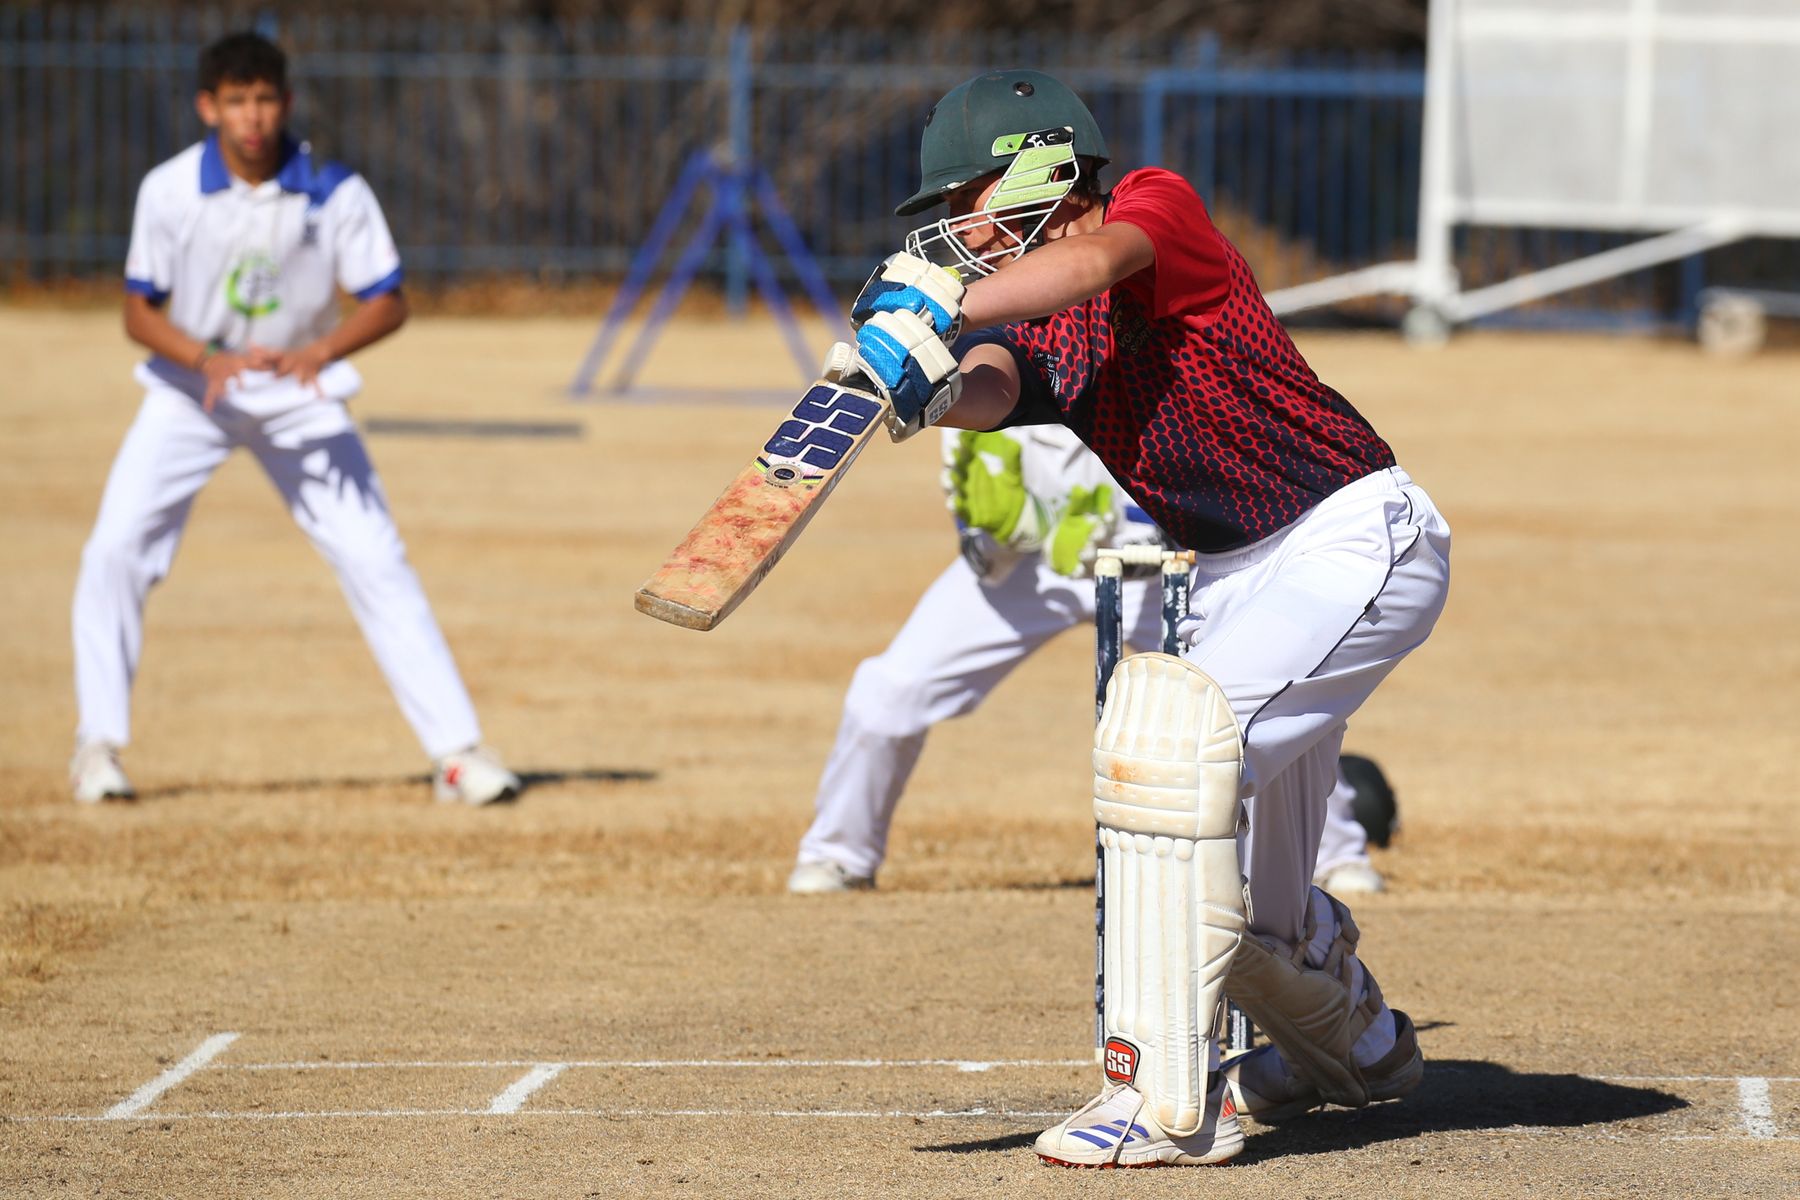
Start with the problem you need to solve, not the most complicated device. Cones and flat markers organise space; target stumps and nets train throwing accuracy; rebounders add repeatable catching returns; soft training balls let beginners progress safely. Choose equipment that can be anchored, inspected and stored properly, then change one variable at a time—distance, ball, pace or angle—so the drill remains measurable and controlled.
What counts as a fielding aid?
A fielding aid is any piece of training equipment that makes a fielding skill easier to organise, repeat or measure. It may create a target, return the ball, define a movement route or change the pace and bounce of a practice.
Useful aids include:
- cones, spots and flat markers
- target stumps, stump bases and throwing nets
- rebounder nets and rigid rebound boards
- catching ramps and deflection boards
- soft, weighted or reduced-bounce training balls
- ball buckets and collection bags
- portable backstop nets
- reaction balls and hand-eye tools
- coaching poles and gates
The equipment does not teach the skill by itself. A good drill still needs a clear outcome, enough safe space, an appropriate ball and feedback that the player can use on the next attempt.
New Zealand Cricket’s participation resources repeatedly use simple combinations of balls, cones, bats, tees and stumps. That is a useful reminder: a small, well-planned kit can produce many effective practices.
Choose by training outcome
Begin with one sentence: “At the end of this block, the player should be better at ___.”
| Training outcome | Most useful aids | What to measure |
|---|---|---|
| Two-hand catching | Soft ball, cones, rebounder | Balanced position and secure catches |
| Close-catching reactions | Rebounder or deflection board, suitable ball | Clean contacts from controlled feeds |
| Ground-fielding | Cones, low rebounder setting, target stump | Body behind ball and accurate return |
| Boundary pickup and throw | Markers, target net or stump | Time to gather and throw accuracy |
| Relay throwing | Cones, two targets, several balls | Communication and clean transfers |
| Wicketkeeping movement | Rebounder, crease markers, keeping equipment | Footwork before glove contact |
| Junior movement skills | Bright markers, soft balls, large targets | Confidence, decision and safe movement |
| Throwing accuracy | Target stump, net or marked gate | Hits or balls through target area |
If the outcome cannot be described or counted, the session often becomes random activity. Equipment should make the task clearer, not merely busier.
The minimum useful fielding kit
For a coach beginning from scratch, a sensible core kit is:
- twelve to twenty visible cones or flat markers
- six to twelve suitable training balls
- one stable set of stumps or a target net
- one large ball bucket or zipped carry bag
- a first-aid kit and charged phone
- a simple session card with drill diagrams
- water and weather protection for the group
That kit can run catching pairs, throwing gates, pickup-and-release stations, relay races, backing-up games and small-sided fielding scenarios.
Add specialist equipment only when the group has a repeated need that the basic kit cannot solve. A rebounder is valuable for high-volume receiving practice; it is unnecessary if the real problem is that players do not move their feet before a catch.
Cones, spots and flat markers
Cones are the most versatile fielding aid because they define space without dictating one technique.
Use them to mark:
- starting positions
- throwing or catching gates
- safe waiting zones
- run-off boundaries
- collection points for loose balls
- relay stations
- target zones
- the edge of another group’s activity
Tall cones are easy to see but can be a trip hazard in a running line. Flat rubber markers are better where a player may step across the mark. Dome markers give good visibility while staying lower than a full cone.
Choose colours that remain visible on the actual surface. A red cone can disappear against a red indoor floor, while white markers may be hard to see in glare.
Our cricket coaching cones and markers guide covers dimensions, layouts and a station-planning method in more detail.
Target stumps and throwing nets
A small target rewards accuracy more clearly than “throw it somewhere near the keeper.”
Portable target stumps are useful for:
- side-on throwing technique
- run-out practice
- relay returns
- bowling accuracy
- pickup-and-release drills
A target net or pocket is useful when repeated balls need to be contained. It can reduce collection time, but it must be stable and large enough that misses do not enter another group’s area.
Before practice, test the target from the intended distance and throwing direction. A lightweight stump base that is stable for underarm throws may slide or tip when struck by a firm ball. Follow the manufacturer’s permitted surface and anchoring instructions.
Record a simple score such as hits from ten attempts or throws through a marked gate. Do not reward speed if the player’s balance and technique collapse.
Rebounders and deflection equipment
Rebounders make solo or small-group repetition possible. A tensioned net usually gives a softer, more variable return. A rigid board generally returns the ball faster and more consistently.
Choose the return characteristics for the learner:
- beginners need time to move and organise their hands
- wicketkeepers may use controlled side-to-side returns
- close fielders may progress to sharper deflections
- ground fielders need a predictable low return before variation
- junior groups need a ball and distance that allow safe misses
Anchor the unit exactly as its instructions require. Keep the entire return path and run-off area clear. Start with gentle, central feeds and adjust only one variable at a time.
Read the full cricket rebounder guide before using a net or board with a new group.
Training balls are part of the aid
Changing the ball can alter a drill more than changing the equipment.
| Ball type | Useful for | Main caution |
|---|---|---|
| Foam or very soft ball | First catches, confined spaces, confidence | Wind and unrealistically slow flight |
| Tennis ball | General catching and movement | Bounce can vary greatly by surface |
| Reduced-bounce training ball | Ground work and controlled progression | Check the expected response on the surface |
| Light training cricket ball | Transition toward cricket-like seam and flight | Still needs suitable space and supervision |
| Regulation hard ball | Match-specific advanced practice | Protection, distance and backstop controls are essential |
| Reaction ball | Unpredictable movement and footwork | Use a clear zone and modest feed speed |
Do not use a hard ball simply because senior players are present. Match the ball to the drill, distance, protection and competence.
The cricket training-ball guide explains the trade-offs in more detail.
Ball buckets, bags and retrieval systems
Ball storage sounds unimportant until loose balls enter a running lane.
Use one clear collection point outside the drill. A stable bucket keeps balls visible and can be moved between stations. A zipped bag is better for transport but slower during high-volume feeds.
Set a retrieval rule:
- the feeder calls stop
- every ball becomes dead
- players collect together
- the area is checked
- the next block starts only when the working lane is clear
Never ask one player to collect behind a live catcher or batter. A spare ball at each station may save time, but ten loose balls create a hazard.
Backstop nets and separation
A target does not replace a backstop. If a firm throw can miss the target and reach another activity, public path, window or car park, change the location or add an appropriate containment system.
Portable netting must be:
- designed for the ball and expected speed
- assembled to the manufacturer’s instructions
- stable on the actual surface
- free of gaps at the base and sides
- positioned with enough distance to absorb impact
- inspected for tears, loose ties and exposed frame ends
Do not tie a net to a portable football goal or fence unless the equipment owner and manufacturer approve the load. Wind can also change a safe-looking net into an unstable structure.
Our cricket net safety checklist covers lane separation and facility checks.
A five-step progression model
Use the same progression logic with almost any fielding aid.
1. Learn the shape
Remove time pressure. Use a large target, short distance and suitable soft ball. The player learns the movement and finishing position.
2. Repeat with feedback
Work in small blocks—often six to ten attempts. Give one useful cue, then repeat.
3. Add movement
Introduce one cone, a short approach or a change of starting position. The player should still arrive balanced.
4. Add a decision
Use two targets, a colour call or a partner’s signal. Decision quality matters more than theatrical reaction speed.
5. Add match pressure
Only after technique is stable, add a timer, score, competing runner or firmer ball. Keep the safe area and stop rule unchanged.
Avoid changing distance, speed, ball and target size at once. If the outcome improves or worsens, you will not know why.
Six fielding stations from one kit
Station 1: Catching gate
Set two cones about a comfortable step apart. A partner feeds a suitable ball so the catcher moves through the gate and takes the ball in front of the body.
Station 2: Pickup and throw
Roll the ball toward a fielder, who gathers, aligns and throws at a stable target. Score balance and accuracy before speed.
Station 3: Relay line
Use three markers in a straight or angled line. Players call names, present a clear target and transfer the ball without drifting into another lane.
Station 4: Boundary turn
A fielder starts at a cone, moves to collect and turns toward two target options. The coach calls the appropriate target after pickup.
Station 5: Rebound receive
Use a secured rebounder with a clear return zone. Begin with central feeds; progress left or right only when the player keeps control.
Station 6: Back-up and cover
One player throws at stumps while another practises backing up beyond the target. Mark the backing-up line so the second player does not enter the thrower’s lane.
Rotate by time or a fixed number of balls. Stop all stations together for retrieval.
Group size and equipment quantity
Crowded stations create waiting, stray balls and poor supervision.
A useful starting point is two to four players per technical station. Larger groups need:
- duplicate targets
- wider separation
- more balls under controlled retrieval
- an assistant coach
- simpler instructions
- visible waiting zones
New Zealand Cricket’s junior resources commonly specify group sizes and equipment beside each activity. Use the same discipline in your plan: write the player count, working area and equipment before the session.
If a club is equipping several teams, build identical labelled station bags. Standard kits reduce set-up time and make missing items obvious.
Safety check before every session
Walk the area rather than inspecting from the gate.
Check:
- surface grip, holes, drains and wet patches
- public access and other groups
- safe distance between activities
- target and net stability
- rebounder locks, cords and anchors
- ball condition and hardness
- suitable footwear and role-specific protection
- sun, glare, wind and lighting
- first-aid access and emergency communication
- a clear stop signal understood by everyone
The ECB coaches’ safety material emphasises planning sessions that are safe and effective. That starts with the environment and group, not with a waiver or a first-aid kit.
Stop when control is lost. More repetitions are not valuable if fatigue, frustration or poor visibility changes the risk.
Buying for a club or school
Write a specification before comparing prices.
Include:
- intended age groups and ability levels
- indoor, grass, artificial or mixed surfaces
- ball types the equipment must tolerate
- how many groups will train at once
- who will carry and assemble it
- storage dimensions and security
- replacement nets, cords, pegs or parts
- setup and inspection instructions
- warranty and local support
- total delivered cost
For current availability, the cricket training range at NZ Cricket Store can be a useful New Zealand reference; compare every item’s stated use, stock status and instructions with the needs of your session.
Do not buy one premium device if the same budget would produce four safe, active stations with balls, markers and stable targets.
Maintenance and storage
After each session:
- count balls and markers
- dry wet equipment naturally
- brush dirt from frames and hinges
- inspect cords, seams, targets and bases
- record missing parts
- store heavy items below shoulder height
- keep sharp pegs in a labelled closed container
- leave damaged equipment clearly out of service
Monthly in season, check fasteners, corrosion, net tension and bag wear. At season end, clean and inventory every kit before ordering replacements.
The coach equipment-bag checklist helps organise spares and first-aid items.
Common mistakes
Buying before defining the drill
A device looks impressive but does not solve the team’s actual problem. Start with the outcome.
Setting up several live ball lanes too close together
A missed throw enters another group. Increase separation, change direction or reduce the number of stations.
Using the hardest ball too early
The player protects themselves instead of learning the movement. Progress ball hardness deliberately.
Treating all rebounds as predictable
Seams, wet balls, loose nets and edge contacts change the return. Keep the whole possible path clear.
Rewarding speed alone
Players rush the pickup, throw off balance and learn a poor pattern. Score technique and accuracy first.
Leaving setup knowledge with one coach
Label parts, keep instructions with the equipment and teach assistants the same inspection routine.
A simple procurement shortlist
Before approving an item, the committee should be able to answer yes to these questions:
- Does it support a named training outcome?
- Is it suitable for our ages, ball types and surfaces?
- Can we create the required clear space?
- Can it be anchored or stabilised as instructed?
- Can our volunteers move and assemble it safely?
- Are replacement parts available?
- Is there a written inspection and stop-use rule?
- Will it still be used when the coach who requested it is absent?
If several answers are uncertain, trial the equipment or choose a simpler aid.
Sources and further reading
- New Zealand Cricket: Superstar Cricket Academy Stage 1
- New Zealand Cricket: Year 7 and 8 skills cards
- New Zealand Cricket: Advanced Development Coaching Course manual
- ECB Coaches’ Safety Pack
- New Zealand Cricket: Transition to Hard Ball
Follow the current manufacturer instructions, facility rules and governing-body requirements for the equipment, players and venue in front of you.