Cricket Coaching Cones and Markers Guide: Layouts and Drill Set-up
Choose cones, spots and markers for cricket coaching, lay out safe drill stations, measure gates and zones, and pack an efficient club training kit.
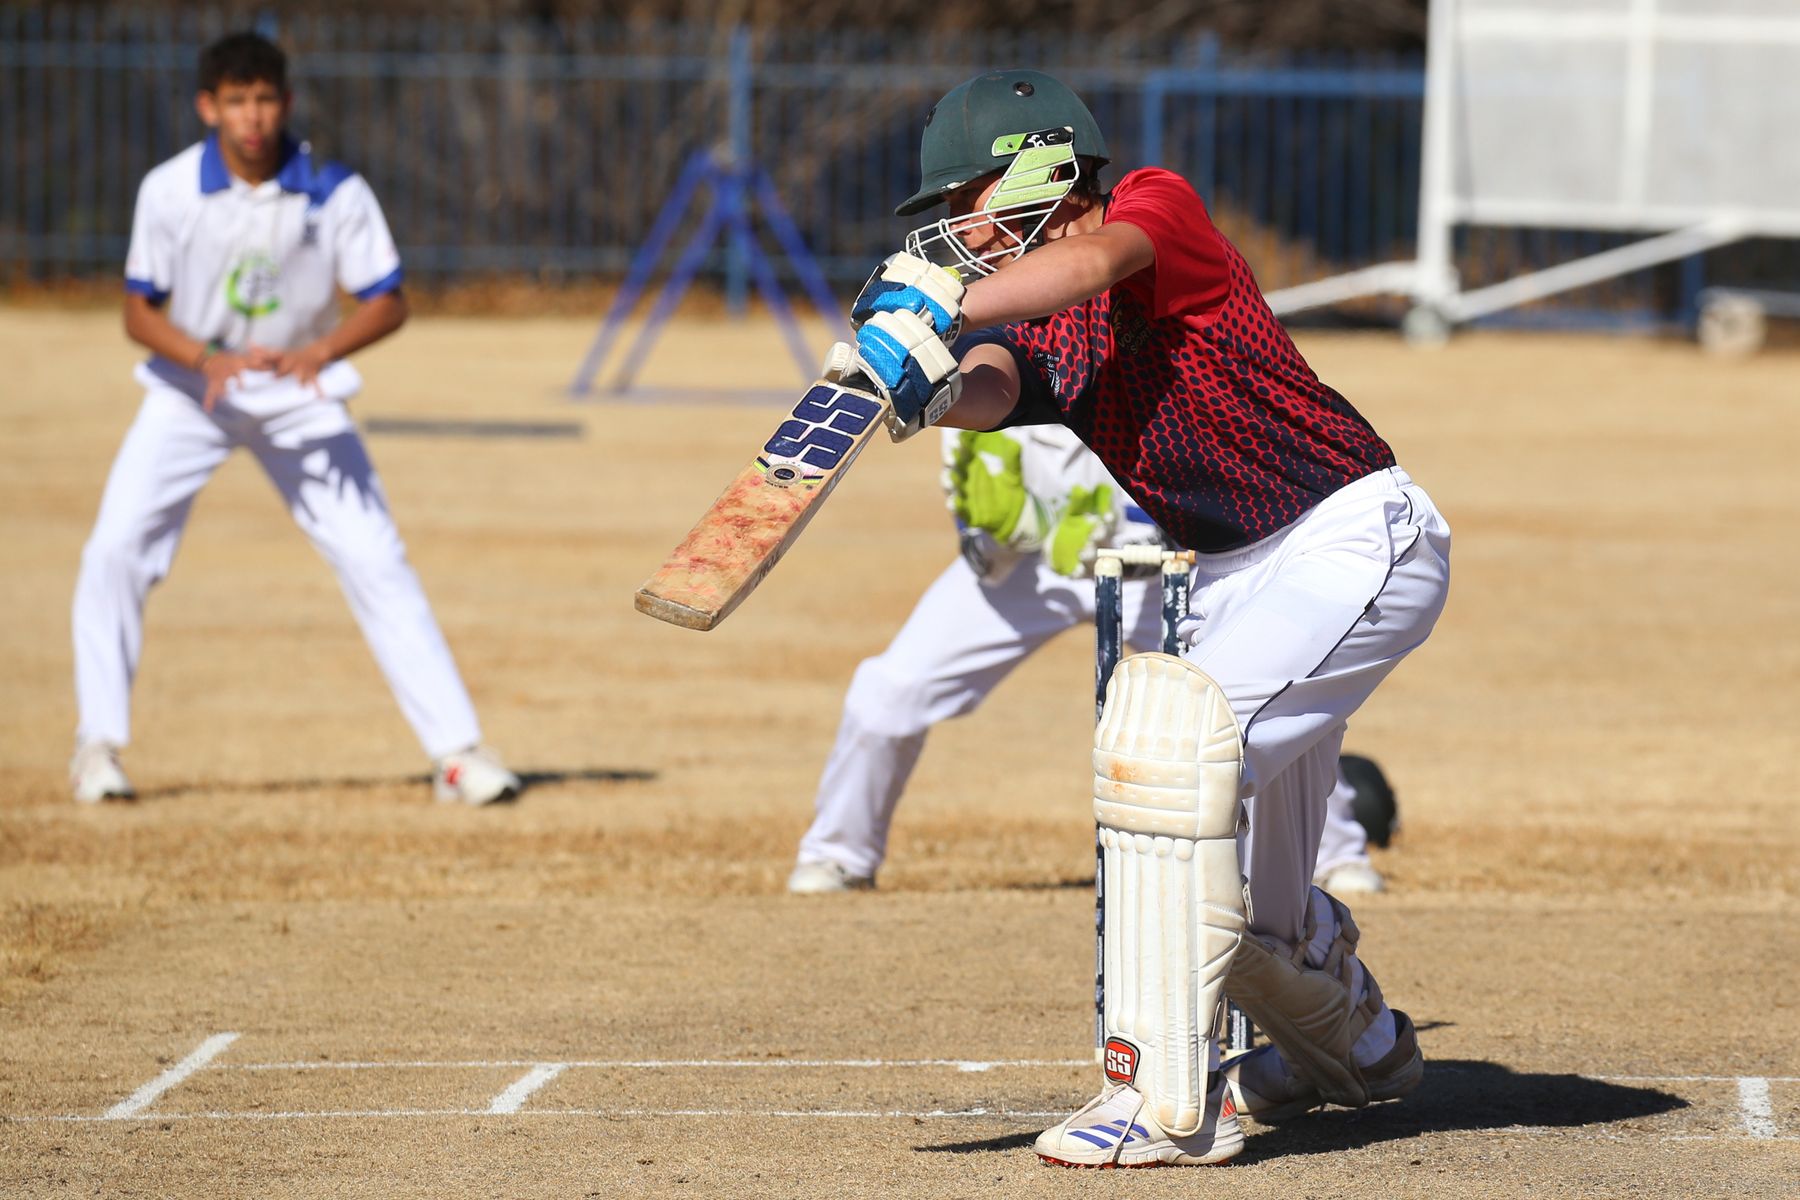
Use tall cones to make boundaries and waiting areas obvious, low dome markers for visible routes, and flat spots where players may step or slide across the mark. Choose colours that contrast with the surface, measure key distances instead of guessing, and orient stations so missed balls travel into clear space. Number or colour-code each station, keep spare markers in one bag, and stop all live-ball work before anyone retrieves equipment.
Why markers matter in cricket practice
Cones are simple, but they solve several difficult coaching problems at once. They show players where to start, move, wait, throw and stop. They make a target visible, separate groups and help a coach repeat the same drill next week.
A poor layout can do the opposite. Markers placed in running lines cause trips. Stations facing one another send balls across shared space. Tiny gates make beginners rush, while huge targets give no useful feedback.
New Zealand Cricket coaching resources frequently list the number of cones, balls, bats and stumps needed for each activity. That is good session design: the layout is part of the drill, not a decoration added afterwards.
Cone, dome or flat spot?
| Marker type | Best use | Main trade-off |
|---|---|---|
| Tall traffic-style cone | Boundaries, waiting zones, distant targets | Visible but easiest to trip over |
| Dome or saucer marker | Gates, routes, station edges | Low profile but can move on contact |
| Flat rubber spot | Foot positions and crossing lines | Low trip risk but less visible at distance |
| Pole and weighted base | Slalom, release line or upright gate | Clear vertical reference; needs stable base |
| Flexible mini hurdle | Footwork and movement patterns | Higher trip risk; not a general boundary marker |
| Chalk or removable tape | Indoor lines where permitted | Surface permission and cleanup required |
Do not use rigid objects, water bottles or kit bags as improvised cones. They are less visible, harder on impact and more likely to damage equipment or injure a player.
Choose colour for the surface
The best colour is the one players can see quickly.
- fluorescent orange or yellow usually works on grass
- blue or purple can separate a second instruction from the main route
- white may disappear in glare or against pale indoor floors
- red can be difficult on a red or brown surface
- one colour per station is easier than several decorative colours
- colour-blind participants may need shapes, numbers or verbal labels as well
Use contrast, not assumed meaning. “Run to the blue cone” only works if the player can identify it at pace. Numbered markers or laminated station signs can reduce confusion.
Flat markers belong in crossing lines
If a player is expected to step on, over or through a marker, use a low-profile option.
Flat spots work well for:
- ready positions
- batting or wicketkeeping footwork
- change-of-direction points
- where a feeder stands
- pickup locations
- a safe line behind which players wait
Tall cones work better outside the movement route, especially at the end of a gate or around a no-entry area.
A cone does not make an area safe. It communicates a decision the coach has already made about spacing and direction.
Measure before players arrive
Guessing distances can make a useful drill too hard, too easy or unsafe.
Pack a tape measure or pre-measured cord. For repeated club sessions, mark the cord at common intervals and label it clearly.
The correct distance depends on age, ability, ball and drill. Use a progressive method:
- set a generous starting distance and large target
- run a slow rehearsal without a live ball
- confirm the player can stop under control
- introduce a suitable ball at modest pace
- narrow the gate or lengthen the route only when quality is stable
Official coaching cards often specify approximate playing areas. Treat them as a starting structure and adapt for the group and ground.
Orientation matters more than exact dimensions
Before placing the first cone, decide where a missed ball will travel.
Aim live-ball stations toward:
- an empty outfield
- a suitable backstop
- the centre of a controlled net lane
- another clearly designated catcher
Do not aim toward:
- another drill
- spectators or public paths
- parked vehicles
- buildings or windows
- an entrance
- a slope where a ball will keep rolling
Leave a buffer beyond the visible cones. Players and balls do not stop exactly on a painted point.
A station-planning method
Draw the session as rectangles and arrows.
For each station, write:
- skill outcome
- number of players
- live-ball direction
- likely miss direction
- waiting zone
- collection point
- coach position
- equipment list
- stop signal
Then place the stations on the ground in this order:
- outer safety boundary
- live-ball direction
- targets or stumps
- player start positions
- waiting zones
- ball collection points
- coach viewing position
This order prevents a common mistake: building an attractive drill first and discovering there is nowhere safe for the rest of the group.
Five useful marker layouts
1. Throwing gate
Place two low markers to form a wide target. The player throws through the gate to a partner or backstop.
Progress by narrowing the gate, increasing distance or adding a pickup before the throw—one change at a time.
Score balls through the gate, not only direct stump hits. A gate rewards a repeatable line and makes improvement visible.
2. Pickup triangle
Use three flat spots in a triangle. Start at one point, roll the ball toward a second and direct the player’s return toward the third.
The shape encourages the fielder to gather, align and throw rather than simply run straight back to the feeder.
3. Colour decision box
Place four coloured markers around a central start point. Call a colour, feed the ball, and ask the player to move through the named side before completing the skill.
Begin without the ball. Add a soft ball only when the player can scan and move without colliding with markers.
4. Relay channel
Create a long lane with flat markers at transfer points. Players stay in their channel, call clearly and present a target.
Make adjacent channels run in the same direction. Opposing directions increase the risk of players and balls crossing.
5. Batting target zones
Use rows of markers to show scoring areas. A batter tries to send a controlled feed into a named zone.
New Zealand Cricket resources use coned scoring areas and progressions that change the target. Keep fielders outside the striking line and stop feeding before balls are collected.
Gates are more useful than tiny targets
A gate gives feedback without demanding perfection.
For a beginner, make the gate wide enough that sound technique can succeed. If every attempt misses, the player learns only that the target is too small.
Reduce the gate when:
- the movement is repeatable
- the player stays balanced
- the ball consistently reaches the target area
- the player can explain the intended line
Widen it again when adding distance, pressure or a harder ball. Progression is not a one-way race toward difficulty.
Mark waiting zones clearly
Inactive players need a defined place to stand.
A waiting zone should be:
- behind the feeder or outside the return line
- far enough from swinging bats
- separate from the ball bucket
- visible to the coach
- large enough that players do not spill into another station
Use four cones for a box or two markers for a clear line. Explain that nobody leaves the zone until invited.
Do not place waiting players behind a target. A missed throw will travel there.
Use markers to control retrieval
Loose-ball collection is when many drills lose control.
Designate a ball park outside the live lane. When the supply runs low:
- give one agreed stop call
- confirm every feeder has stopped
- wait until all moving balls are dead
- send players to collect
- count or scan the area
- return everyone to the waiting zones
- restart together
A coloured cone beside the ball bucket makes the collection point easy to find. Do not allow individual players to wander into another station to retrieve one ball.
Junior sessions need simpler layouts
Young players read space more slowly than adults and may follow the ball without noticing another group.
For junior sessions:
- use fewer stations
- make boundaries bright and obvious
- keep instructions to one route at a time
- use soft or modified balls where appropriate
- assign small groups
- give every station an adult view
- rehearse movement without a ball
- use the same stop word everywhere
The New Zealand Cricket Stage 1 material commonly uses small groups and a listed number of cones. That approach improves participation while keeping the coach’s task manageable.
The junior cricket gear checklist covers the wider equipment set.
Senior sessions still need visible control
Experienced players can throw harder and move faster, so the consequences of a poor layout increase.
Senior practices should check:
- longer miss distances
- backstop capacity
- run-off beyond diving drills
- spikes or studs on the actual surface
- lighting and glare
- whether several hard balls are live at once
- fatigue late in the block
Do not shrink safety buffers merely because players are skilled. Skill may improve control, but it also increases ball speed.
Indoor surfaces and tape
Ask the venue before using adhesive tape, chalk or rubber markers.
Indoors:
- use non-marking flat spots
- test whether markers slide under a shoe
- keep tape edges fully pressed down
- avoid blocking doors and emergency routes
- protect lights, glazing and wall fittings
- use suitable footwear
- remove every marker after the booking
A cone base that grips grass may slide on polished flooring. Test movement at low speed before the session.
Wind, rain and poor light
Light cones can move in wind; flat spots can become hard to see on wet ground.
In wind:
- use heavier dome markers or approved weighted bases
- place tall cones only where tipping will not enter a running line
- avoid improvised metal or stone weights
- recheck the layout during the session
In rain:
- reduce sharp changes of direction
- check surface grip
- use brighter markers
- shorten routes if players cannot stop safely
- stop if puddles hide holes or boundaries
In poor light, visibility matters more than maintaining the planned drill. Move, simplify or finish the session.
How many markers does a coach need?
A practical personal kit might contain:
- twelve dome markers in one main colour
- six dome markers in a second colour
- eight flat spots
- four tall cones
- two numbered station signs
- one tape measure
- one pre-measured cord
- one waterproof marker pen
- one mesh or zipped carry bag
A club running four stations may need double or triple that quantity. Standardise the colours so every coach uses the same language.
The coach equipment-bag checklist helps organise the complete session kit.
Make every layout accessible
Players may differ in colour vision, hearing, mobility and confidence.
Improve access by:
- combining colour with numbers or symbols
- demonstrating the route physically
- using short written station cards
- widening gates and turning circles
- reducing changes of direction
- allowing more reaction time
- placing markers where wheelchair users or mobility-aid users can pass safely
- confirming the stop signal visually as well as verbally
Adapt the task outcome without removing the player from the activity.
Care and storage
After training:
- count markers
- rinse mud with water if the material permits
- dry before sealing in a bag
- separate cracked or sharp items
- flatten bent spots
- store poles and bases together
- keep tape and chalk away from moisture
- update the kit inventory
Do not stack wet cones in a closed box for weeks. Dirt and moisture hide damage and create unpleasant equipment for the next coach.
Replace markers that have split into sharp edges or no longer sit flat.
Common mistakes
Using a marker as a collision target
Players should move around, through or to a marker—not dive onto a rigid cone.
Adding too many colours
The instruction becomes harder to remember than the skill. Use one primary colour and one contrasting cue.
Facing stations toward each other
Missed balls and players share the same space. Align activity in one direction or create a wide neutral buffer.
Making every route a race
Speed hides poor movement and increases slips. Establish control before adding a timer.
Guessing every distance
The drill changes between groups and progress cannot be compared. Measure the key gate or route.
Leaving markers after practice
They become a hazard for grounds staff, other teams and the public. Use a final count.
A ten-minute setup checklist
Ground
- inspect surface, slope and access
- identify public and team movement
- choose safe live-ball direction
Layout
- mark outer boundary
- place targets and gates
- add start and waiting positions
- create collection point
- confirm run-off space
Equipment
- count balls
- stabilise targets
- select appropriate ball type
- remove damaged markers
- position first-aid kit and phone
Players
- explain the outcome
- demonstrate the route
- name the stop signal
- rehearse without a live ball
- begin at controlled pace
When to buy more markers
Add equipment when it will reduce waiting or make separation clearer.
Useful reasons include:
- a new team trains at the same time
- one large group needs smaller stations
- flat spots are required for indoor work
- colour-coded roles improve decision drills
- a standard club kit needs to be duplicated
Buying more because several markers are missing is not enough. First improve counting, labelling and storage.
For broader equipment choices, read the cricket fielding aids guide.
Sources and further reading
- New Zealand Cricket: Superstar Cricket Academy Stage 1
- New Zealand Cricket: Year 5 and 6 skills cards
- New Zealand Cricket: Year 7 and 8 skills cards
- New Zealand Cricket: Transition to Hard Ball
- ECB Coaches’ Safety Pack
Adapt every layout to the players, surface, ball and facility. Current manufacturer and venue instructions take priority.