Cricket Chest Guard and Rib Protector Fit Guide
How to choose, position and movement-test a cricket chest guard so it covers the ribs and upper abdomen without restricting batting.
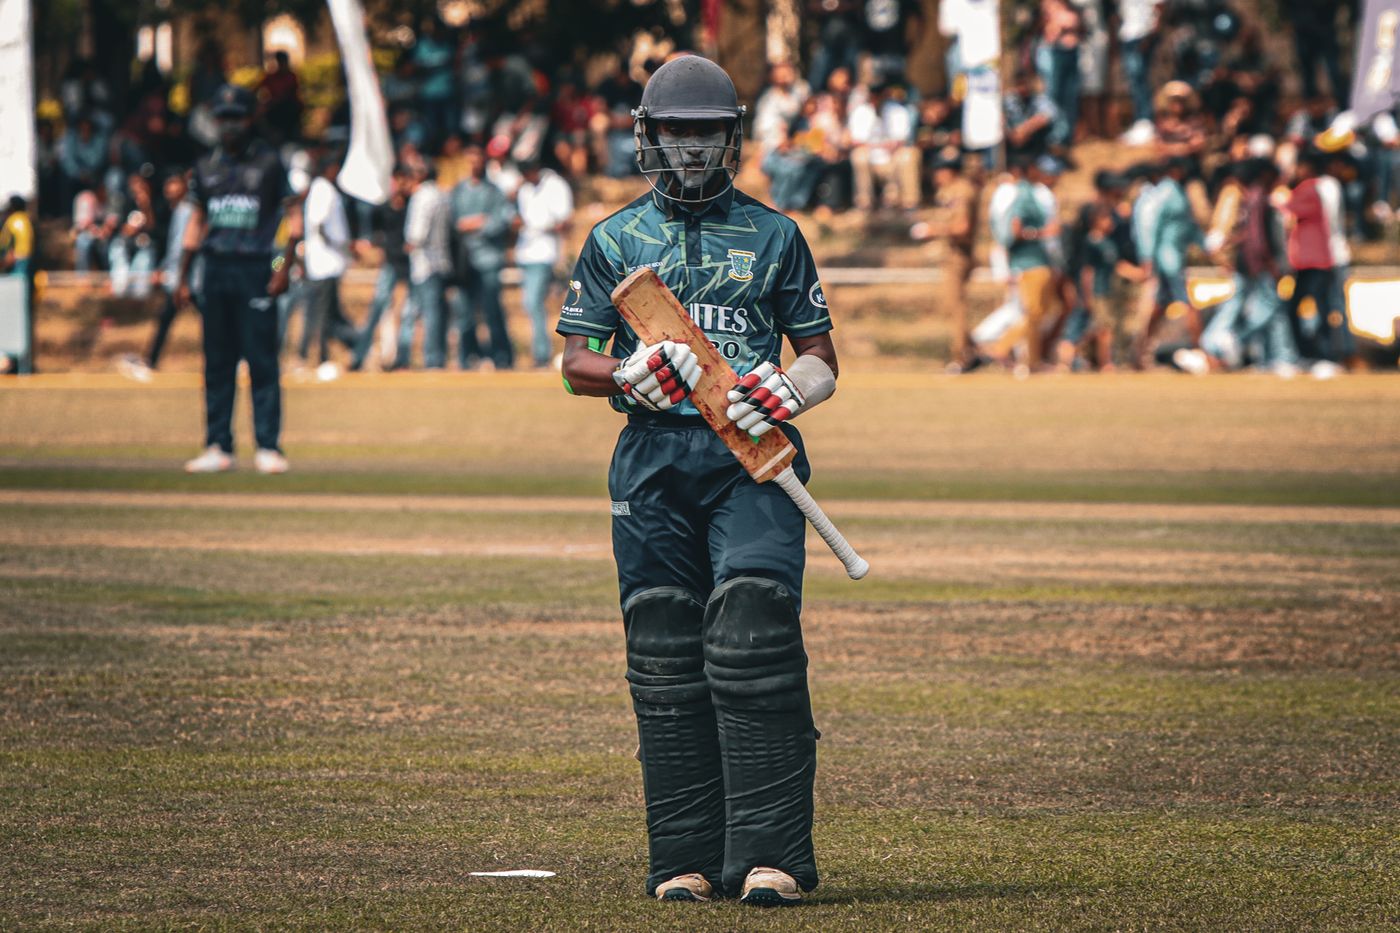
A cricket chest guard should cover the ribs and upper abdomen most exposed in your batting stance, sit close to the body, and stay centred through a full backlift, defensive shot, pull-shot movement, sprint and turn. Measure for the exact model, follow its left- or right-handed orientation, and test it with your match shirt, arm guard and thigh protection. Reject a fit that rides up, rotates, digs into the ribs or changes the bat path.
What a cricket chest guard protects
A cricket chest guard—also called a rib protector or upper-body guard—adds padding or a shaped protective panel over part of the ribs and upper abdomen. The ECB’s current recreational safety guidance says chest guards are usually worn by batters facing fast bowling to help protect those areas from impact.
It is supplementary equipment. A chest guard does not replace a helmet, gloves, pads, abdominal guard, safe coaching progression or judgement about the pace a player is ready to face. No guard removes every risk from a hard ball.
The practical goal is simple: cover the intended area while allowing the batter to breathe, rotate and swing normally.
Who should consider one?
A chest guard can be useful when:
- a batter is facing faster or more frequent short-pitched bowling
- a junior is moving into harder-ball or higher-pace cricket
- a player has a stance that presents the ribs to the bowler
- a coach, parent or player wants additional upper-body protection after a sensible risk assessment
- a player is returning only after appropriate medical clearance and wants extra protection alongside that advice
Local competition rules may specify some protective equipment while leaving chest protection optional. Check the current rules for the player’s age group and competition. Optional does not mean irrelevant, but it also does not mean every batter needs the same model.
If a player has chest pain, breathing difficulty or a suspected injury after an impact, stop play and seek appropriate medical assessment. A guard is not a treatment for an injury.
Chest guard, rib protector or protective vest?
The names overlap, so compare the actual coverage and retention system.
| Style | Typical design | Main fit question |
|---|---|---|
| Single-side chest guard | Shaped panel over one side of the ribs | Does it match the batter’s stance and exposed side? |
| Rib protector | Compact pad or shell over the lower ribs | Does it cover the vulnerable area without slipping under the arm? |
| Upper-body guard | Larger panel covering more of the chest and upper abdomen | Can the batter rotate and bend without the edge digging in? |
| Protective vest | Garment with integrated or removable panels | Do the panels stay correctly placed in batting movements? |
A bigger panel is not automatically a better fit. Extra material can catch on the top arm, overlap an arm guard, restrict torso rotation or sit too low over the waist.
Left-handed and right-handed orientation
Some chest guards are symmetrical. Others are shaped for a right-handed or left-handed batting stance. Product labels are not always consistent: “right hand” may refer to the batter’s stance, the protected side or the model orientation.
Use the maker’s diagram rather than guessing. Put the guard on, take your normal stance and identify which ribs are presented towards the bowler. The thickest or shaped protection should remain over that area through the backlift and shot—not only while you stand square in front of a mirror.
If the model has different strap colours, hinged panels or a sculpted upper edge, follow its fitting instructions exactly.
Measure before choosing a size
Chest-guard sizes are not standard across brands. Junior, youth, small, medium and large labels can describe different dimensions.
Start with the measurement method for the exact model. If it asks for chest circumference:
- Wear a thin shirt similar to the match base layer.
- Stand normally and breathe out gently.
- Run a soft tape horizontally around the fullest part of the chest.
- Keep the tape level and close without indenting the skin.
- Compare the result with the current product chart.
Also check the panel’s height and width. A circumference may select the strap range but does not prove that the protected panel covers the right ribs.
For juniors, avoid buying a large guard to “grow into”. Excess room can let the panel rotate or ride up. Choose a current fit with useful adjustment left, then recheck during the season.
How to position a chest guard
1. Start with the match layers
Put on the base layer or match shirt used in play. If the guard is designed to sit under clothing, test it there. If the maker specifies another position, follow that instruction.
2. Identify the target area
Take your batting stance. The panel should cover the ribs and upper-abdominal area the model is designed to protect. It should not sit on the throat, push into the armpit or hang over the hip.
3. Set the lower edge
Check the fit in a forward bend. A low edge that digs into the waist or collides with a thigh guard will become more intrusive when running or playing front-foot shots.
4. Set the upper edge
Lift both arms into a full batting backlift. The top edge should not cut into the armpit or force the top elbow away from its usual position.
5. Adjust straps evenly
The guard should sit close enough to stay centred, but it should not restrict a full breath. Flatten twisted straps and secure the closures completely. Deep pressure marks, numbness, tingling or shortness of breath are not acceptable.
6. Add the remaining protection
Put on the abdominal guard, thigh guard, arm guard, gloves and any other equipment normally worn. Protective items must work as a system. A chest guard that fits alone may collide with an arm guard or shift when a thigh pad strap is tightened.
The three-minute batting movement test
Use a bat and complete the test at controlled speed in a clear space:
- Take ten normal breaths in your stance.
- Make five full backlifts.
- Play five shadow forward-defensive shots.
- Play five controlled pull or hook movements.
- Practise a leave against a short ball without turning away.
- Bend to ground the bat behind the crease.
- Sprint ten metres, turn and return.
- Repeat the stance and check the panel position.
Good signs:
- the panel still covers the intended ribs
- the guard does not rotate under the arm or around the back
- breathing remains comfortable
- the bat path and elbow position feel normal
- no edge catches another item of protection
- the player stops noticing the guard
Warning signs:
- the guard rides towards the throat
- the lower edge digs into the abdomen or hip
- a strap slides off the shoulder
- the panel flips or rotates during a cross-bat shot
- the top arm changes path to avoid the guard
- the batter loosens it so far that the panel no longer stays centred
Do not solve a poor shape by overtightening the straps. Try the correct size, opposite orientation or a different design.
Fit for juniors and growing players
A junior should be able to explain where the guard is meant to sit and tell an adult when it moves or hurts. Build the fitting check into every session until it becomes routine.
Recheck after:
- a growth spurt
- changing shirt or base-layer thickness
- adding an arm or thigh guard
- replacing a supporter or compression short
- noticeable stretching of the straps
- a heavy impact
Use controlled feeds when a player first wears the guard. The aim is to learn the feeling of moving in it before facing faster bowling. Our junior cricket gear checklist and cricket protective-equipment guide place chest protection within the complete kit.
Does a chest guard go under or over the shirt?
Follow the manufacturer’s instructions. Many compact guards are designed to sit close to the body under a shirt; some integrated vests are themselves a base layer. The retention system and seams must face the way the maker intends.
Under-shirt wear can reduce snagging, but it also means sweat reaches the guard. Over-shirt wear may change how the panel moves. Test the exact match arrangement and do not switch layers immediately before an innings without another movement check.
Combining chest, arm and thigh protection
The edges should meet or leave deliberate clearance without stacking into a rigid lump.
| Pairing | What to test |
|---|---|
| Chest guard + arm guard | Top-arm lift, elbow bend and pull-shot rotation |
| Chest guard + thigh guard | Forward lunge, waist bend and running turn |
| Chest guard + abdominal guard | Deep stance and comfortable waistband position |
| Chest guard + helmet | Head turn, leave movement and looking over both shoulders |
If adding one guard dislodges another, refit the system rather than accepting the compromise. For help with the other pieces, see the arm-guard fit guide and thigh-guard fit guide.
Care after training and matches
After use:
- Remove the guard from the kit bag.
- Open every strap and separate removable pads only if the instructions allow it.
- Wipe the surface with a clean, slightly damp cloth when permitted.
- Air-dry it at room temperature.
- Keep it away from heaters, strong direct sun and hot vehicles.
- Return it to the bag only when dry.
Do not machine-wash or soak shaped foam or a rigid panel unless the care label explicitly permits it. Heat and harsh chemicals can damage materials even when the outside still looks tidy.
The protective-equipment cleaning guide covers a practical whole-kit routine.
When to replace a chest guard
Replace the guard, or get product-specific advice, when:
- the panel is cracked, split, deeply creased or permanently distorted
- foam is crushed, shifted, hard or separating from its cover
- stitching has opened around a protected section
- a strap or closure can no longer keep it centred
- a sharp edge or internal component is exposed
- the player has outgrown the coverage
- the guard has taken a severe impact and its condition is uncertain
- the manufacturer’s instructions call for replacement after a particular impact or period
Cosmetic scuffs are not always structural damage, but appearance alone cannot prove that internal padding is sound. When uncertain, stop using it until the condition is resolved.
Buying checklist
- Correct orientation for the batter and model
- Current manufacturer size chart checked
- Intended ribs and upper abdomen covered
- Full breath is comfortable
- No contact with throat, armpit or hip
- Normal backlift and bat path preserved
- Compatible with arm and thigh protection
- Straps secure with adjustment left
- Care and replacement instructions available
- Movement test passed in match clothing
For broader local buying context, New Zealand players and parents can also use this NZ cricket gear buying guide. Compare its category advice with the instructions and sizing chart for the exact chest guard you are considering.
Match-day check
- Panel, foam and seams intact
- Straps flat and closures clean
- Guard correctly oriented
- Coverage confirmed in batting stance
- Full breath comfortable
- Backlift, defensive shot and pull movement completed
- No clash with arm or thigh guard
- Position rechecked after warm-up
- Guard removed from the bag to dry after play
Sources and update notes
- ECB Recreational Cricket Safety Guidelines, December 2025 update — current descriptions of protective equipment, including chest guards.
- ECB Recreational Cricket Safety Regulations, December 2025 update — current hard-ball safety requirements for junior cricket in England and Wales; local rules differ.
- Gray-Nicolls protection size guidance — current measuring method and reminder to use the chart for the exact product.
Product designs, rules and guidance change. Follow the current instructions for the exact guard and the playing conditions for your competition.