Cricket Hydration Equipment Guide: Bottles, Carriers and Team Drink Stations
Set up practical cricket hydration equipment with suitable bottles, clear labelling, safe carriers, cleaning routines, refill planning and match-day drink stations.
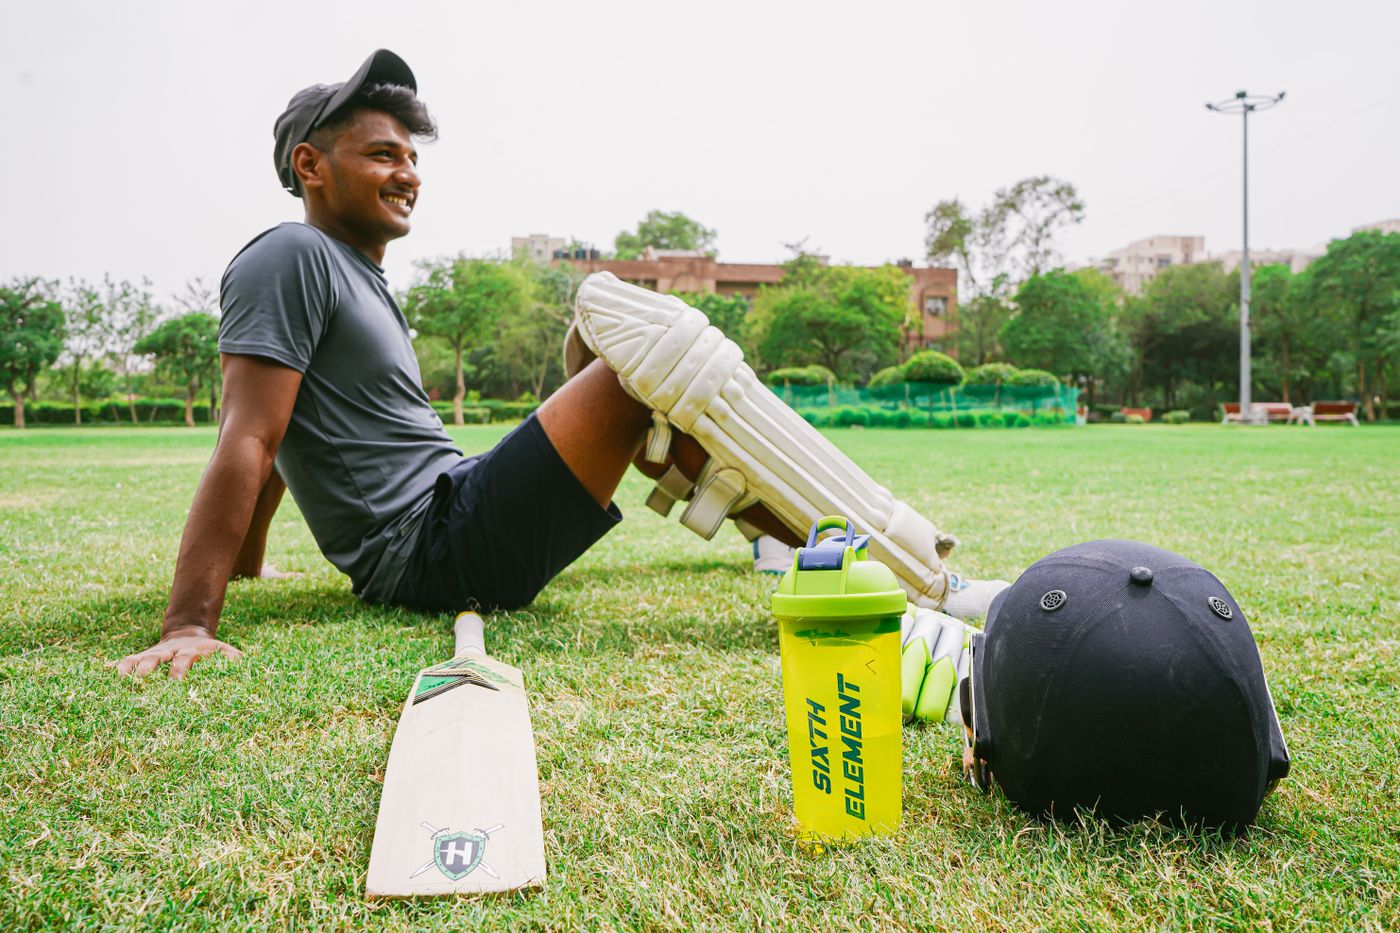
Give every player an identifiable, easy-to-open bottle with enough capacity for the session and a reliable refill plan. Keep filled bottles in a stable carrier or shaded station away from live-ball areas, separate clean items from used mouthpieces, and wash and air-dry equipment after every use. Coaches should plan drink access around the competition's rules and conditions, while players with individual medical or nutrition needs should follow qualified advice rather than a generic team formula.
Hydration equipment is easy to overlook because the water matters more than the bottle. On a cricket day, however, the system determines whether a player can find a clean drink quickly, whether juniors share mouthpieces, whether bottles leak through the kit bag and whether the team can refill before the next innings.
A good setup is simple: one clearly identified bottle per player, stable transport, enough refill capacity and a repeatable cleaning routine.
Start with the drinking plan, not the bottle catalogue
The Australian Institute of Sport’s hydration education emphasises that fluid needs vary and that athletes, carers and coaches should understand what, when and how much to drink. Its sports-drink guidance also notes that opportunities to drink depend on the rules and practical features of the sport.
For cricket, ask:
- how long is the match or training block?
- where are drinking-water taps or refill stations?
- when may players take drinks under the competition rules?
- is the day expected to be hot, windy or unusually cold?
- will players remain at one ground or move between venues?
- who carries drinks to the boundary when permitted?
- are any players following individual advice from a health professional?
Do not prescribe one volume or drink formula to every player. Body size, effort, weather, food, health and individual sweat losses differ. This guide focuses on equipment and organisation, not personalised medical or nutrition advice.
Bottle types
| Bottle style | Strengths | Trade-offs | Good fit for |
|---|---|---|---|
| Squeeze bottle with sports nozzle | Quick one-handed use; easy at a short break | Nozzle must be cleaned thoroughly; can leak if cap is loose | Training and match boundary use |
| Screw-cap bottle | Simple seal; easy to inspect | Slower to open; cap may be dropped | Players who prefer a wide opening |
| Flip-top bottle | Protected mouthpiece; convenient | Hinges and valves need careful cleaning | Individual junior or club use |
| Insulated bottle | Keeps fluid cooler longer | Heavier and usually more expensive | Long hot days or exposed grounds |
| Large personal jug | High capacity and fewer refills | Bulky; not ideal for a quick on-field carrier | Tournament days and fixed stations |
| Soft flask | Light and packs small | Harder to stand upright and label | Personal travel rather than team carriers |
Choose a model the player can operate with wet or cold hands. A complicated valve is not useful if a junior cannot open it independently.
Capacity: plan for refills
The “largest possible bottle” is not always the best answer. Very large bottles are heavy, hard to fit in carriers and awkward for children. A smaller bottle with a known refill point may work better.
Build capacity around:
- session length
- refill access
- transport distance
- expected conditions
- the player’s ability to carry and open the bottle
- whether several drinks breaks occur away from the pavilion
Mark a team water container “drinking water only”. Do not use a container that previously held chemicals, fuel or cleaning products, even if it has been rinsed.
When tap safety is uncertain, the organiser should confirm the venue supply rather than making assumptions on match day.
One bottle per player
Each bottle should have a durable identifier that remains readable when wet.
Useful methods include:
- a large player number
- waterproof name label
- coloured silicone band plus a written name
- engraved or printed identifier
- a labelled carrier position
Avoid relying on identical small initials written under the base. Players need to identify their bottle quickly without handling several others.
Do not share mouthpieces. If a team keeps emergency spare bottles, issue a clean bottle to one person and record that it has been used before returning it to the cleaning area.
Mouthpiece and lid design
The mouthpiece is the most important cleaning detail.
Check whether:
- the valve can be removed without damage
- the seal is visible for inspection
- replacement lids are available
- the opening accepts a suitable bottle brush
- parts are dishwasher-safe if that is how the club cleans them
- the cap protects the drinking surface from dust and grass
Deep channels and non-removable valves can hide residue. A bottle that looks clean from the outside may still need the lid disassembled.
The US Centers for Disease Control and Prevention’s detailed bottle-cleaning guidance for infant feeding equipment is designed for a different and much more sensitive use, but its basic equipment principles are relevant: separate parts, wash thoroughly, rinse and allow components to air-dry rather than sealing them while damp. Follow the bottle maker’s instructions for the actual product.
Team carriers
A carrier should keep bottles upright and make each position visible.
Look for:
- a stable base
- smooth handles without sharp edges
- enough clearance for the selected bottle height
- drainage and easy cleaning
- compartments that prevent bottles falling together
- a loaded weight one person can carry safely
Test the carrier fully loaded. A design that feels light when empty may twist or cut into the hand when filled.
Number the slots if the same group uses it regularly. Empty positions then show immediately which bottle is missing.
Where to place a drinks station
The station must be accessible without entering a live-ball path.
Choose a location that is:
- outside the boundary and expected run-off area
- away from public walkways and vehicle movement
- visible to team staff
- shaded where practical
- close to a confirmed refill point
- on stable ground
- separate from first-aid waste, muddy shoes and used towels
Do not place hard bottles, metal flasks or a full water container on the boundary line. They can become collision hazards.
Use a small sign or bright marker so visiting players know where bottles belong. If two teams share a facility, keep the stations clearly separate.
A clean-to-used workflow
For club-owned equipment, create three zones:
- clean and ready — dry bottles and lids awaiting issue
- in use — named bottles assigned to players
- used and awaiting wash — items that must not return to the clean carrier
Use separate tubs or mesh crates. Do not place a used lid back into a box of clean parts.
At the end of the session, one person should count the bottles, separate the components and begin the cleaning process. Shared responsibility often means everyone assumes somebody else has done it.
Cleaning routine
Always start with the maker’s care instructions.
A practical general routine is:
- empty leftover fluid
- separate lid, valve, straw and removable seals
- rinse visible residue
- wash all surfaces with warm water, suitable detergent and a clean brush, or use a dishwasher if every part is rated for it
- rinse thoroughly
- place parts on a clean rack to air-dry completely
- inspect for residue, damage or odour
- store with the lid off or loose so moisture cannot remain trapped
Keep bottle brushes for drink equipment only. Replace a brush that is worn, dirty or unable to reach the base and lid channels.
Cleaning after every use is especially important when a bottle has held a drink containing carbohydrate, flavouring or milk ingredients. Residue can remain around valves and threads.
Water, electrolyte drink or sports drink?
Water is a practical default for many cricket sessions. Longer, hotter or more demanding activity may require a more individual plan.
The Australian Institute of Sport explains that sports drinks combine fluid, carbohydrate and electrolytes and can be useful in specific situations. They are not automatically necessary for every player or every session. Product concentration, overall food intake, effort and the individual plan all matter.
For juniors, teams should not improvise supplement regimes. Parents, coaches and players can seek advice from a registered sports dietitian or appropriate health professional when the situation goes beyond ordinary water access.
Never put an unidentified powder into a communal container. Record what has been mixed, by whom and for which player.
Hot-weather setup
On a hot day:
- confirm water before players arrive
- use shade or an insulated container where practical
- bring ice only in a clean food-safe container
- schedule refills before the main supply is empty
- check that every junior has arrived with a bottle
- keep spare clean bottles available
- adapt activity and breaks under the competition’s heat guidance
A bottle staying cold is a comfort feature, not proof that the player’s fluid plan is adequate.
The CDC notes that water needs increase with physical activity and in hot climates. Individual requirements still vary.
Cold-weather setup
Players may drink less readily when it is cold, even though a long match continues to involve activity and protective clothing.
Use bottles that remain easy to open with cold hands. Avoid a fully frozen bottle that cannot provide fluid when needed. Keep the station visible rather than packing it away because the weather feels cool.
Training sessions
At practice, access should be built into the session plan.
Set a bottle zone outside every live-ball lane. When groups rotate:
- stop all feeds
- confirm balls are dead
- move together to the station
- return bottles to their positions
- restart only when the activity area is clear
Do not let players wander across another net or drill to reach a bottle. The CricketWise training-safety checklist covers the broader stop-call and station layout.
Match-day drinks carrier checklist
Before leaving the pavilion:
- every bottle labelled and filled
- caps fully closed
- carrier loaded in stable positions
- clean towel packed separately
- refill container confirmed
- spare clean bottle available
- drinks-break timing checked with the team manager or umpires
- route to the boundary is clear
The person carrying drinks should wear suitable footwear and wait for the permitted break. They should not enter the field simply because a player signals for a bottle.
Junior-team system
For juniors, make the routine easy to understand:
- one numbered slot per player
- a large matching label on each bottle
- adults check bottles at arrival
- the whole team stops before anyone moves to drink
- nobody shares a bottle
- used spares go into a separate tub
- parents know who cleans club-owned items
Avoid glass, fragile lids and containers too heavy for the child to control.
Tournament and travel planning
Multi-game days expose weak systems quickly.
Pack:
- additional refill water where venue information permits
- spare lids and seals
- at least one clean spare bottle
- a drying rack or clean mat for overnight use
- detergent and a dedicated brush
- a second carrier if age groups are separated
- labels and waterproof marker
Do not leave filled bottles in a hot vehicle for extended periods. Check manufacturer guidance for insulated and plastic products.
When to replace a bottle
Replace or retire equipment when:
- the body is cracked or deeply scratched
- the lid no longer seals
- the valve cannot be cleaned properly
- a straw is split or discoloured
- persistent odour remains after correct washing
- the identifier has become unreadable
- the bottle has been used for a non-food substance
- the maker’s stated service limit has been reached
Replacement lids can extend the life of a sound bottle. Confirm compatibility rather than forcing a similar-looking cap.
Common mistakes
Buying bottles before measuring the carrier
A tall or wide bottle may not fit securely. Choose the system together.
One communal squeeze bottle
Even without mouth contact, hands and nozzles are difficult to manage consistently. Individual identification is clearer and more hygienic.
Sealing damp bottles
Trapped moisture and residue create odour and make the next session unpleasant. Air-dry every part.
Hiding the station in the kit pile
Players handle several bags and cannot find their bottle. Give drinks a dedicated, visible location.
Treating sports drink as the default
Use it for a defined reason within an appropriate nutrition plan, not because the session is labelled “performance”.
Forgetting the refill route
A full starting bottle is only part of a long-day plan. Confirm where and when it can be refilled.
Club equipment record
Add hydration gear to the club inventory:
| Item | Record |
|---|---|
| Bottles | identifier, size, issue date, condition |
| Lids and valves | compatible bottle, spare quantity |
| Carriers | capacity, condition, team allocation |
| Refill containers | volume, food-safe marking, cleaning owner |
| Brushes and racks | location, replacement date |
| Cleaning supplies | approved product and storage location |
Our club equipment inventory guide explains how to assign owners and inspection intervals.
Bottom line
Cricket hydration equipment succeeds when it makes the right action easy. Give each player a labelled bottle they can operate, keep the station out of live play, plan refills and separate used items from clean ones.
The bottle does not decide the player’s fluid needs. It supports an individual plan and a safe team routine. For health, heat or nutrition concerns, use current competition guidance and qualified advice.
Sources and further reading
- Australian Institute of Sport: Hydration education
- Australian Institute of Sport: Sports drinks
- New Zealand Cricket: Daily Athlete Habits
- CDC: Water and healthier drinks
- CDC: Cleaning and air-drying bottle components
Photo: Yogendra Singh / Pexels.