Cricket Helmet Grille Fit: Adjustment and Inspection Guide
How to check a cricket helmet grille, face gap, fasteners and fit without making unsafe modifications. A practical guide for players, parents and clubs.
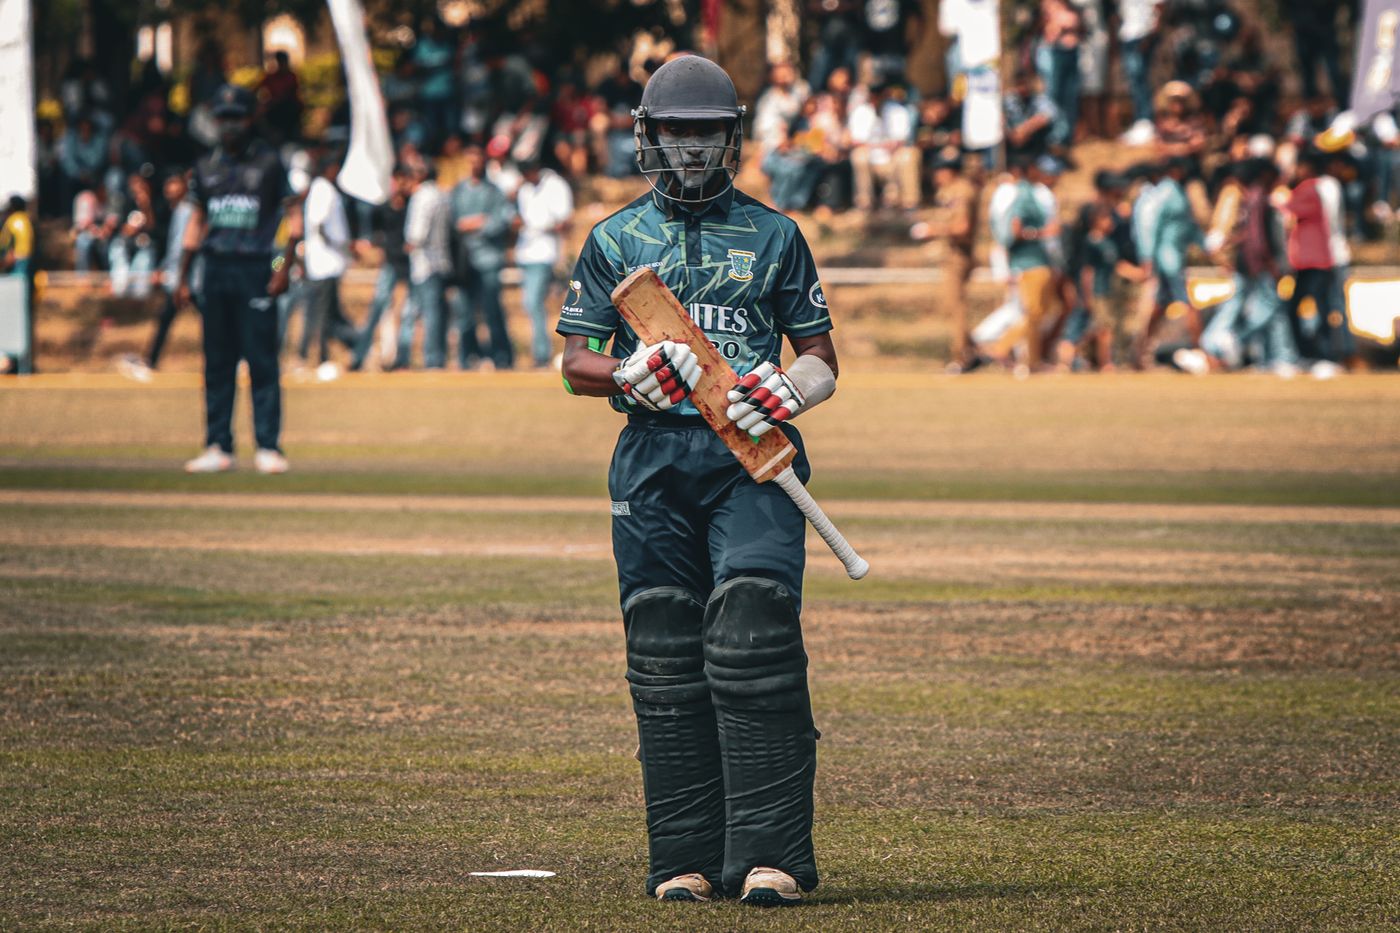
Use a helmet and grille certified for the player's ball size, fit the helmet before adjusting the faceguard, and follow the manufacturer's instructions exactly. The grille should protect the face without blocking normal vision or touching the face. Never bend, drill, cut or mix incompatible parts. Replace or professionally assess equipment after a significant impact, cracking, loose anchors or permanent distortion.
A cricket helmet can carry the right safety label and still be used badly. A loose shell, an incompatible grille, missing fastener or improvised adjustment can change how the whole system behaves when a ball strikes it.
This guide explains a safe club-level inspection process. It does not replace the helmet manufacturer’s fitting instructions, the competition’s helmet policy or professional assessment after a heavy impact.
Safety baseline for New Zealand: NZC’s helmet policy requires a BS 7928:2013-compliant helmet in specified national and domestic situations, including batting against fast or medium pace, keeping up to the stumps and close fielding. It also says equipment is not compliant if altered inconsistently with the manufacturer’s guidance or in a way that reduces protection. Community competitions may set additional requirements. Read the current NZC helmet policy and your local playing conditions.
The five-minute answer
- Check the label for the correct standard and ball-size testing.
- Fit the helmet shell snugly before touching the grille.
- Use only the maker’s compatible grille, spacers and fasteners.
- Set the faceguard exactly as the instructions allow.
- Check that the grille cannot be pushed onto the face in normal handling.
- Look for cracks, bent bars, loose anchors, corrosion and missing parts.
- Remove the helmet from use after a significant impact or any failed check.
If the face gap looks wrong and the manual does not clearly authorise an adjustment, stop. Do not solve it with pliers, a drill, tape, extra washers or parts from another helmet.
Why the gap matters
BS 7928:2013 includes tests intended to assess ball penetration through the faceguard and contact of the faceguard with the face. The standard distinguishes tests using men’s and junior-size balls. The ECB’s official helmet guidance notes that women should use a head protector tested against both men’s and junior balls, or at least the smaller junior ball, because a smaller ball may pass through a gap designed only around a larger ball.
That means the correct question is not “Can I see through the gap?” It is:
- is this exact helmet-and-grille combination certified for the ball used by this player;
- is it fitted as the manufacturer tested it;
- does the shell stay in place when the player moves;
- are all attachment points sound?
There is no safe universal finger-width or homemade measuring rule that overrides the product instructions and certification.
Fit the shell first
The grille cannot protect a face reliably if the helmet slides around the head.
Step 1: start with the player’s normal setup
The player should have dry hair arranged as it will be for cricket. Remove caps, bulky hair accessories or anything not permitted by the manufacturer’s instructions. Loosen the approved rear or internal adjustment system before placing the helmet level on the head.
Step 2: set the helmet position
The shell should sit level, not tipped back to open the face. The peak should protect the upper face without forcing the player to lift the chin. The player must be able to look straight ahead in a normal batting stance.
Step 3: make it snug, not painful
Use the product’s approved adjustment mechanism. The fit should be secure around the head with no concentrated pressure point. Ask the player to shake the head gently, look up and down, and move into a batting stance. The helmet should not migrate enough to change the face gap.
For a full sizing process, use our cricket helmet size and safety guide or helmet size calculator.
Then inspect the grille system
Do this in bright light with the helmet off the player’s head.
| Check | Pass condition | Remove from use when… |
|---|---|---|
| Bars | Straight, smooth and securely joined | A bar is bent, cracked, deeply gouged or separating |
| Anchors | Firm against the approved mounting points | An anchor moves, splits or pulls away |
| Screws | Correct type, present and properly seated | A screw is missing, cross-threaded, corroded or will not hold |
| Spacers | Complete and in the specified order | A spacer is missing, crushed or improvised |
| Side arms | Symmetrical and undamaged | One side is twisted or sits differently after refitting |
| Chin cup/strap | Present and fitted as designed | It has been removed, cut or substituted |
| Compatibility | Exact part approved for the helmet model | The grille is from another model or its compatibility is uncertain |
Do not rely on appearance alone after a hard impact. A shell, liner or fixing may be damaged even when the outside mark looks small.
How to adjust the grille safely
Adjustment methods differ. Some helmets allow the faceguard height or angle to change through specified side fittings. Others are effectively fixed. Follow this order:
- identify the exact helmet model and size;
- find the current manufacturer manual;
- confirm the grille is approved for that model and size;
- use only the supplied or specified fasteners and spacers;
- adjust within the marked or documented range;
- tighten in the sequence and to the tension specified by the maker;
- repeat the movement, vision and contact checks;
- recheck after the first net session.
If a torque value is stated, use the correct tool. If no torque value is stated, “as tight as possible” is not a safe substitute. Over-tightening can strip a thread, crush a spacer or damage the shell.
Never bend the grille to make it fit
Bending changes geometry and may weaken a bar or weld. NZC’s policy is explicit that a helmet or face mask is not compliant if altered in a way inconsistent with the manufacturer’s guidance or that reduces protection. The right solution to an unsuitable gap is a compatible size or model, not reshaping the protective structure.
On-head checks after adjustment
With the shell correctly fitted:
- look from the front to confirm the grille is centred;
- check both side arms sit symmetrically;
- ask the player to adopt a normal stance and follow an imaginary ball;
- make sure normal vision is not blocked by an incorrectly positioned bar;
- press the grille only as the manufacturer permits for a fitting check—never use a violent test;
- confirm it does not touch the nose, cheek, mouth or jaw during ordinary movement;
- check the helmet does not tip back when the player looks up;
- verify the chin strap or cup sits as designed.
For a junior, the supervising adult should do the hardware inspection, but the player must still report vision, pressure and contact honestly. “It feels okay” is not enough if the hardware or certification fails.
Ball-size certification: a detail clubs miss
The ECB’s official guidance says compliant helmets should be labelled to show whether they were tested against a men’s ball, a junior ball, or both. A smaller ball presents a different penetration risk. This is particularly important for junior and women’s cricket.
Do not infer certification from the player’s age or the retail category. Read the physical label and product documentation. If the label is missing or illegible, ask the manufacturer or supplier for confirmation using the exact model and production information.
Neck protection is a separate check
A neck protector does not fix a poorly fitted grille, and a grille does not replace neck protection. NZC requires neck protectors in specified higher-level situations when batting against fast or medium pace. The attachment must follow the relevant product instructions.
See our cricket neck-guard fit and safety guide for the separate fit sequence. Never drill the shell or anchor a neck protector through an unapproved point.
After an impact
Stop and assess the player first. If there is any concern about concussion or injury, follow the competition’s medical and concussion process; do not let equipment inspection delay care.
Then quarantine the helmet. Record:
- player and date;
- where the ball struck;
- approximate bowling context;
- visible shell, grille and fastener damage;
- whether the helmet moved or the grille contacted the face;
- any symptoms or medical referral, stored according to club privacy rules.
Do not return the helmet to the shared kit bag while its status is uncertain. Contact the manufacturer or an authorised specialist. Our helmet replacement guide explains age, impact and damage triggers in more detail.
Monthly club inspection routine
Assign one trained gear manager rather than assuming every player checks every part.
Before the season
- identify every helmet by model, size and owner;
- photograph the certification label;
- record whether it is tested for men’s, junior or both ball sizes;
- verify every grille and neck protector is compatible;
- replace missing original hardware;
- remove unknown, altered or damaged equipment.
Each month
- clean with methods permitted by the maker;
- inspect the shell, liner, grille, anchors and strap;
- check fasteners using the approved method;
- repeat the fit with the actual player;
- record pass, repair referral or retirement.
Before every innings or net
- quick visual scan;
- tug check on attachments without forcing them;
- confirm the helmet still fits after hair, growth or liner changes;
- ask about any unreported impact.
Common unsafe shortcuts
“The grille came from the same brand”
That does not prove compatibility. Model, size and generation matter. Use the approved parts list for the exact helmet.
“We added washers to close the gap”
Unspecified washers can change load paths or prevent a fastener seating correctly. Use only the documented spacer stack.
“The dent is small”
The location and underlying damage matter more than the cosmetic size. Quarantine and obtain advice.
“The player can see better with the helmet tipped back”
That changes protective coverage and the face gap. Refit or choose a better size/model.
“It passed last season”
Certification identifies the design standard, not the present condition. Hardware loosens, liners compress and players grow.
Player and parent checklist
- Standard label is present and appropriate
- Correct ball-size testing confirmed
- Helmet sits level and snug
- Grille is the approved compatible part
- No bar is bent, cracked or deeply scored
- All approved fasteners and spacers are present
- Faceguard is centred and cannot contact the face in normal use
- Vision is clear in the batting stance
- Strap/chin cup is fitted as designed
- Neck protector requirement checked separately
- Impact history is known
Bottom line
Treat the helmet, grille, fasteners, liner and attachments as one tested system. Fit the shell first, adjust only within the manufacturer’s instructions, and reject improvised parts or reshaping. A good fit protects without forcing the player to change posture or accept contact with the face.
When in doubt, remove the helmet from use. Missing one session is a far smaller cost than gambling with altered protective equipment.