Cricket Bat Toe Guard, Anti-Scuff Sheet and Edge Tape Guide
What cricket bat face sheets, edge tape and toe guards actually do, how to choose between them, and how to inspect the bat without hiding damage.
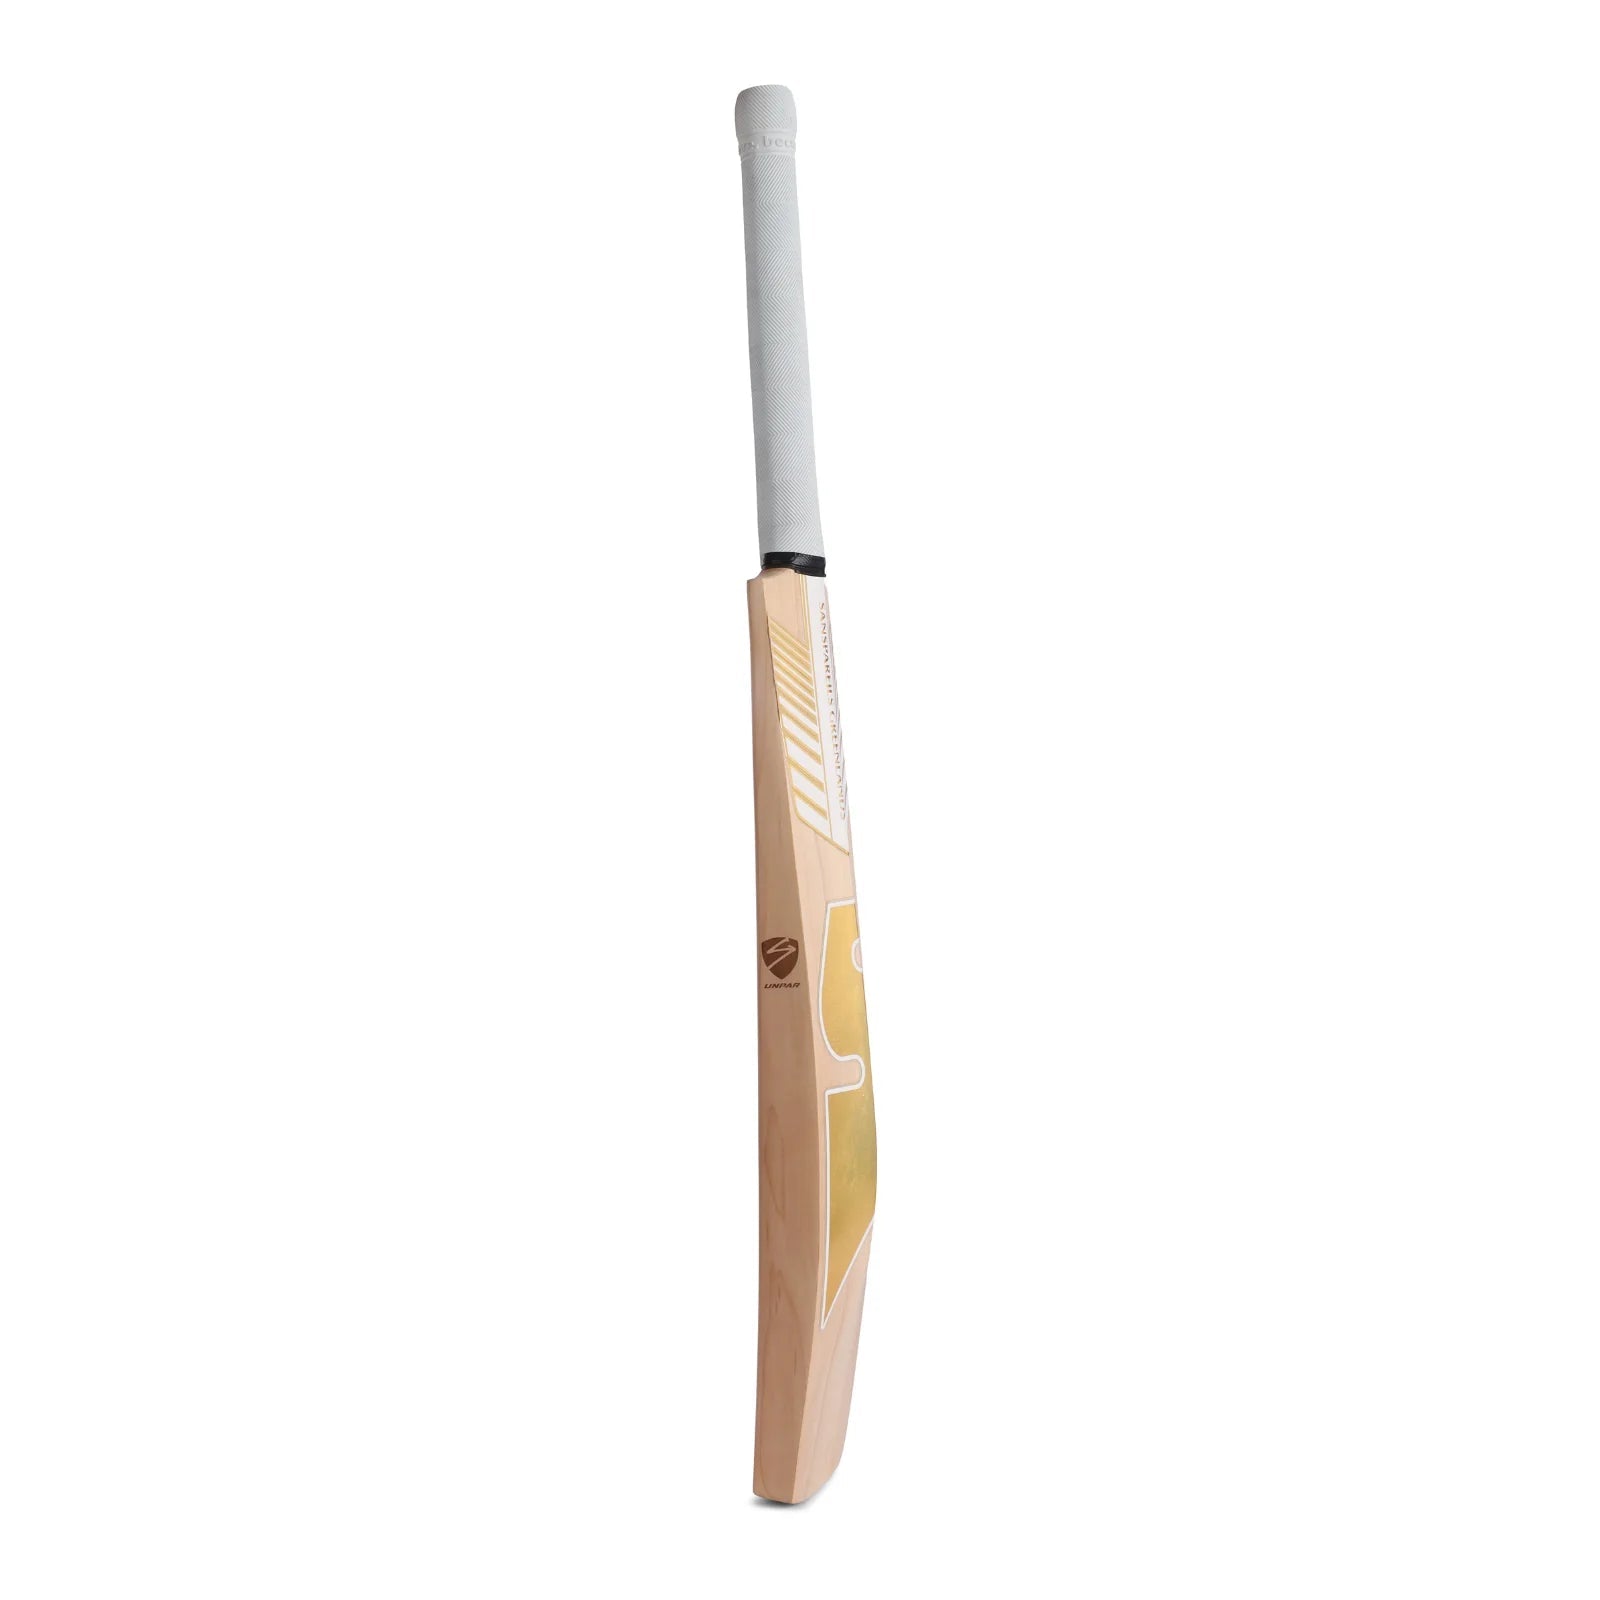
An anti-scuff or fibre sheet helps protect the bat face from surface wear and minor checking; edge tape reinforces vulnerable edges; and a toe guard helps reduce wear and moisture exposure at the bottom of the blade. None prevents every crack, replaces correct preparation or makes a wet bat safe to store. Fit only products permitted under the current Laws and the bat maker’s instructions, keep the toe dry, and remove or replace coverings if they lift, trap moisture or hide structural damage.
Protective additions have different jobs
A cricket bat face, edges and toe meet different kinds of wear. One accessory does not solve every problem.
| Accessory | Main purpose | Does not replace |
|---|---|---|
| Clear anti-scuff sheet | Helps limit surface wear and minor face checking | Knocking-in, inspection or correct storage |
| Fibre-reinforced face sheet | Adds a tougher sacrificial face layer | Repair of an existing structural crack |
| Edge tape | Supports a vulnerable edge or sheet boundary | Correct bat choice and realistic impact expectations |
| Toe guard | Adds a barrier at the bottom of the blade | Keeping the toe out of standing water and drying the bat |
Official manufacturer care guidance commonly recommends face protection, edge tape and toe protection as ways to extend bat life. That is useful context, not a guarantee against breakage.
Start with the current Laws and maker instructions
MCC Law 5 controls the bat’s permitted dimensions, materials and coverings. Protective material must stay within the allowances in the current Law and appendices. Most ready-made cricket-bat protection sold for normal play is designed with those limits in mind, but unusual repairs, thick layers or homemade additions can create compliance and safety questions.
Before applying anything:
- Read the bat maker’s care and warranty instructions.
- Check the competition’s current playing conditions.
- Confirm the bat is dry and structurally sound.
- Finish the required preparation for the specific bat.
- Use a purpose-made cricket-bat product rather than improvised household tape or glue.
If the bat is new, our knocking-in guide explains the staged preparation process. A face sheet is not a shortcut around that work.
What an anti-scuff sheet does
A clear anti-scuff sheet is a thin adhesive film placed over much of the face. It provides a sacrificial surface against light abrasion and can help contain minor surface fibres.
It is useful when:
- the face is fully prepared and dry
- the owner wants easier routine cleaning
- light surface checking is the main concern
- the sheet can be inspected and replaced cleanly
It is less useful when:
- a crack is already moving through the blade
- the face is damp
- the adhesive will cover dirt, oil residue or loose fibres
- the sheet is being used to hide damage before sale or play
A clear sheet makes inspection easier than an opaque covering, but glare and dirt can still obscure cracks. Check the face from several angles in good light.
Fibre sheets: more reinforcement, more inspection discipline
Fibre-reinforced sheets use visible strands or woven material to add a tougher surface layer. They can be helpful on a prepared bat that develops routine surface wear.
The trade-off is visibility. A denser sheet can make it harder to see what is happening underneath. Inspect the exposed toe, splice, back and edges before every use, and look for indirect signs such as:
- a new ridge beneath the sheet
- a section lifting from the face
- a soft spot when gently checked by hand
- dark moisture staining at the lower edge
- a crack line emerging beyond the sheet
Do not press aggressively into suspected damage. Stop using the bat and obtain a repair assessment if the structure is uncertain.
Edge tape: reinforcement, not armour
Edge tape is normally a narrow fibre or protective tape placed along an edge or used to secure the boundary of a face sheet.
It can help with:
- minor edge feathering
- reinforcement around a stable professional repair
- keeping a protective sheet boundary tidy
- reducing abrasion where the edge meets other equipment in the bag
It cannot reliably stop damage from a severe edge impact or compensate for a bat that is too light, poorly prepared or already cracked.
Avoid wrapping many tight layers around the blade. Excess material can hide damage, alter the bat’s feel and create a raised edge that catches dirt or moisture.
What a toe guard does
The toe is vulnerable because it contacts the ground and sits closest to damp turf. A purpose-made toe guard adds a replaceable barrier against abrasion and some moisture exposure.
It does not waterproof the bat. Water can still enter around the guard, through an exposed section or from the face and edges.
A toe guard is especially worth considering when:
- matches are often played on damp grounds
- the player taps the bat heavily at the crease
- the toe has a flat profile that receives regular wear
- the bat is carried in a bag where the bottom can become wet
Even with a guard, do not lean the bat in standing water, place it toe-down on a wet changing-room floor or leave it sealed in a damp bag.
Toe tape versus a fitted toe guard
| Feature | Toe tape | Fitted guard |
|---|---|---|
| Setup | Quick and inexpensive | More preparation and adhesive control |
| Durability | Usually lower | Usually higher when fitted correctly |
| Water barrier | Limited | Better barrier, never full waterproofing |
| Inspection | Easy to remove and replace | May require careful removal |
| Best use | Short-term protection or light wear | Planned longer-term toe protection |
Neither option should be applied over trapped moisture or an open split.
Preparation before fitting any protection
Work in a clean, dry indoor area.
- Inspect the face, edges, toe, back and splice.
- Complete any required professional repair first.
- Remove loose dust with a soft dry cloth.
- Ensure any permitted oiling has fully absorbed and the surface is not greasy.
- Let the bat reach room temperature.
- Dry-fit the sheet or guard before exposing adhesive.
- Check that the covering will not extend beyond the intended area.
If adhesive will not bond evenly, stop and investigate the surface rather than adding more glue.
The NZ Cricket Store bat-preparation guide is a useful New Zealand reference for the oiling and knocking-in sequence. Check the instructions supplied with your exact bat as well.
Applying a face sheet without bubbles or creases
Follow the product instructions. A typical careful process is:
- Align the sheet before peeling the full backing.
- Anchor a small section near the top of the blade.
- Smooth gradually towards the toe with a clean cloth or applicator.
- Push air outward rather than trapping it under the centre.
- Keep the sheet clear of areas the maker says must remain exposed.
- Trim only if the product explicitly allows it, using a safe method away from the bat.
- Press the boundary evenly and recheck after the adhesive has settled.
Do not use a heat gun or high-temperature hair dryer on willow or adhesive. Excess heat can damage the bat and create an unsafe fitting process.
Applying edge tape
Use only enough tape to cover the intended area.
- Start on a clean, dry surface.
- Keep the tape smooth and free of folds.
- Avoid pulling it so tight that it compresses the edge.
- Do not bridge an open crack and call it repaired.
- Finish each end where it cannot catch during play.
If tape is supporting a repaired crack, follow the repairer’s instructions about placement and replacement.
Fitting a toe guard
Toe guards often need shaping to the bat’s exact profile. Poor fitting can leave gaps that collect dirt and moisture.
A safe approach is to use a professional bat service when the guard requires cutting, sanding or strong adhesive. If fitting a simple self-adhesive product at home:
- Confirm the toe is dry and undamaged.
- Test the shape before removing the backing.
- Align the guard without covering more of the blade than intended.
- Press evenly across the whole toe.
- Remove excess adhesive using only the method approved by the product maker.
- Allow the full curing time before play.
Do not drive nails, screws or hard fasteners into the toe.
Inspection before every innings
Use this 60-second check:
- run a finger lightly along sheet and tape boundaries
- look for lifting, bubbles or trapped dirt
- inspect both edges from shoulder to toe
- check the toe guard for gaps
- look for dark staining or softness
- examine the back and splice for new lines
- gently check the handle and binding
Stop using the bat if you find a moving crack, loose handle, major soft area or uncertain structural damage.
Our repair-or-replace guide helps separate minor surface issues from faults that need assessment.
When to remove or replace protection
Replace or carefully remove a covering when:
- an edge repeatedly lifts
- the sheet has torn across the impact area
- water or dirt has entered beneath it
- the adhesive has hardened or shifted
- a crack appears to continue under the covering
- the toe guard has separated or trapped moisture
- the bat needs professional inspection or repair
Removing old adhesive can pull fibres from willow. Follow the bat or accessory maker’s method and do not use household solvents unless explicitly approved.
Care after a wet match
- Wipe off visible moisture with a clean cloth.
- Remove the bat from its cover and kit bag.
- Stand it safely indoors with airflow around the blade.
- Keep it away from heaters and strong direct sun.
- Recheck sheet edges and toe-guard gaps once dry.
- Store it horizontally or securely supported in a dry place.
Do not oil a wet bat. Do not seal dampness beneath fresh tape or a new guard. See how to store a cricket bat for the longer-term routine.
Quick decision guide
| Situation | Sensible next step |
|---|---|
| New, prepared bat with clean face | Consider clear or fibre face protection |
| Minor stable edge feathering | Inspect, then use appropriate edge tape if advised |
| Damp or stained toe | Dry and assess before adding anything |
| Open or moving crack | Stop play and seek repair advice |
| Toe guard lifting | Remove or refit according to product instructions |
| Covering hides suspected damage | Remove carefully or ask a repairer to inspect |
Related guides
- How to knock in a cricket bat
- How to oil a cricket bat
- Cricket bat cracks: repair or replace?
- How to store a cricket bat
Sources and update notes
- MCC Law 5: The bat — current rules governing bat construction, dimensions and permitted coverings.
- MCC Laws appendices — detailed bat specifications referenced by Law 5.
- Gray-Nicolls: How do I make my cricket bat last as long as possible? — manufacturer care guidance on face sheets, edge tape and toe protection.
Bat warranties, materials and covering rules can change. Check the current instructions for the exact bat and accessory before fitting.