How to Knock In a Cricket Bat Without Damaging It
A step-by-step cricket bat knocking-in guide with practical tips, readiness tests, common mistakes and a reference video.
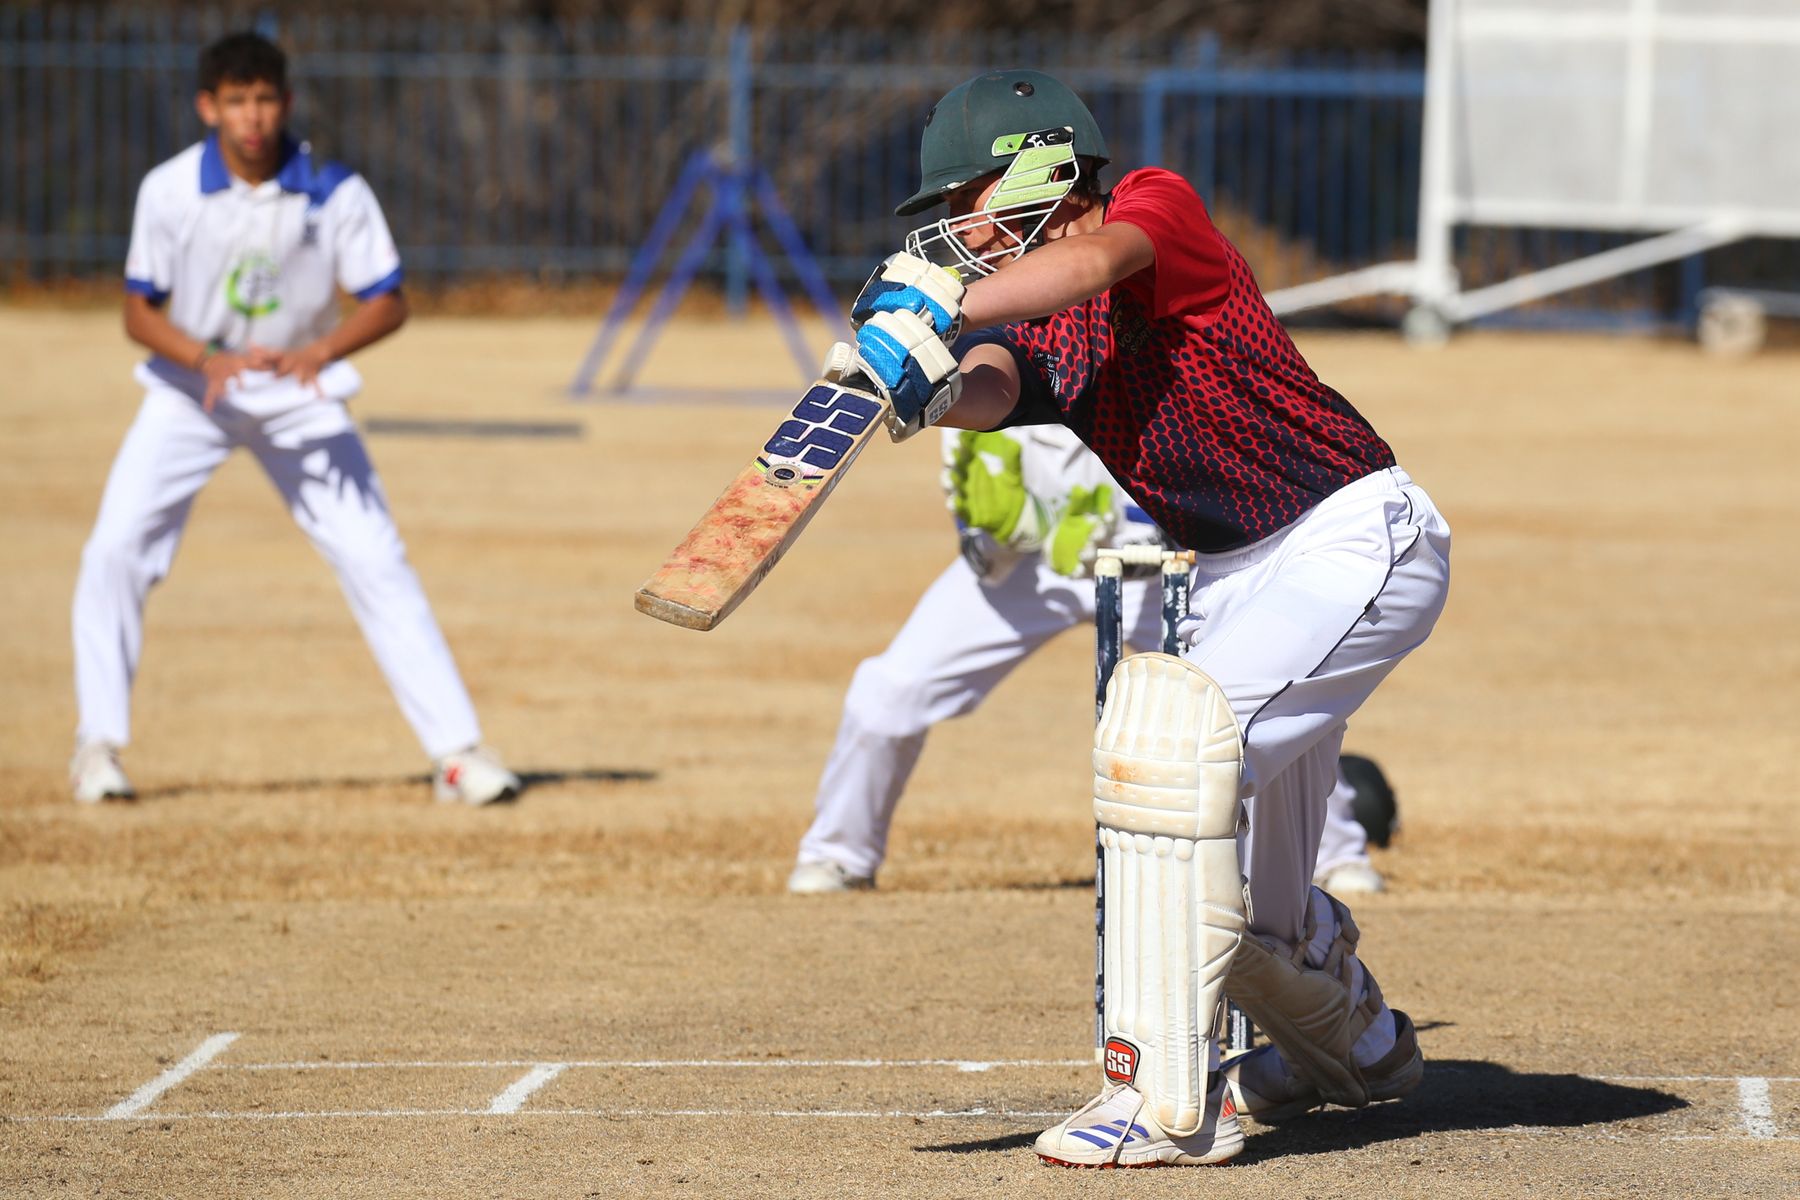
Start gently with a bat mallet or an old cricket ball, work evenly across the playable face, gradually increase force, shape the edges with glancing blows rather than direct strikes, then test with an old ball. If the seam still leaves deep marks, keep knocking in.
What knocking-in actually does
A new willow bat is still a natural piece of timber. Knocking-in repeatedly compresses the surface fibres so the blade is better prepared for impact from a hard cricket ball.
It is not about smashing the bat as hard as possible. The goal is progressive conditioning.
What you need
- a cricket bat mallet, or an old cricket ball in a sock
- a clean, dry workspace
- patience
- an old quality cricket ball for testing
- optional light bat oil if the manufacturer’s preparation instructions call for it
Step 1: start gently on the face
Begin on the main hitting area of the front face.
Use light taps first. Work systematically across the blade rather than concentrating on one spot. The early stage is about introducing impact gradually, not trying to imitate a fast bowler immediately.
Good technique
Move the mallet around the face in an overlapping pattern so no small area receives all the impact.
Bad technique
Do not repeatedly hammer one spot because it feels like the sweet spot.
Step 2: gradually increase force
Once the face has had an even first pass, start increasing the force little by little.
A useful rule is:
- light taps
- medium taps
- firm match-like impacts
Do not jump from stage 1 straight to maximum force.
Step 3: condition the edges properly
The edges are vulnerable, but they should not be struck directly at a 90-degree angle.
Instead, use glancing blows at roughly a 45-degree angle, mimicking the sort of deflection an edge experiences in play.
This helps round and condition the edge without crushing it.
Step 4: do not hit these areas
Avoid:
- the back of the bat
- the splice and handle
- direct 90-degree blows onto the edge
- direct hammering of the toe
- stickers and areas not intended to strike the ball
The main working zone is the playable face and the edge transition around it.
Step 5: use time as a guide, not a guarantee
A fully unprepared natural-willow bat can require several hours of progressive knocking-in.
There is no magic timer that makes every bat ready. Willow density, pressing, grade, preparation at the factory and any retailer preparation all affect the process.
A pre-prepared bat can still benefit from additional conditioning before facing a hard new ball.
Step 6: test with an old cricket ball
Before using the bat in proper nets, do short throwdowns or catches with an old, softer cricket ball.
Look closely at the face afterwards.
Keep knocking if you see:
- deep seam impressions
- sharp dents
- edge compression
- visible damage from gentle old-ball impacts
Light cosmetic marking is normal. Deep seam damage means the bat needs more preparation.
Step 7: progress to gentle nets
Move from old-ball throwdowns to controlled nets.
Start with defensive shots and gentle feeds. Avoid going straight from the mallet to genuine fast bowling with a hard new ball.
Build the intensity gradually.
How do you know when the bat is ready?
There is no perfect home test, but these are useful signs:
- the face no longer dents easily under firm mallet work
- an old ball does not leave deep seam marks
- the edges feel conditioned rather than sharp and fragile
- controlled throwdowns do not visibly damage the blade
- the bat has been worked evenly, not only around the centre
Common knocking-in mistakes
Hitting too hard too soon
This can damage the fibres before they are conditioned.
Smashing the edge directly
Use glancing blows instead.
Ignoring the outer face
Do not only knock the middle. The playable face should be conditioned broadly and evenly.
Going straight into a match
A brand-new hard ball is a poor first test for an under-prepared bat.
Assuming “pre-prepared” means indestructible
Factory or retailer preparation can reduce the work required, but it does not make natural willow immune to damage.
Over-oiling
Oil and knocking-in solve different problems. Too much oil can soften the blade and add weight.
A simple knocking-in routine
| Stage | What to do |
|---|---|
| 1 | Light mallet work across the full playable face |
| 2 | Increase to medium impacts |
| 3 | Firm face impacts, still spread evenly |
| 4 | Glancing blows along the edges |
| 5 | Old-ball throwdowns and inspection |
| 6 | Gentle nets with an older ball |
| 7 | Increase intensity only when seam marks are controlled |
Watch the technique
After knocking-in
Once the bat is ready:
- keep it dry
- do not leave it in a hot car
- use a bat cover inside the kit bag
- inspect small cracks early
- avoid tapping a hard pitch aggressively with the toe
- store it indoors away from heaters and damp areas
Read How to oil a cricket bat and Cricket bat weight, pickup & profile explained next.