Cricket Training Video Guide: Camera Angles, Consent and Useful Review
Record cricket training video that is stable, safe and genuinely useful, with camera positions for batting and bowling plus New Zealand privacy and junior-safeguarding checks.
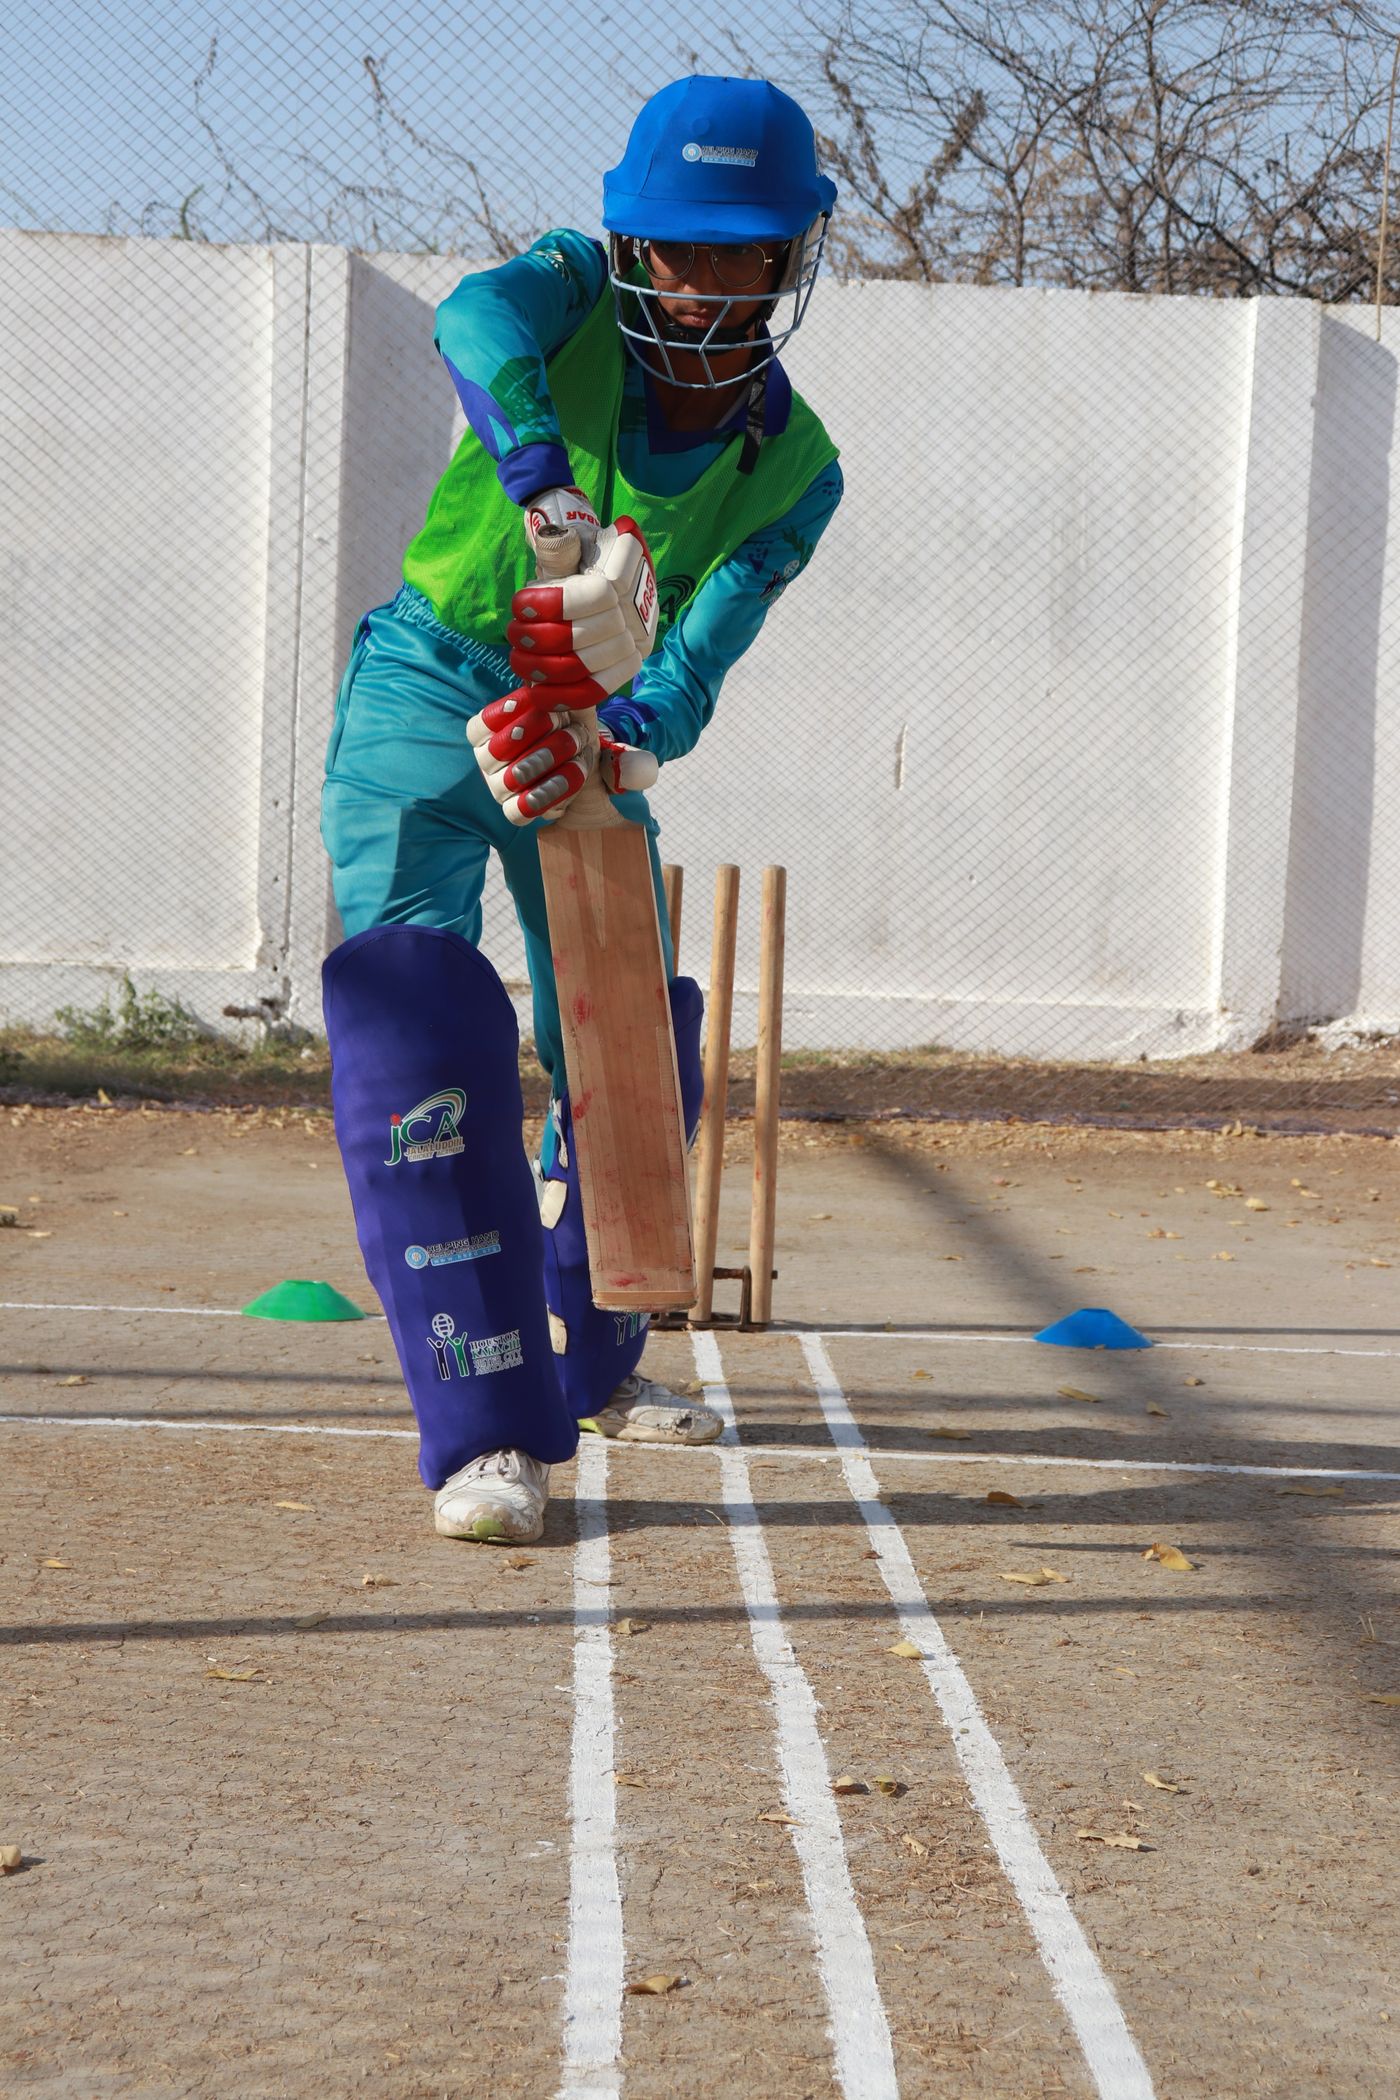
Decide the coaching question before pressing record, tell everyone who may appear in the footage, and obtain informed permission appropriate to the player and intended use. Use a stable camera outside the ball and player run-off areas, record short clips from one consistent angle, and review only one or two observable points. For juniors, follow the club's safeguarding and filming policy, keep files in an approved secure location, limit access and retention, and never turn a private coaching clip into public content without fresh permission for that purpose.
Video can make a coaching conversation much clearer. A batter can see where the head moved; a bowler can compare the run-up rhythm across deliveries; a wicketkeeper can review starting position and footwork.
It can also create clutter, distraction and privacy risk. The best cricket video setup is not the most expensive camera. It is a simple, repeatable process that answers a coaching question without placing a device, tripod or player’s personal information in the wrong place.
Begin with one coaching question
“Record the whole session” is rarely a useful brief. Choose one observable question:
- Does the batter’s head remain balanced through front-foot contact?
- Is the bowler’s run-up rhythm consistent?
- Where does the front foot land relative to the crease?
- Does the wicketkeeper move the feet before reaching with the gloves?
- Does the fielder gather the ball before beginning the throw?
This determines the angle, clip length and review method. It also limits the amount of footage the club must store.
Consent and privacy come before camera position
The New Zealand Office of the Privacy Commissioner treats identifiable images and video as personal information. Its photography and filming guidance for children and young people says people should know that recording is happening, why it is happening and what will happen to the images. It describes informed consent as best practice and recommends a written filming policy for organisations that record regularly.
Before a session, establish:
- who will be recorded
- the coaching purpose
- whether audio will be captured
- who can view the footage
- where the file will be stored
- how long it will be kept
- whether any clip may be shared beyond the player and coach
- how a player or parent can withdraw permission
Permission to record for private technique review is not permission to post the clip on social media, use it in advertising or send it to another team.
Junior players
Use the club’s current child-safeguarding, privacy and media policies. New Zealand Cricket’s Welfare of Children and Vulnerable Adults resources frame safeguarding around a safe, positive and enjoyable cricket environment.
For a child or young person, provide age-appropriate information and involve the parent or guardian as the policy requires. Respect the child’s own discomfort even when an adult has completed a form. Arrange a non-recorded station or camera exclusion area so opting out does not isolate the player.
Choose the minimum equipment
A useful starter kit is small:
| Item | Purpose | What matters |
|---|---|---|
| Phone or camera | Records short clips | Sufficient resolution, charged battery, approved device use |
| Stable tripod | Keeps angle consistent | Wide base, reliable lock, no sharp protrusions |
| Clamp or weighted base | Supports compact setups | Must suit the surface and maker’s instructions |
| Bright marker | Defines camera exclusion area | Visible without becoming a trip hazard |
| Lens cloth | Prevents misleading blur | Kept clean and dry |
| Secure storage method | Transfers approved clips | Club-controlled account or device where required |
Avoid buying extra lenses, monitors and gimbals before a stable basic setup has proved useful. A fixed wide shot is easier to compare than a moving cinematic clip.
Tripod safety around cricket
A tripod is a hard object placed near fast-moving players and balls. Treat it as part of the session risk assessment.
Never place it:
- behind the bowler in the run-up
- close to a batter’s backswing
- beside a return crease where players turn
- inside another group’s ball path
- in a gate, walkway or emergency route
- where a wide or deflected ball is likely to strike it
- where the operator must step into a live lane to adjust it
Use a marked exclusion area and one responsible operator. Keep cables off the ground. If wind, rain or an unstable surface compromises the stand, stop recording rather than improvising an unsafe weight.
Our cricket net safety checklist covers lanes, waiting zones, gates, surfaces and stop signals.
Camera angles for batting
Side-on
Place the camera outside the net or protected practice area, roughly square to the batter and far enough away to include the stance, feet, bat swing and ball path.
Useful for:
- head position
- front and back foot movement
- contact position
- bat path through the hitting zone
- balance after the shot
Limitations: depth is compressed, so it may not show whether the bat moved towards cover, mid-off or straight.
Front-on or bowler-end
Position the camera safely behind the bowling-end line, never in the run-up or live return path. Use facility protection where available.
Useful for:
- alignment at stance
- movement across the crease
- bat coming down relative to the body
- response to line
Limitations: the ball or bowler can block the view, and an unprotected device behind the bowler may be unsafe.
Rear or wicketkeeper view
This can show shot direction and movement relative to the stumps. It must be physically separated from the batter, wicketkeeper and ball path. In many community setups the angle is not worth the risk.
Camera angles for bowling
Side-on at the crease
Useful for run-up speed, jump, front-foot contact and follow-through. Keep enough width to capture several strides before delivery and the complete deceleration.
Do not use a two-dimensional video alone to diagnose an injury or declare a bowling action illegal. Those questions require appropriately qualified professionals and, for a suspected illegal action, the governing body’s formal process.
Front-on from behind the batter
Useful for line, alignment and release direction, but only when the camera is protected and outside the live ball path. A long lens from farther away is preferable to placing a device close to the stumps.
Rear view
Useful for run-up alignment and the direction of follow-through. Do not position the operator directly behind an active batter or in a shared lane.
Camera angles for wicketkeeping and fielding
For wicketkeeping, a diagonal side view can show starting depth, stance height, first movement and glove position. Keep the camera outside the net and account for deflections.
For ground-fielding, use a wide static angle that includes the starting marker, ball, gather, transfer, throw and recovery. A tight shot of the hands removes the movement that often explains the error.
For catching, record from outside the possible miss and deflection zone. The entire flight path matters more than a close-up of the catch.
Basic recording settings
Use settings that make the action readable without creating huge files.
Frame rate
Normal 30 frames per second is enough for positioning and session review. A higher frame rate can help with brief fast movements, but it needs more light and storage. Slow-motion mode is not automatically more accurate; some phones reduce resolution or alter exposure.
Shutter and exposure
Consumer devices manage these automatically. Prioritise a bright, evenly lit angle and avoid pointing directly into the sun. If the player is a silhouette, move the camera before changing complex settings.
Resolution
Full HD is generally sufficient for coaching review. Higher resolution helps crop a distant fixed view but increases transfer and retention demands.
Orientation
Landscape orientation usually captures run-up, movement and ball path better. Use portrait only when a clearly defined review platform requires it and the cricket action still fits in frame.
Record short, labelled sets
Film a small block—often three to six deliveries—then stop and review. A practical file name can include the date, player identifier approved by the club, skill and angle, without unnecessary personal detail.
Example structure:
2026-11-21_player07_batting_side_set1
Avoid full names, ages, school details or medical notes in filenames. Keep any coaching record in the approved system, not embedded in a shareable file name.
A review process that changes practice
Use the same sequence each time:
- Ask the player what they noticed.
- Watch once at normal speed without pausing.
- Watch again for the single agreed question.
- Identify one observable strength.
- Choose one small adjustment or next task.
- Record another short set from the same angle.
- Compare behaviour, not appearance.
Avoid drawing ten lines and angles over one delivery. The player needs a cue they can apply to the next ball.
What video cannot prove
A single camera view can mislead because of lens distortion, camera height and parallax. It cannot by itself prove:
- exact joint angles
- the cause of pain
- whether an action is legal under a formal bowling review
- the speed of a delivery without calibrated equipment
- whether one technique is universally “correct”
Use video as evidence for a coaching conversation, not as a medical diagnosis or disciplinary tool.
Secure handling and retention
The Privacy Commissioner’s guidance recommends purpose-limited use, appropriate access controls and deletion when images are no longer needed. It also advises organisations not to rely on personal devices for work or event images; where personal-device use is unavoidable, the policy should state how files move to the organisation’s secure environment and are removed from the device.
A club workflow should specify:
- approved capture devices and accounts
- who may transfer and view files
- secure sharing method
- retention period for each purpose
- a deletion and withdrawal process
- breach reporting and escalation
- whether cloud storage may hold junior footage
Do not upload player video to a free analysis or AI service merely because it has convenient drawing tools. First check the service terms, data location, age requirements and the club’s privacy approval.
Match-day filming
Training consent does not automatically cover a public match. Check the venue, competition, broadcaster and club rules. Inform visiting teams where required, provide a practical opt-out path and avoid capturing dressing rooms, medical treatment, private team talks or identifying details that are not needed.
If the purpose is live streaming rather than coaching review, use a separate risk and privacy assessment. A public stream has a much wider audience and a different retention profile.
Common mistakes
Filming everything
Hours of footage are hard to review and difficult to protect. Record short sets that answer a question.
Putting the best angle in the ball path
No coaching view is worth an unsafe tripod position. Move farther away, use protection or skip the angle.
Giving feedback on appearance
Describe the movement and task, not the player’s body shape or how the clip “looks”.
Sharing through a personal message thread
Convenient sharing can bypass club access, retention and safeguarding controls. Use the approved system.
Reusing a clip for promotion
Private coaching analysis and public marketing are different purposes. Obtain new informed permission before any broader use.
Comparing different angles
A movement can appear to change simply because the camera moved. Mark the tripod location and keep height and zoom consistent.
Session checklist
- coaching question written down
- recording purpose and audience explained
- required player and parent permissions confirmed
- opt-out or non-recorded station available
- camera outside every ball and run-off path
- tripod stable and exclusion area marked
- background checked for other players and identifying details
- short set and fixed angle planned
- secure transfer and retention method ready
- files reviewed and deleted according to policy
Bottom line
Useful cricket video is deliberate and limited. Ask one question, choose one safe angle, record a short set and give the player one action they can test immediately.
Privacy and safeguarding are part of the setup, not paperwork added later. Tell people what is being recorded, keep the footage only for the agreed purpose, control access and remove it when the purpose ends.
Sources and further reading
- Office of the Privacy Commissioner: Children and young people — photography and filming guidance
- New Zealand Cricket: Welfare of Children and Vulnerable Adults
- Sport New Zealand: Child safeguarding policies and procedures
- CricketWise: Cricket Net Safety Checklist
- CricketWise: Cricket Training Session Safety Briefing
Image: existing CricketWise editorial asset.