Cricket Boundary Rope Set-up: Measurements, Marking and Safety
How clubs and schools can plan, measure and inspect a cricket boundary using the Laws, local playing conditions and a practical match-day safety checklist.
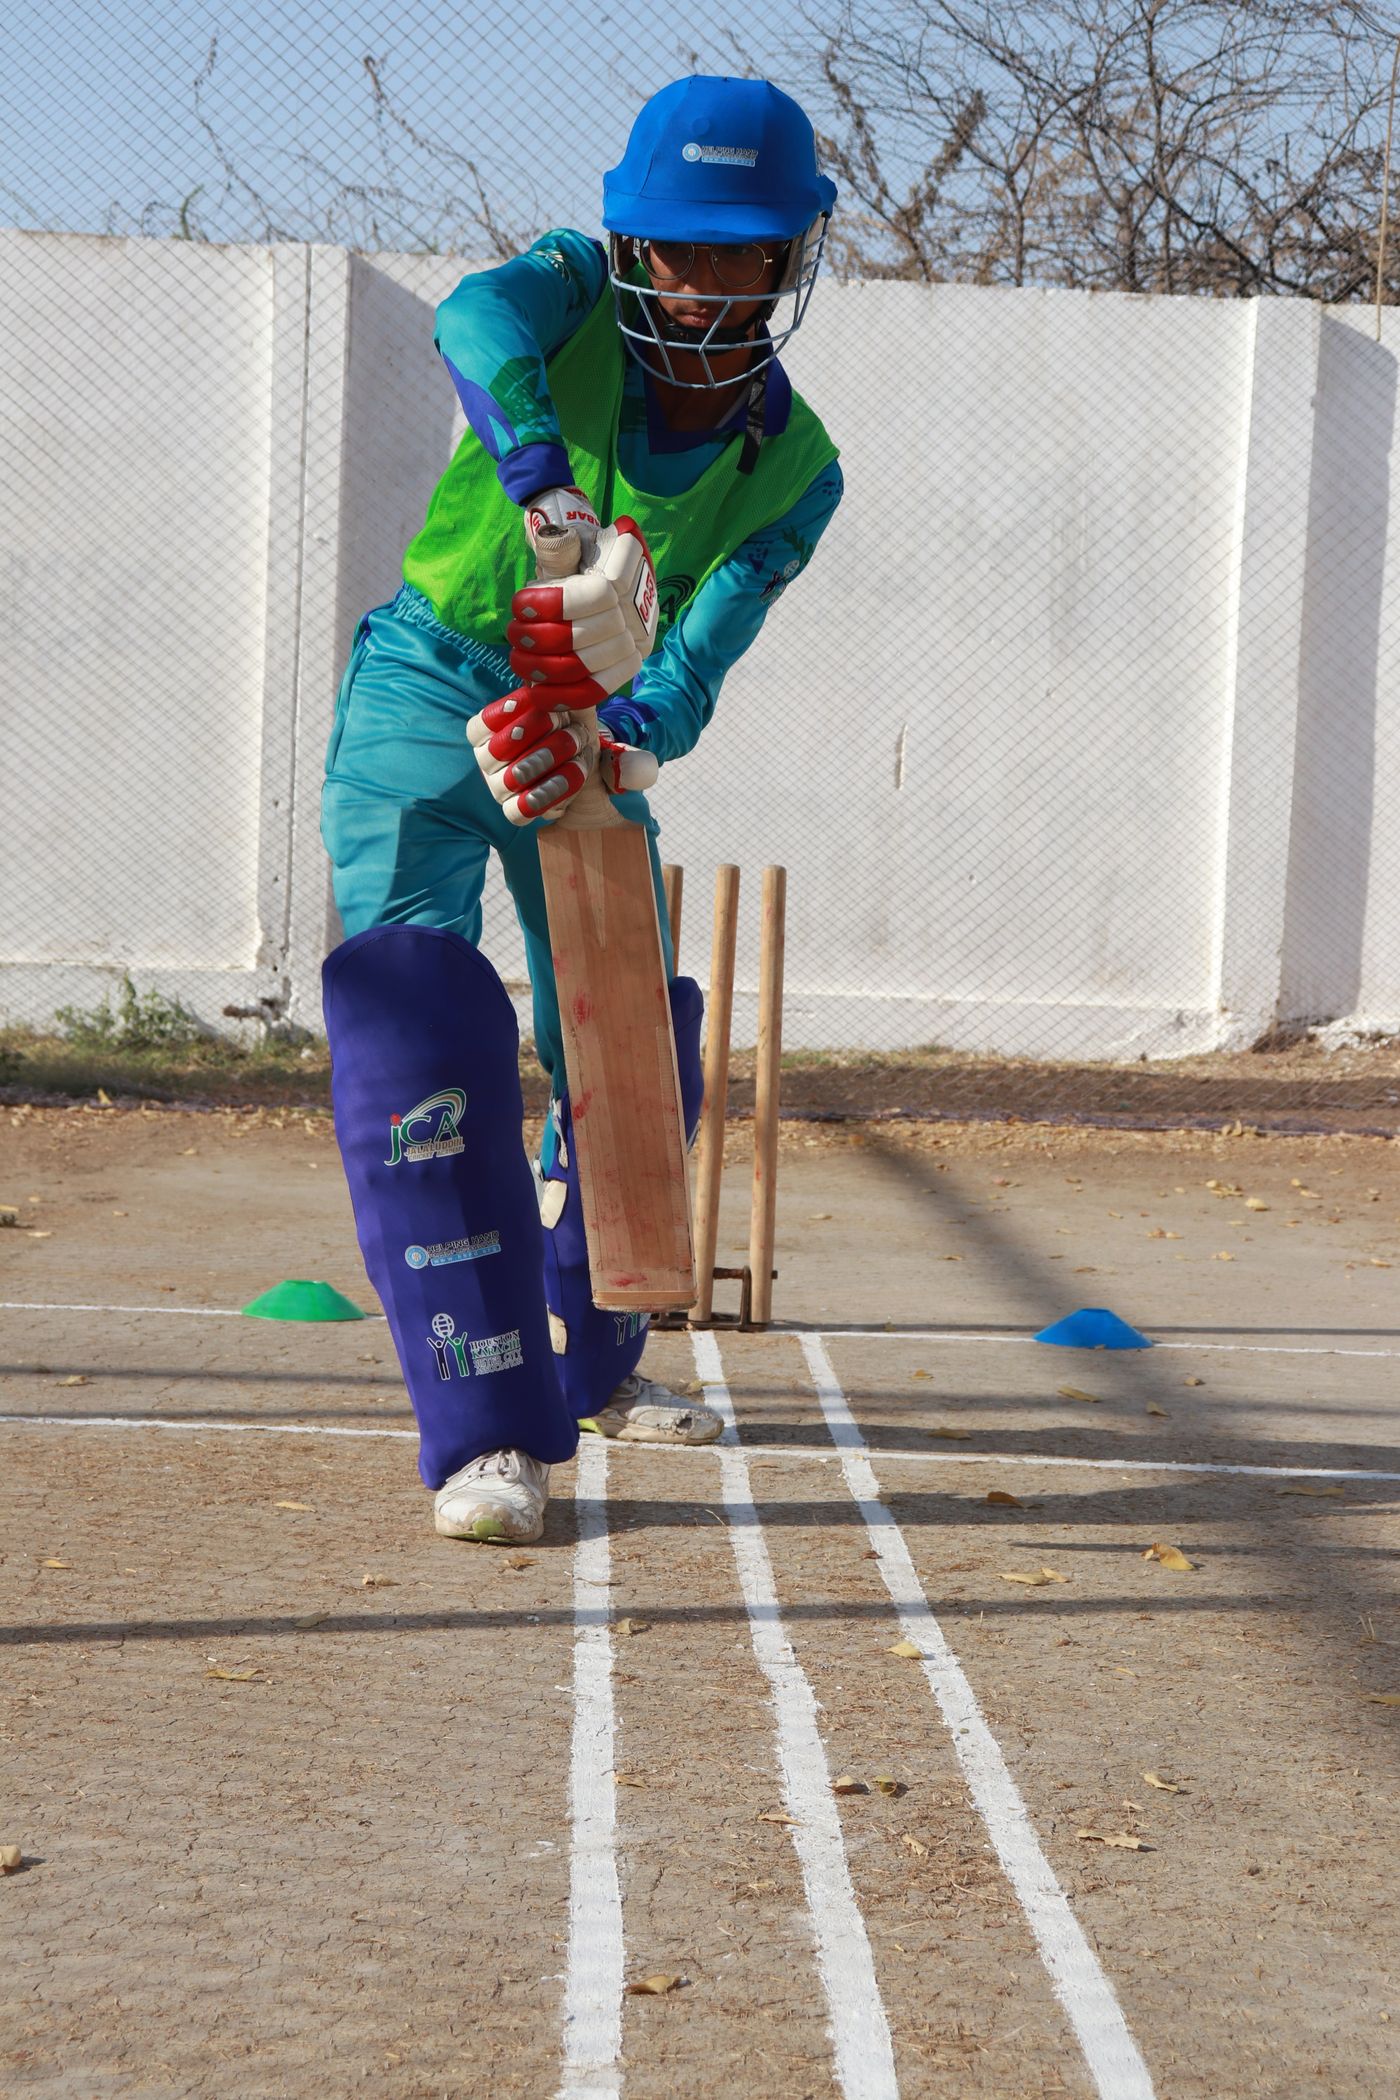
There is no single universal boundary distance for every cricket match. The ground authority, competition rules and umpires determine the boundary before the toss. Mark it continuously and clearly with a rope, line or approved object, using the edge nearest the pitch as the boundary. Keep the marker stable, visible and free of protruding anchors, and preserve safe run-off beyond it.
Start with the playing conditions, not a generic distance
A cricket field is not required to be a perfect circle, and the Laws do not give one boundary radius for every level of the game. International, domestic, community, junior and school competitions can apply different minimums, maximums and modified formats.
That means the first boundary question is not “How many metres?” It is:
What do the current playing conditions require for this competition, grade, venue and pitch?
Obtain the competition handbook before match day. Confirm whether it specifies:
- a minimum or maximum distance from the pitch centre
- different square and straight boundaries
- an inner fielding circle
- a shorter junior or festival boundary
- mandatory run-off outside the rope
- treatment of sightscreens, fences, trees, covers or buildings
- who may approve a local variation
Do not borrow an international distance for a community ground unless the competition explicitly uses it.
What the Laws require
MCC Law 19 makes the boundary a match definition, not merely a piece of rope. Before the toss, the umpires must agree the boundary with the captains. It should remain the same throughout the match unless an agreed change becomes necessary.
The boundary can be marked by a rope, a painted line or another object. When an object marks it, the boundary is the edge nearest the pitch. If markers are not continuous, the boundary between them is the imaginary straight line joining the nearest points.
This definition matters when a fielder, ball or piece of equipment touches the marker. A thick rope has an inside edge and an outside edge; the legal boundary is not automatically its centre.
Plan the shape around the actual pitch
Begin at the centre of the pitch being used, not the geometric centre of the oval. Grounds with several strips can produce materially different distances to fences, banks and pavilions.
Walk a complete circuit and identify:
- permanent fences and gates
- sightscreens and their movement area
- drains, sprinkler heads and service covers
- practice nets
- team shelters and scorers
- trees, banks and hard landscaping
- public paths and vehicle access
- steep or uneven run-off
- advertising boards, cameras and cables
Draw a simple ground plan. Mark the intended rope and any local feature that could require an inset, a special rule or an inaccessible-area boundary.
How to measure a boundary
A long survey tape, measuring wheel or laser system can all work if used consistently. A measuring wheel is fast on a large outfield; a tape gives a useful cross-check on key axes.
Radial method
For a broadly oval field:
- establish the centre of the pitch
- choose regular directions around the ground
- measure from the centre to the intended inside edge of the boundary
- place a flat temporary marker
- add intermediate points until the curve is smooth
- re-measure the shortest and most constrained sections
Do not assume that equal distances produce the best safe shape. The rope may need to move inward around a hazard or to preserve run-off from a fence.
Offset method
Where the field follows an irregular fence or bank:
- inspect the permanent edge
- set the required safe offset inside it
- mark that offset at frequent intervals
- connect the points with a smooth, visible line
- confirm the resulting playing area still meets competition requirements
An offset should be measured from the hazard’s nearest projection, including posts, feet, guy ropes or open gates—not just from a convenient fence panel.
Rope, line, flags or markers?
| Marker | Best use | Advantages | Watch-outs |
|---|---|---|---|
| Continuous boundary rope | Most club and representative matches | Clear and familiar | Can move, coil or create a trip point |
| Painted white line | Grounds where rope is impractical | Low profile and continuous | Can fade; edge definition must be agreed |
| Flat discs or short markers | Training and some modified formats | Quick to move and store | Gaps create imaginary straight sections |
| Fence as boundary | Compact permanent venues | No daily installation | Run-off, protrusions and local rules need scrutiny |
| Cones | Informal training only | Highly visible | Raised objects are poor match markers and trip hazards |
Use the marker permitted by the competition and facility. Do not improvise with stakes, exposed pegs, bricks or heavy objects beside a fielder’s running line.
Laying a rope safely
A well-laid rope should be continuous, visible and relaxed against the ground.
- Uncoil it before pulling it into position.
- Remove knots and loops that can catch a foot.
- Join sections with a low-profile connection.
- Keep spare rope outside the run-off area.
- Avoid metal hooks or exposed anchor pins.
- Check that mower, vehicle or spectator movement cannot drag it.
- Reinspect it after sightscreens or covers are moved.
- Stop play if the rope shifts materially.
Where a ground needs ballast, use the facility’s approved low-profile system outside the field of play. Never drive an unseen peg into an area where a sliding fielder can reach it.
Run-off beyond the boundary
The boundary ends the field of play, but player movement does not stop instantly. A fielder may sprint or slide beyond the rope while attempting to save a run.
Preserve a clear, reasonably level run-off zone wherever the site allows. Remove portable chairs, bags, drink crates, cable ramps and junior equipment. Pad or relocate hard structures when required by venue policy.
A boundary that technically fits the playing condition but leaves a fielder running directly into an unprotected wall is not a sensible match set-up. Escalate the conflict to the ground authority and umpires rather than quietly accepting it.
Fences, sightscreens and movable equipment
Fences
Inspect the full inside face. Look for open gates, broken wire, sharp edges, projecting bolts and gaps large enough to trap a foot. Confirm whether the fence itself is the boundary or the rope is set inside it.
Sightscreens
A sightscreen may sit outside the field, form part of the boundary or require a local rule. It also moves between overs. Agree its status before the toss and keep the movement path clear of spectators and loose equipment.
Covers and machinery
Remove covers, rollers, hoses and towing equipment from the run-off zone when possible. If an item cannot be moved, the umpires need to know before play so the appropriate boundary or obstacle treatment is agreed.
Scorers, cameras and advertising
Place working positions outside the agreed safety area. Secure cables so they cannot lift or migrate toward the rope. Advertising boards should be stable and arranged under venue and competition requirements.
Inaccessible areas inside the ground
Some venues contain a tree, garden, drain enclosure or pavilion feature inside the larger oval. The Laws allow the umpires to treat an obstacle or area as a separate boundary when needed.
That decision must be explicit. Players and scorers should know:
- exactly which edge defines the area
- whether a ball reaching it is immediately dead
- what runs or boundary allowance applies
- whether a fielder can enter or touch the area
- how the scorer will be signalled
Do not invent the ruling after the ball first reaches the obstacle.
Junior and modified formats
Junior programmes often use shorter pitches and smaller boundaries to create more involvement and appropriate challenge. The dimensions can vary by age, ball and association.
Set the junior boundary from the centre of the pitch actually in use. If multiple games share an oval:
- use clearly different marker colours
- keep one game’s rope out of another game’s run-off
- brief coaches and umpires on which boundary applies
- remove unused cones and ropes
- schedule movement only when play has stopped
A smaller field should still have clear spectator separation and safe access between pitches.
Inner circles are not the boundary
Limited-overs playing conditions may require an inner fielding circle. This is a tactical restriction line, not the edge of the field of play.
Use flat white discs or the approved marking method at the prescribed radius. Keep the circle visually distinct from the boundary and from junior-pitch markers. Missing or moved discs should be corrected before play resumes.
Match-day inspection circuit
Complete one slow circuit after the rope is laid and another shortly before the toss.
| Area | Check |
|---|---|
| Marker | Continuous, visible and on the intended line |
| Inside edge | Clear enough for decisions |
| Joins | Low profile and secure |
| Run-off | Free of people, bags, chairs and loose gear |
| Fences | Gates shut as required; no sharp projections |
| Sightscreens | Position and boundary status agreed |
| Covers | Removed or governed by an agreed local condition |
| Public access | Gates and crossing points controlled |
| Weather | Water, wind or soft ground has not shifted the marker |
| Communications | Captains, umpires and scorers know special features |
After the toss, avoid moving the boundary. If safety or ground conditions force a change, stop and use the match’s formal decision process.
Training-session boundaries
Practice does not always need a full match rope, but it still needs a defined hitting direction and exclusion zone.
For a small-sided drill:
- use soft or training balls where appropriate
- position waiting players behind the hitter
- separate the drill from public paths
- set flat markers that cannot roll
- nominate one person to stop the drill when anyone enters
- retrieve balls only after the activity pauses
Read the cricket net safety checklist when hard-ball hitting is contained in lanes, and the cricket ball sizes and weights guide when selecting balls for modified groups.
Storage and maintenance
Dry a wet rope before sealing it in a bag. Mud, grass and moisture make the next installation slower and can weaken fibres or hide damage.
Coil the rope in large, even loops and label its length. Keep joining pieces and approved weights in a separate pouch. Retire a rope with hard knots, exposed wire, sharp fittings or repeated breaks.
For a shared club kit, record:
- total rope length
- number and type of joins
- inspection date
- repair history
- storage location
- person responsible for the next set-up
Clubs planning a wider ground-equipment purchase can use the NZ Cricket Store’s club and team equipment enquiry page as one New Zealand option. The competition specification and ground-safety requirements should be settled before ordering.
Common boundary mistakes
Measuring from the edge of the square
Boundary distances are normally referenced to the centre of the pitch or another point stated by the playing condition. The square edge is not a safe default.
Treating the rope centre as the boundary
When a rope or object marks the boundary, the relevant edge is the edge nearest the pitch.
Making gaps too large
Widely spaced markers create long imaginary straight sections. Add enough markers for an obvious, fair shape.
Ignoring what lies outside
Players cross the rope at pace. Run-off hazards remain hazards even though they are outside the field of play.
Moving the rope casually
A shifted rope changes the playing area. Stop, tell the umpires and follow the match procedure.
Mixing adult and junior layouts
Use colour, briefing and removal of unused markers so everyone knows which field applies.
Boundary set-up checklist
- Current competition dimensions confirmed
- Pitch centre established
- Full ground circuit inspected
- Safe shape agreed around fixed hazards
- Rope or marker laid with its inside edge clear
- Joins low profile and spare rope removed
- Run-off clear
- Fences, gates and sightscreens checked
- Inaccessible areas identified for the umpires
- Junior or inner-circle markers clearly distinguished
- Captains, umpires and scorers briefed
- Boundary rechecked before the toss
Sources and further reading
- MCC: The Laws of Cricket
- MCC: 2026 edition of the Laws takes effect from 1 October 2026
- New Zealand Cricket community and playing resources
The Laws define how a boundary works. The current competition playing conditions determine the distances and any permitted local variation.